This is the 2nd part of a multi-part series. View the rest:
- Part 1: Plans and Materials
- Part 2: Racetrack
- Part 3: Vertical Skirt
- Part 4: Subtable and Playing Surface
- Part 5: Finishing It Up
Since I’ve been busy with some other outdoor game projects (Cornhole boards and Washer Toss), I’ve decided to simplify my racetrack design a little bit. Instead of a chip tray and cupholder on each section, I’m opting for a cupholder at the angle where two sections meet.
There are three reasons for this:
- I’m running out of time to have this finished.
- The grain of the sub-table (plywood) showing through wouldn’t be lined up with the direction of the grain of the racetrack.
- I think I like the full wood surface on the racetrack better (instead of inset chip trays).
Granted, the first reason is due to lack of planning, but I’d like to think I would have ended up with the same conclusion based on #2 and #3 above.
Cutting the Racetrack Pieces
Note: This seemingly simple step is actually fairly complicated, if you don’t have the right equipment. Turns out, I don’t. Not really.
I own a miter saw, but it’s not a sliding one. This proved to make things a lot harder than I initially anticipated. My saw couldn’t cut all the way through each 2×8, so each angle cut was really two cuts, with me trying to line the cuts up perfectly.
The cuts are made by setting the miter saw to 22.5° (half of 45°). Most miter saws have a positive stop at this angle, so the saw will “lock” into place. I cut the first piece based on my measurements from earlier (21.75″ on the outside edge). After that, I used this piece as a template to make the other cuts.
Pro Tip: Don’t be lazy and flip your work piece over so you don’t have to switch your miter saw from side to side. I always try to cut with the finish side up, so the majority of my tear-out will be underneath, on the side no one will see.
Once you have your 8 pieces, arrange them in your octagon shape to see how you did on your cuts.
Drilling the Cupholder Holes
Learn from my mistakes: Before you do this step, read the section below about gluing, so you can decide if you want to change up the order of things.
This is a step that could have possibly waited until later, but I chose to do it now, to help improve the fit of my angle cuts. Since you’re cutting out a good chunk of each joint, there’s less wood to work down if the fit isn’t perfect.
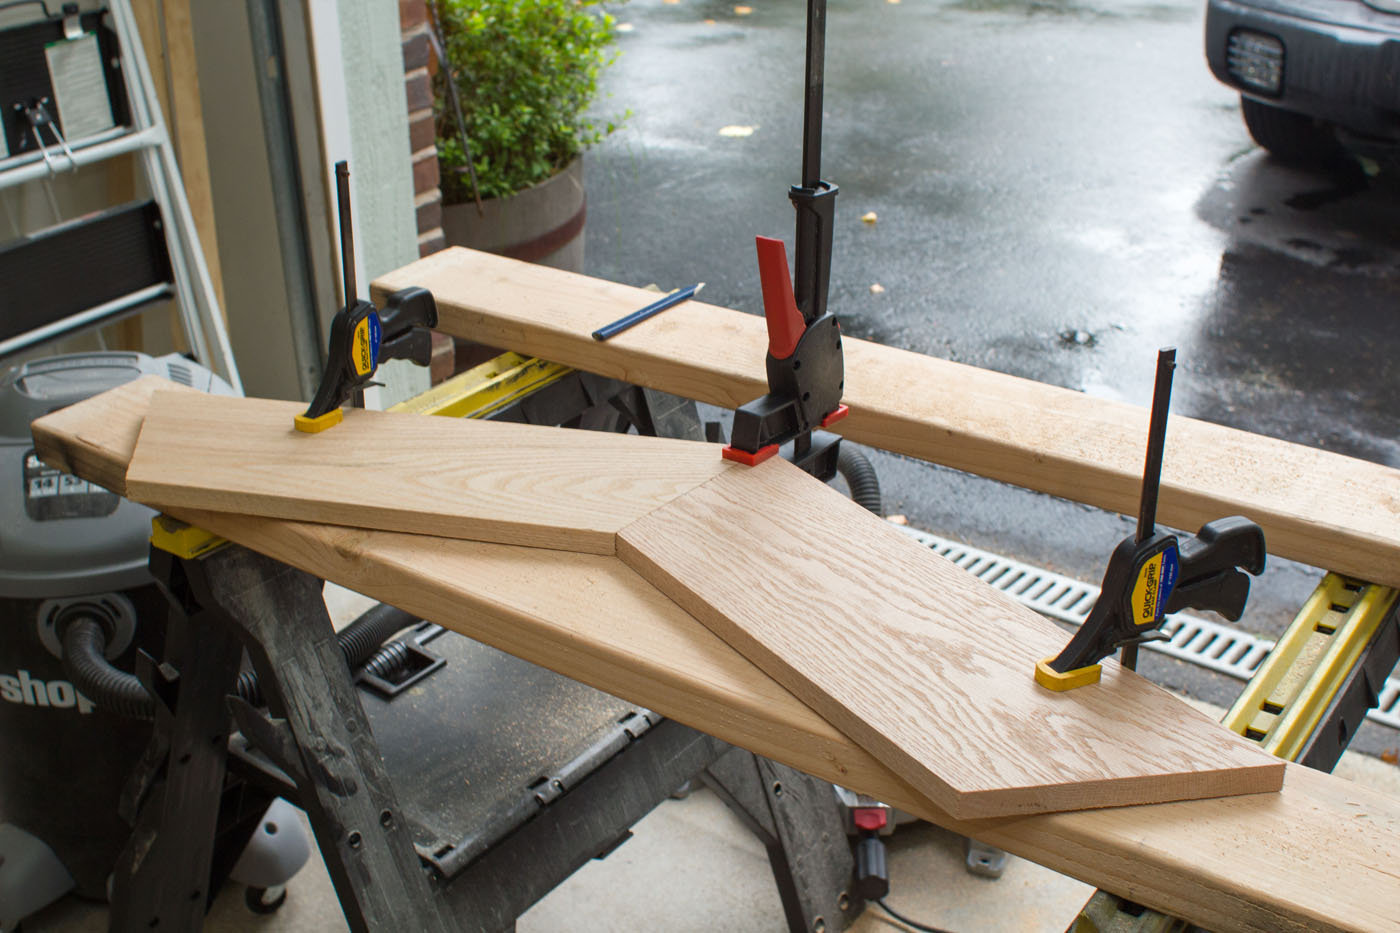
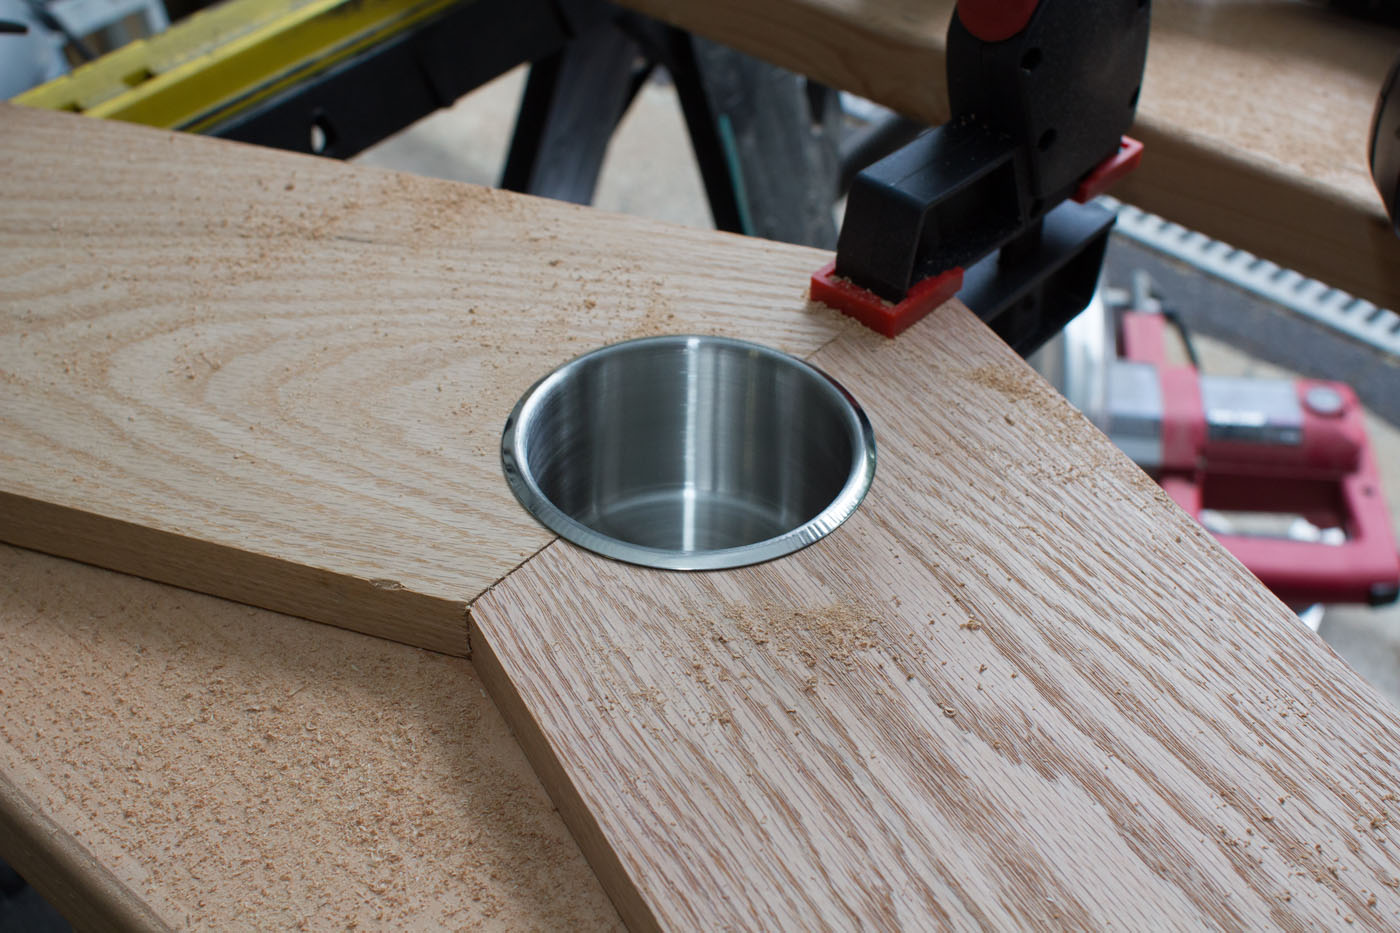
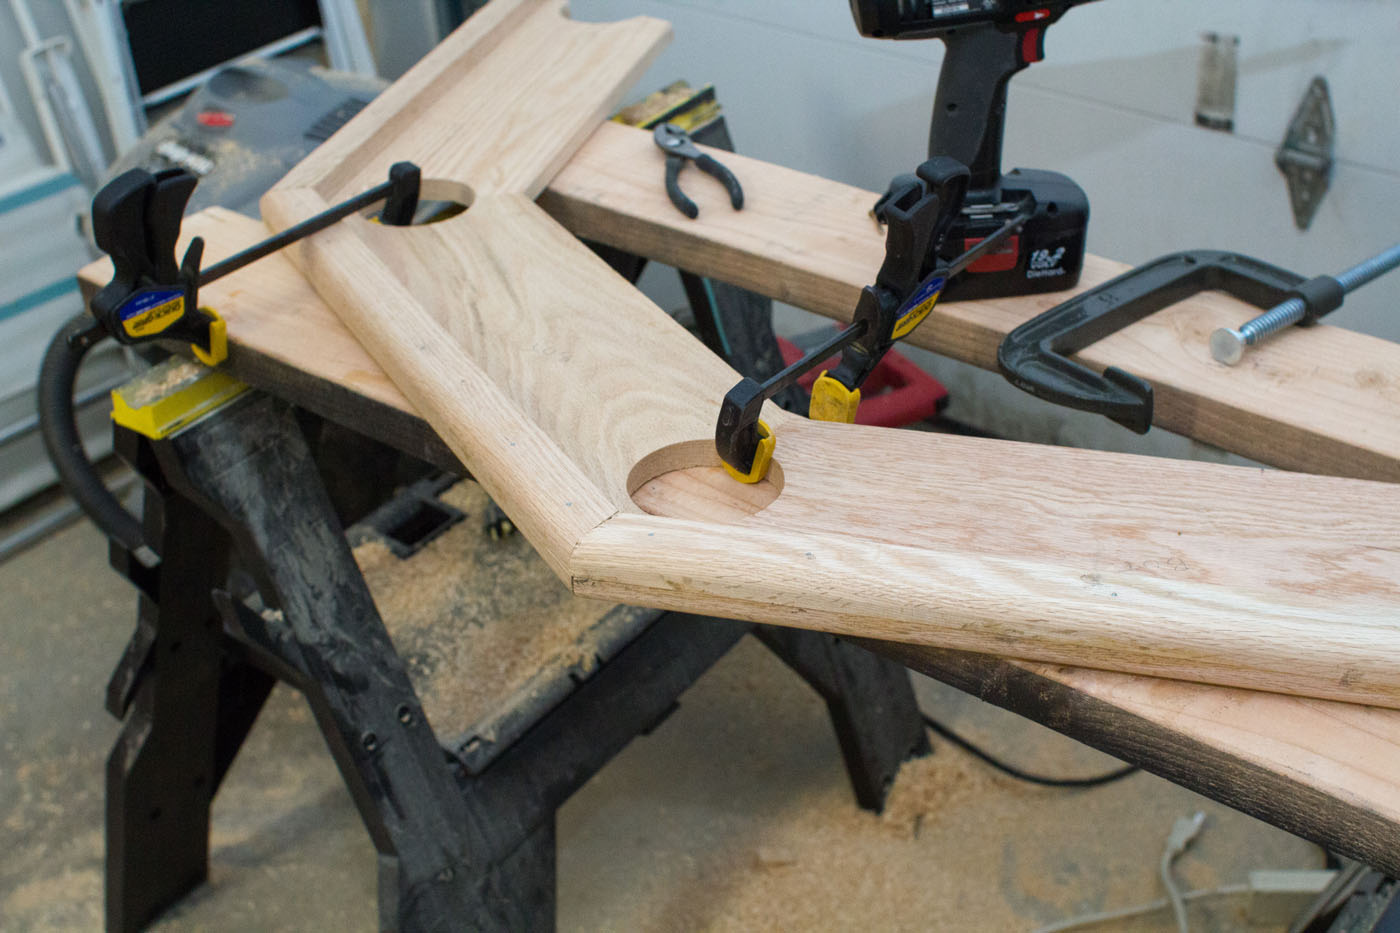
To drill the holes properly, clamp the heck out of your two pieces and drill away. Oak tends to be a very hard wood, so it’ll take some doing. Don’t put too much pressure on the drill or you’ll burn it out. Just let the teeth of the hole saw do the work and you should be fine.
Learn from my mistakes: It should be noted that the three “quick-clamps” in the above photo were not enough to fight the torque of the hole saw. After my first pair of pieces shifted while drilling, I upgraded to some screw-able C-clamps, which did a much better job. Just use some scraps to protect your surface.
Minor Adjustments may be Necessary
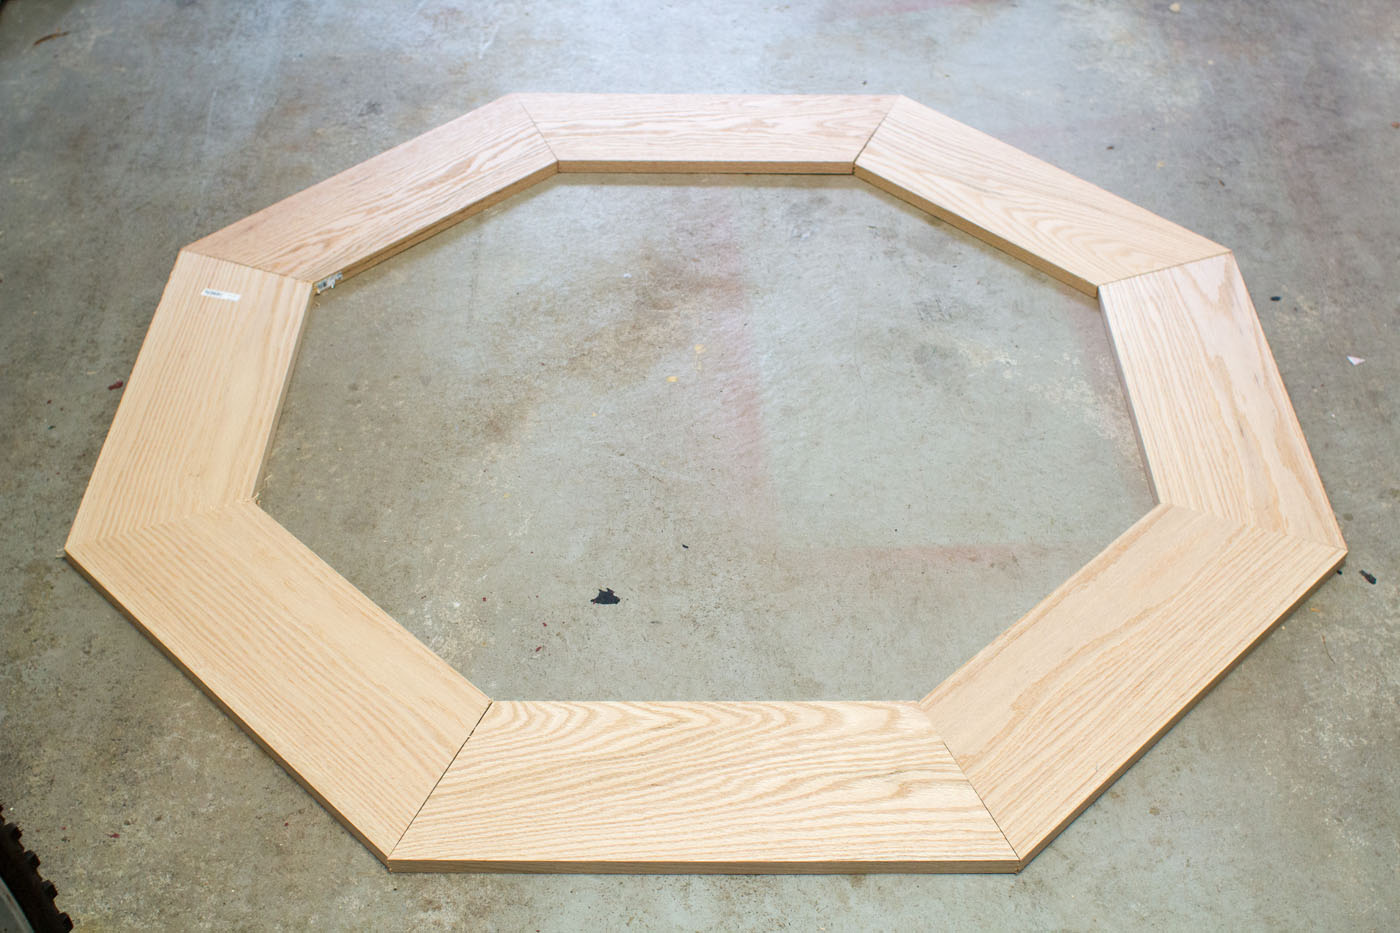
It’s pretty clear from the photo above that my cuts weren’t entirely perfect. To fix this, butt two of your pieces up against each other, and circle any ill-fitting areas. Go around your whole ring and do this.
Then, grab the rasp and file and work down the areas that need fixing little by little until you get a good, tight joint.
Note: It may be a good idea to actually wait on this step until you’ve attached the bullnose piece under each panel, but I did it like this and then just re-checked my fit after the bullnose pieces were attached underneath.
Attaching the Bullnose Pieces
Learn from my mistakes: Before you do this step, read the section below about gluing, so you can decide if you want to change up the order of things.
I unfortunately don’t have any photos of this step, so you’ll have to use your imagination while I describe it.
To make the bullnose, I cut my 1×2′s to a length of 24″ and used a combination of wood glue and finish nails to attach them to the bottom outside edges of my racetrack pieces. 24″ was way too long, of course, but it’s easier to trim them down to the correct length once it’s attached, since you can use the racetrack panel as a guide.
This is what you’ll end up with, once your holes are cut and bullnose pieces are attached.
Routing the Pieces
The rounded edge on the bullnose is done with a router on each section of the racetrack. You can use a router by itself or a router table for this. I used a 1/2″ roundover bit on the top and bottom of the bullnose and a 1/8″ roundover on the inside edge with the router table. The router table makes it nice and easy, since you don’t have to worry about clamping the pieces down.
Pro Tip: It’s fairly important to do the routing at this stage. If you wait until after the racetrack is assembled, your interior routs won’t be able to go all the way to the inside corner of each joint, because the router bit has its own diameter to contend with. (For what it’s worth, some people like the look of that kind of joint, but not me.)
Which brings us to…
Gluing the Racetrack Together
Learn from my mistakes: I just picked up a pocket hole jig at Harbor Freight Tools the other day, and thought this would be a good project to try it out on. I did, however, run into an issue. My plan was to have two pocket holes connecting each racetrack joint, but because the bullnose piece was already attached, I didn’t have the clearance necessary to drill the second hole.
Keep learning: So, there are a few solutions here. You can either drill the pocket holes first before attaching the bullnose piece, or you can decide to put your cupholders somewhere else, like completely on one panel, for example. Then you’d be able to use two pocket holes for each joint.
This step takes some patience, unless you happen to have a boatload of clamps. I do not, so I could only do one joint at a time. Once everything was filed down so each joint was tight, I went around the octagon, gluing each joint together and then letting each joint dry for 15-20 minutes before removing the clamps and moving on to the next one.
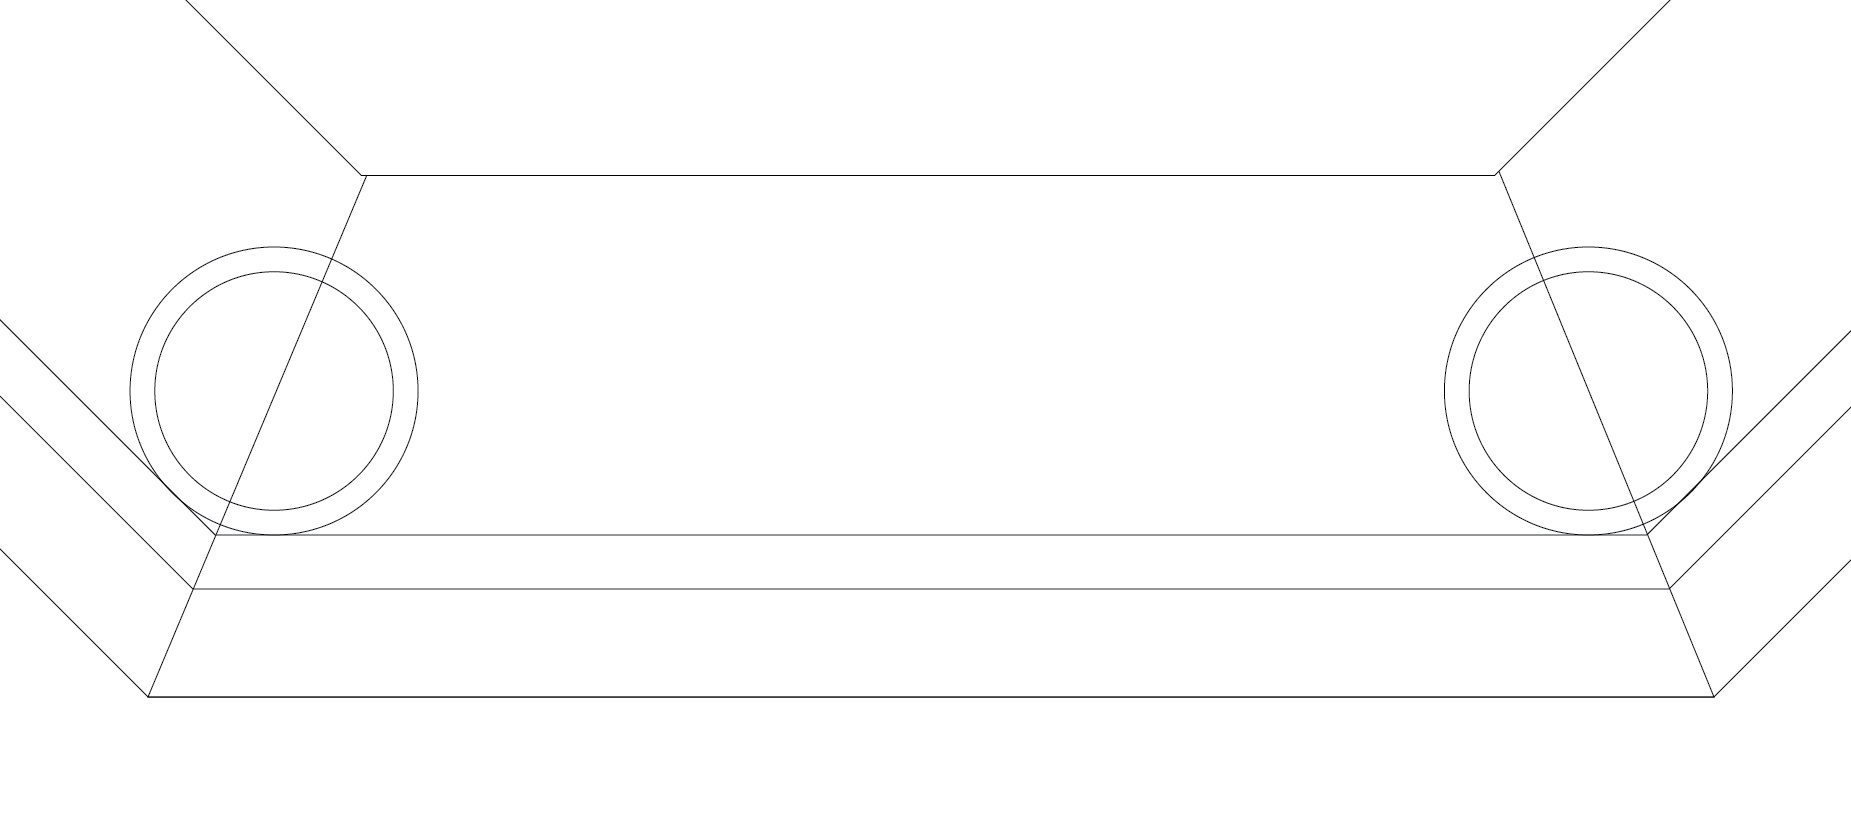
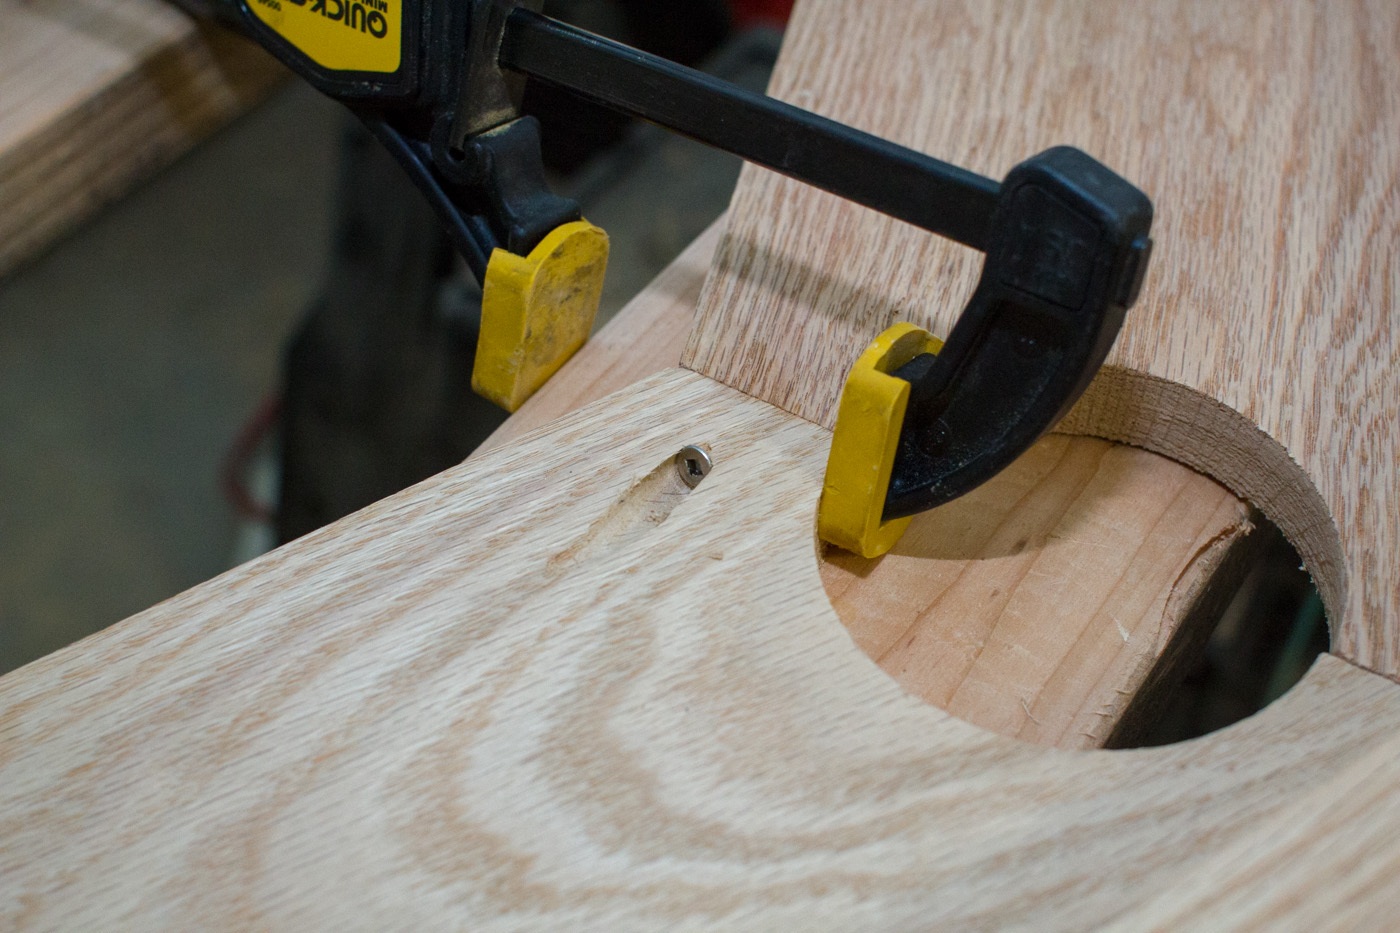
You pretty much can’t use too much glue on this step, and a lot of glue will make a really strong bond. Put glue on both surfaces, then clamp the heck out of it the best you can. Once it was clamped, I drove my single pocket screw in on the inside of each joint, then did my best to clamp the outer edge of the joint.
I actually figured out a much better way to clamp then I have pictured above, so I’ll try and draw it out.
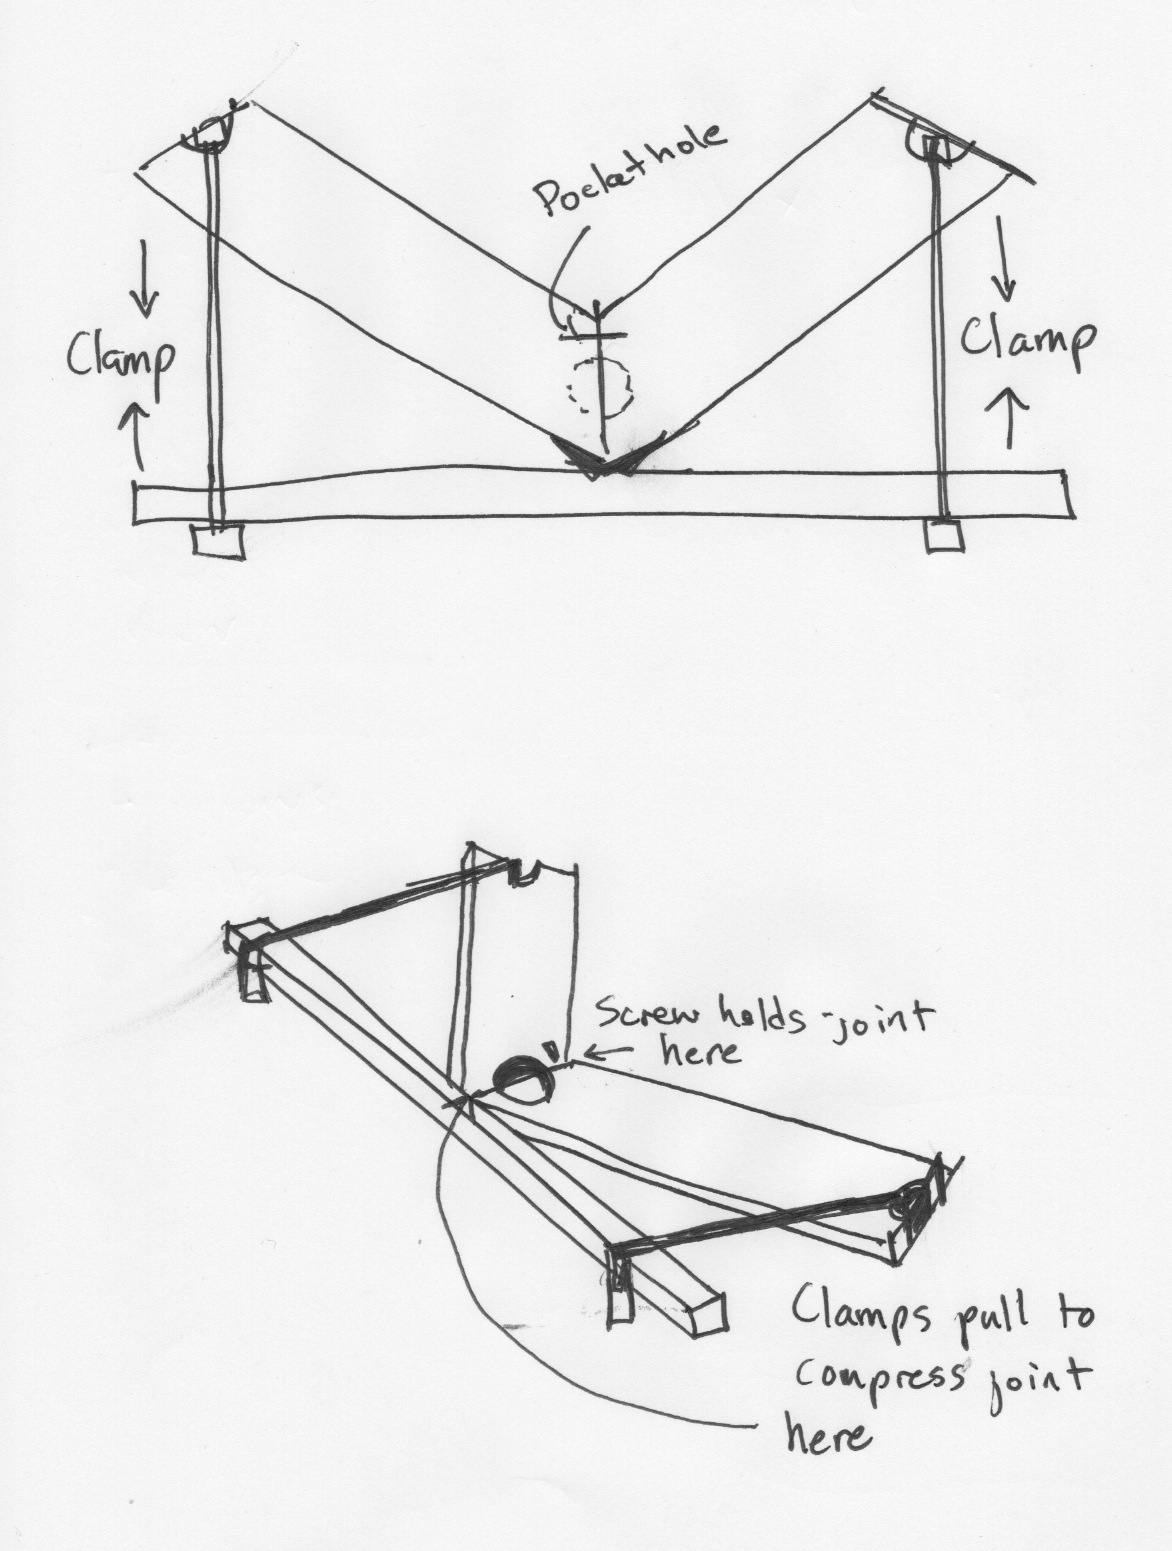
So, if I had done that originally, I probably would have spent less time using wood filler to make my joints nice and smooth!
Next Step: The Vertical Skirt
I actually don’t have a photo of the ring completely glued together, but you’ll see it in later steps. So, that completes the Racetrack. Next we’ll have the vertical skirt, which adds some class to the underside of the table.