This is the 3rd part of a multi-part series. View the rest:
- Part 1: Plans and Materials
- Part 2: The Piano Bench
- Part 3: The Piano
Where to Begin
Admittedly, I wasn’t really sure where to start for this part, but I knew I had a keyboard that had to fit inside the finished piano, so I figured that was as good a place as any.
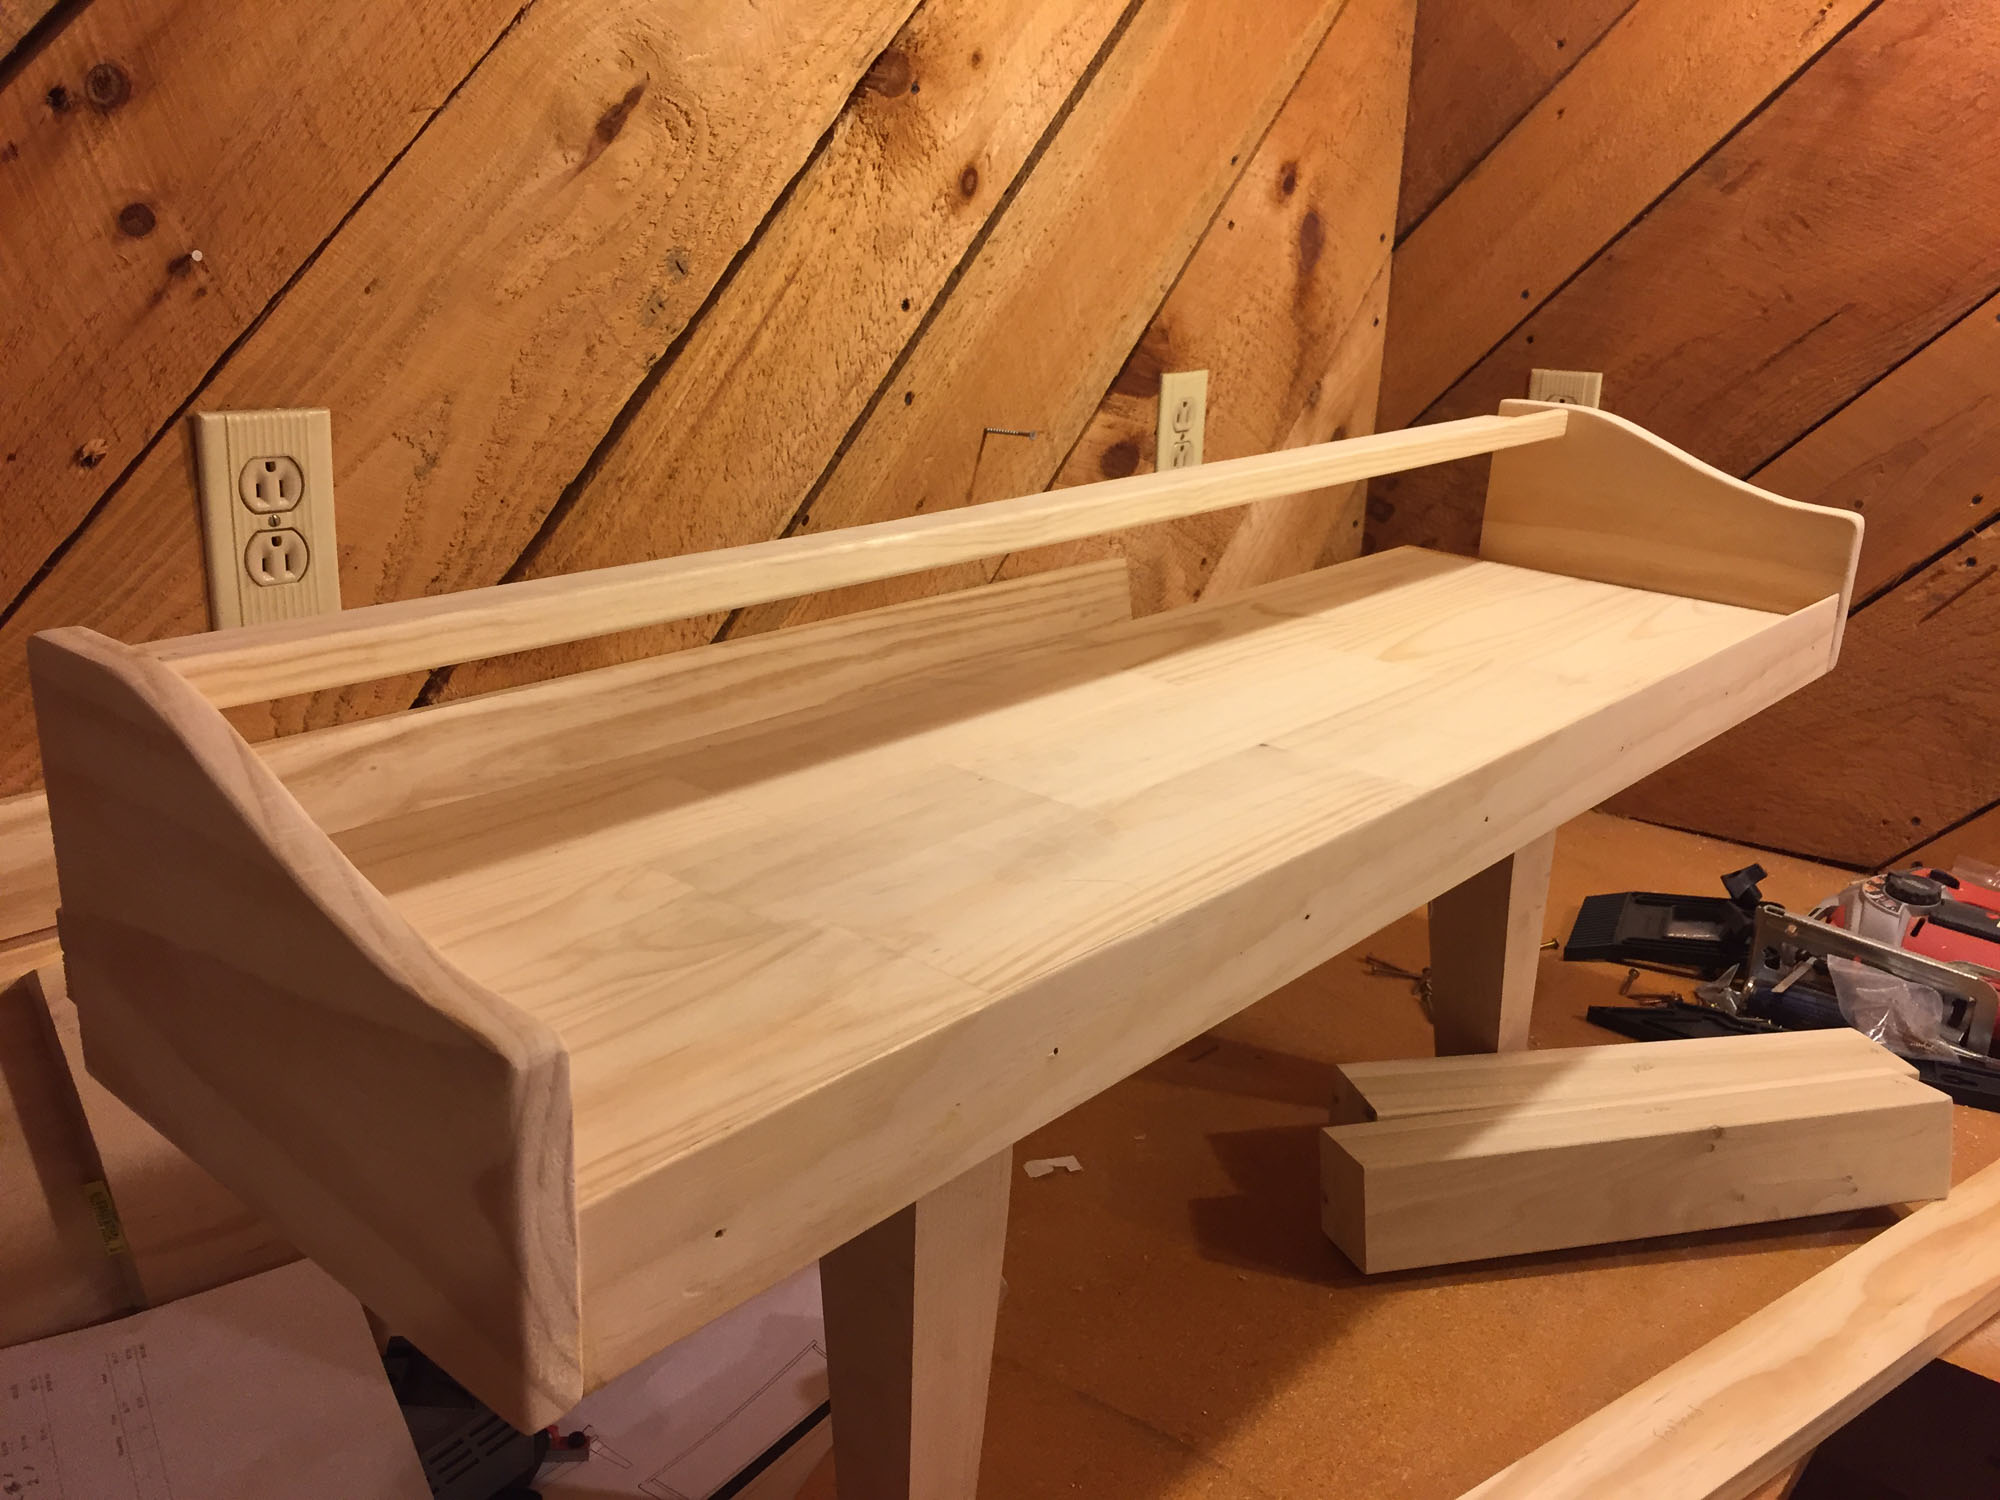
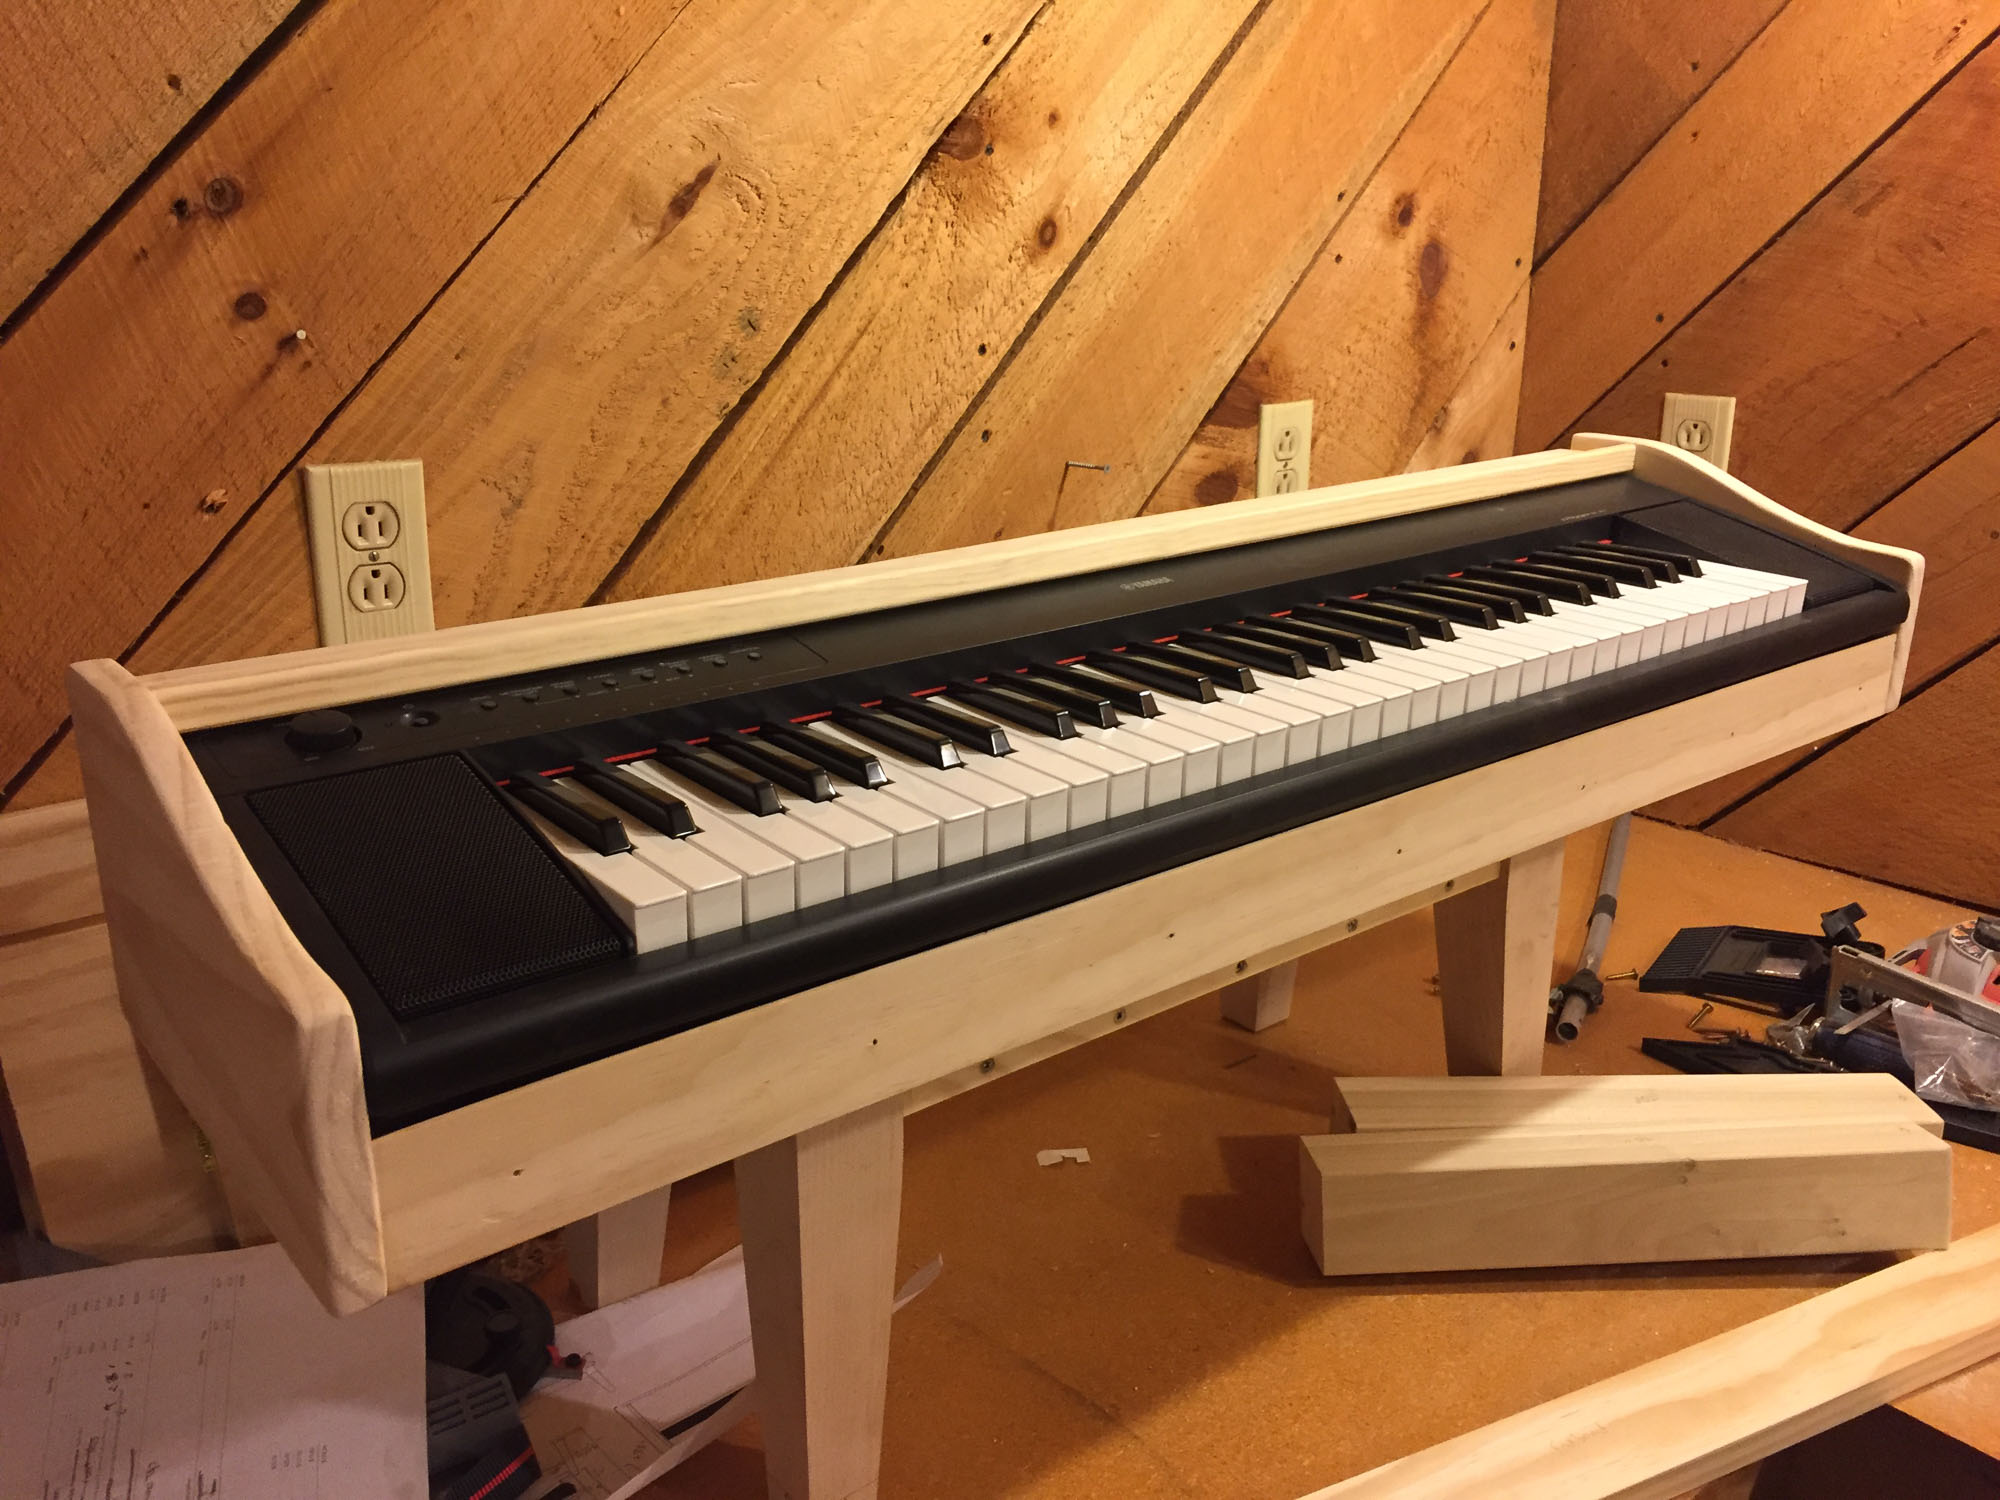
The Keyboard Tray
I called this component the keyboard tray, because it really was just that, a tray to hold the Yamaha keyboard I had purchased. The first step was to cut the 1″×8″×4′ to the right length.
I laid the keyboard on the board and placed a temporary vertical piece (I’ll cut this down later) to act as a fence (making sure my keyboard was flush against it). Then I marked the length of the keyboard and cut that board down. This will become the bottom of the keyboard tray.
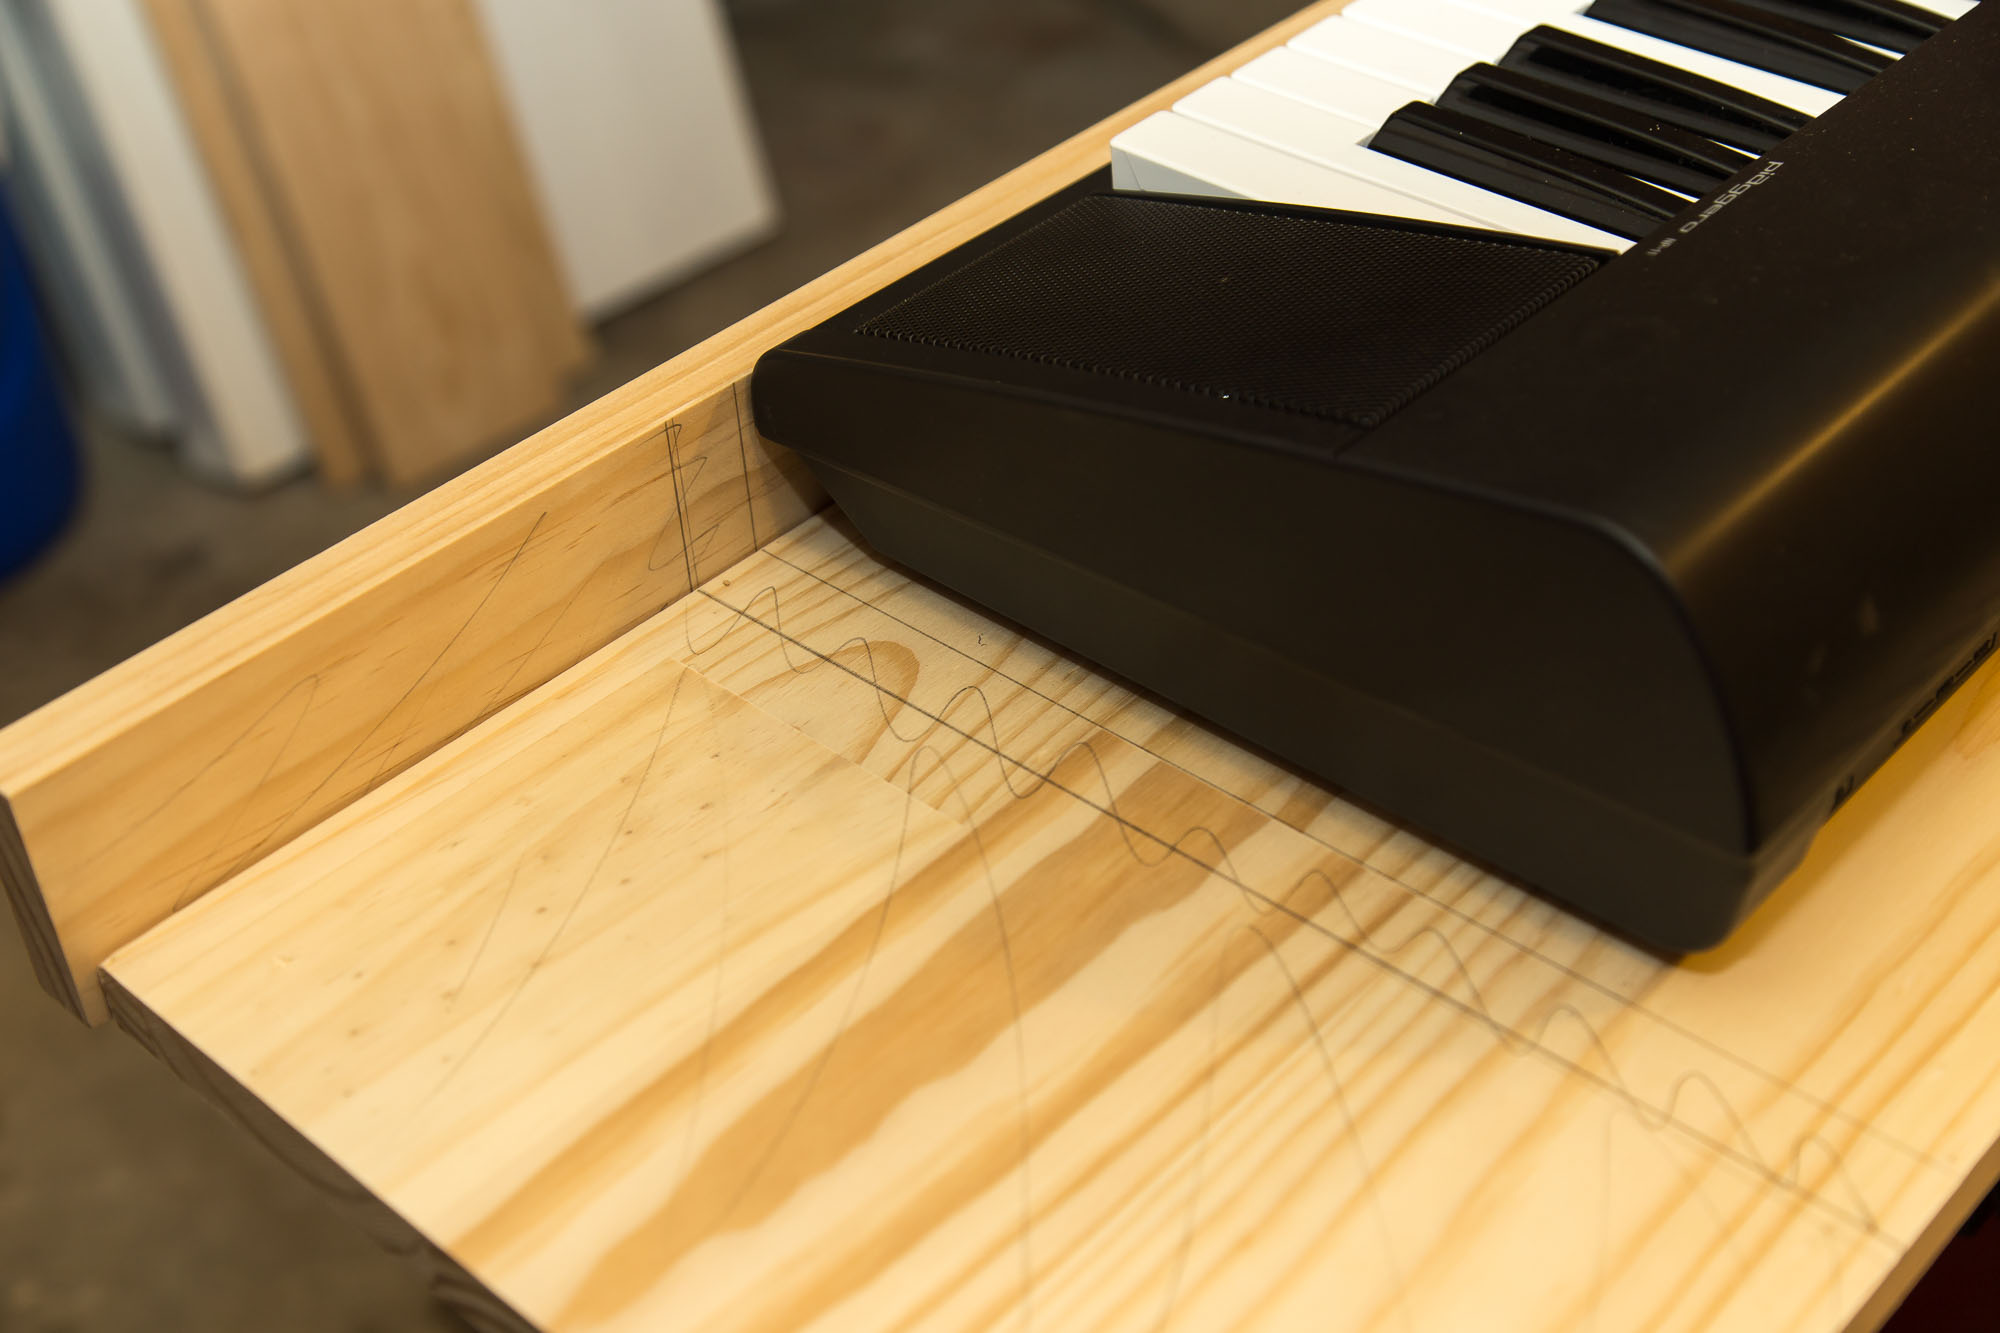
I also cut that vertical fence piece to the same length. This will become the front fence of the keyboard tray. It will prevent the keyboard from sliding out the front of the piano. A third piece of 1″×3″×4′ cut to that same length would become the “music stand”.
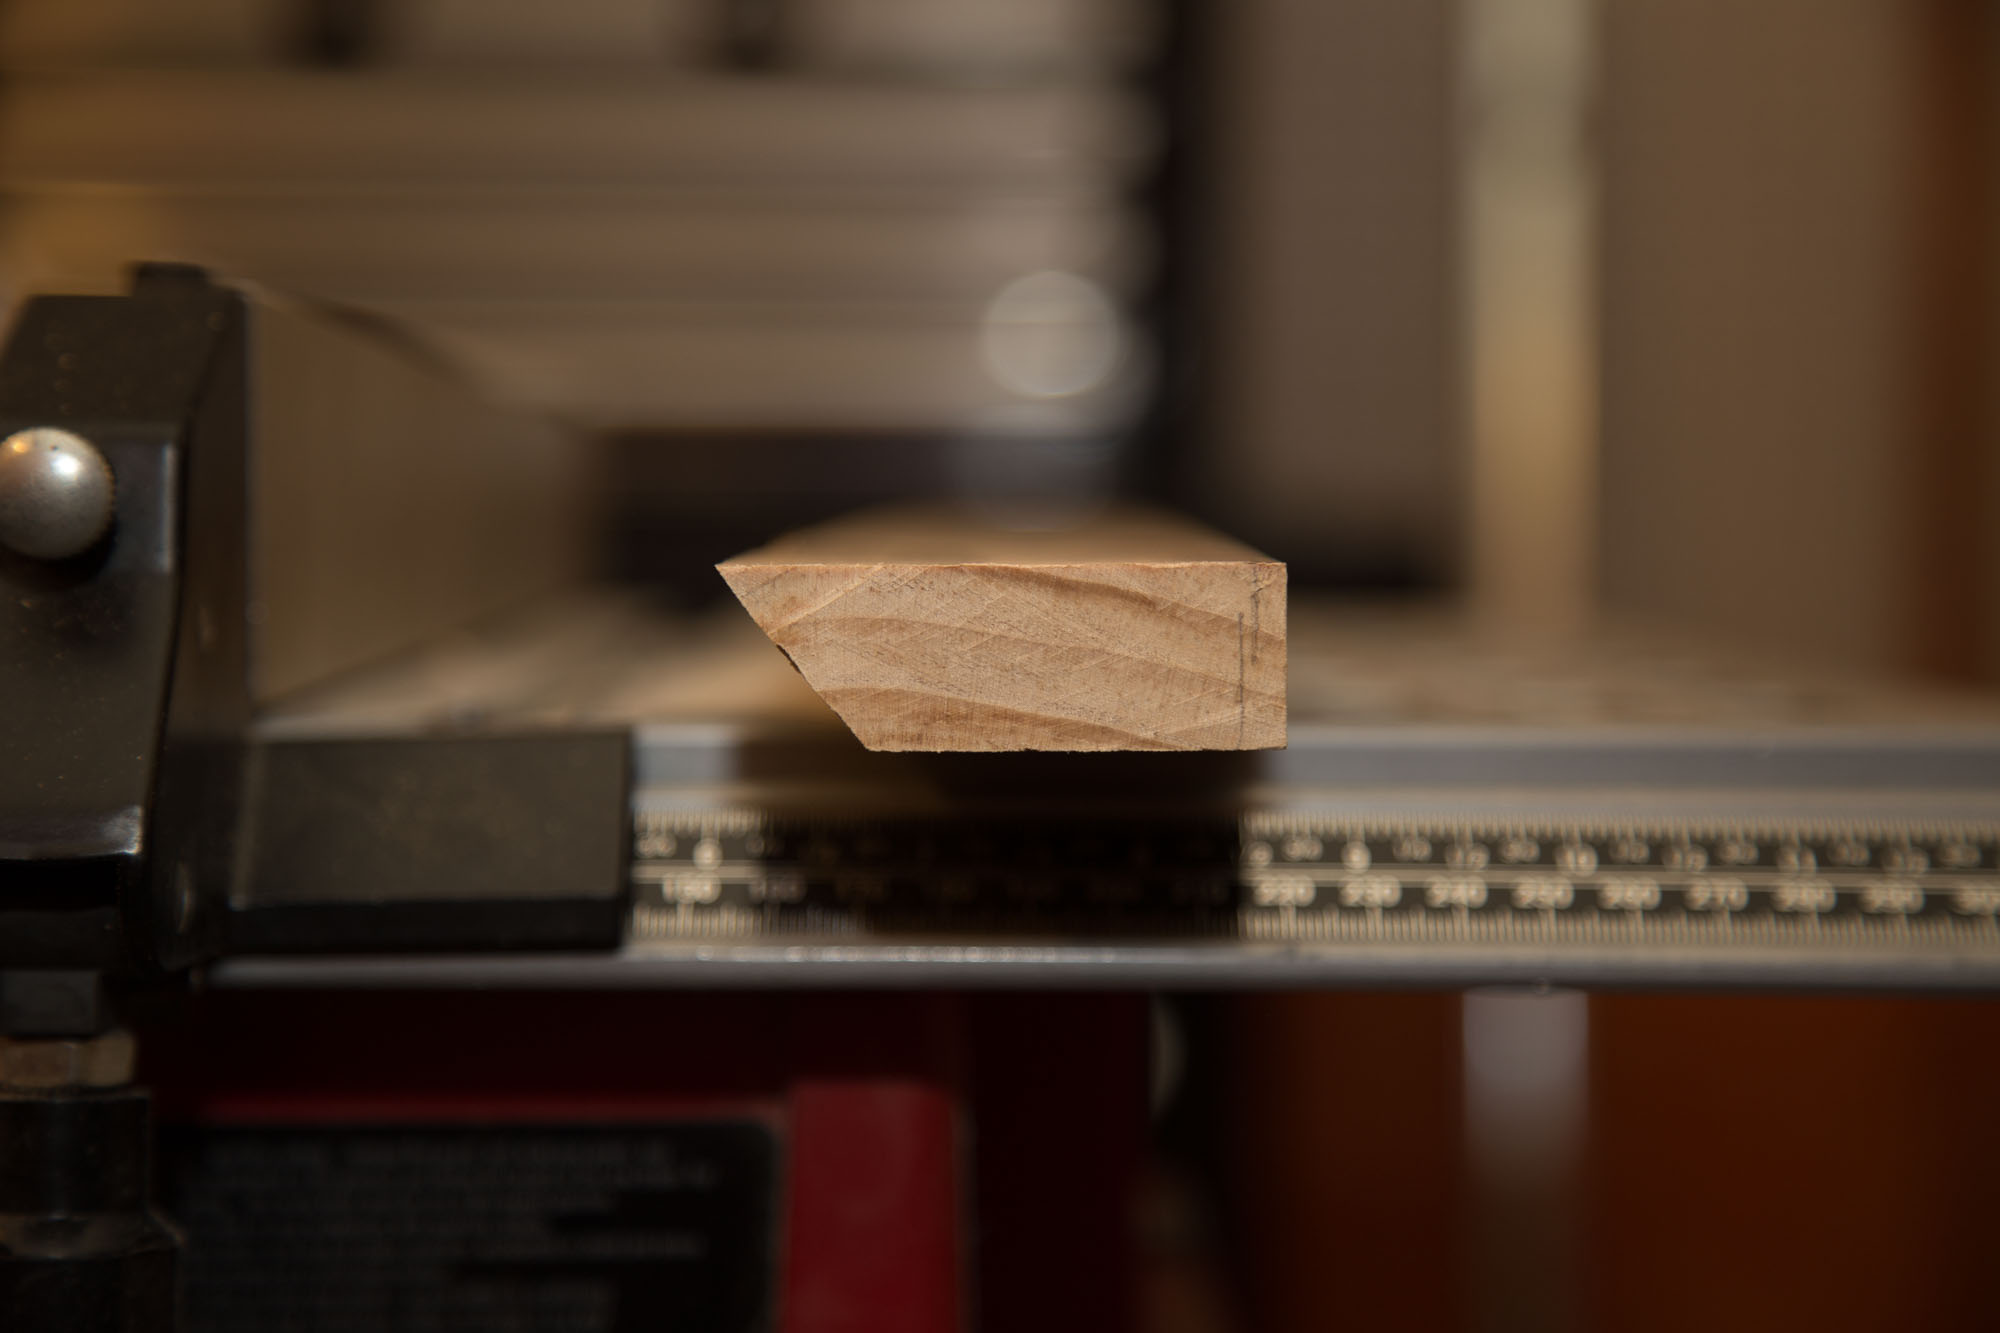
I then estimated the angle I needed to cut the vertical fence so that it would fit snugly against the front of the Yamaha keyboard. After a few tries on the table saw, I had my fence at the right angle.
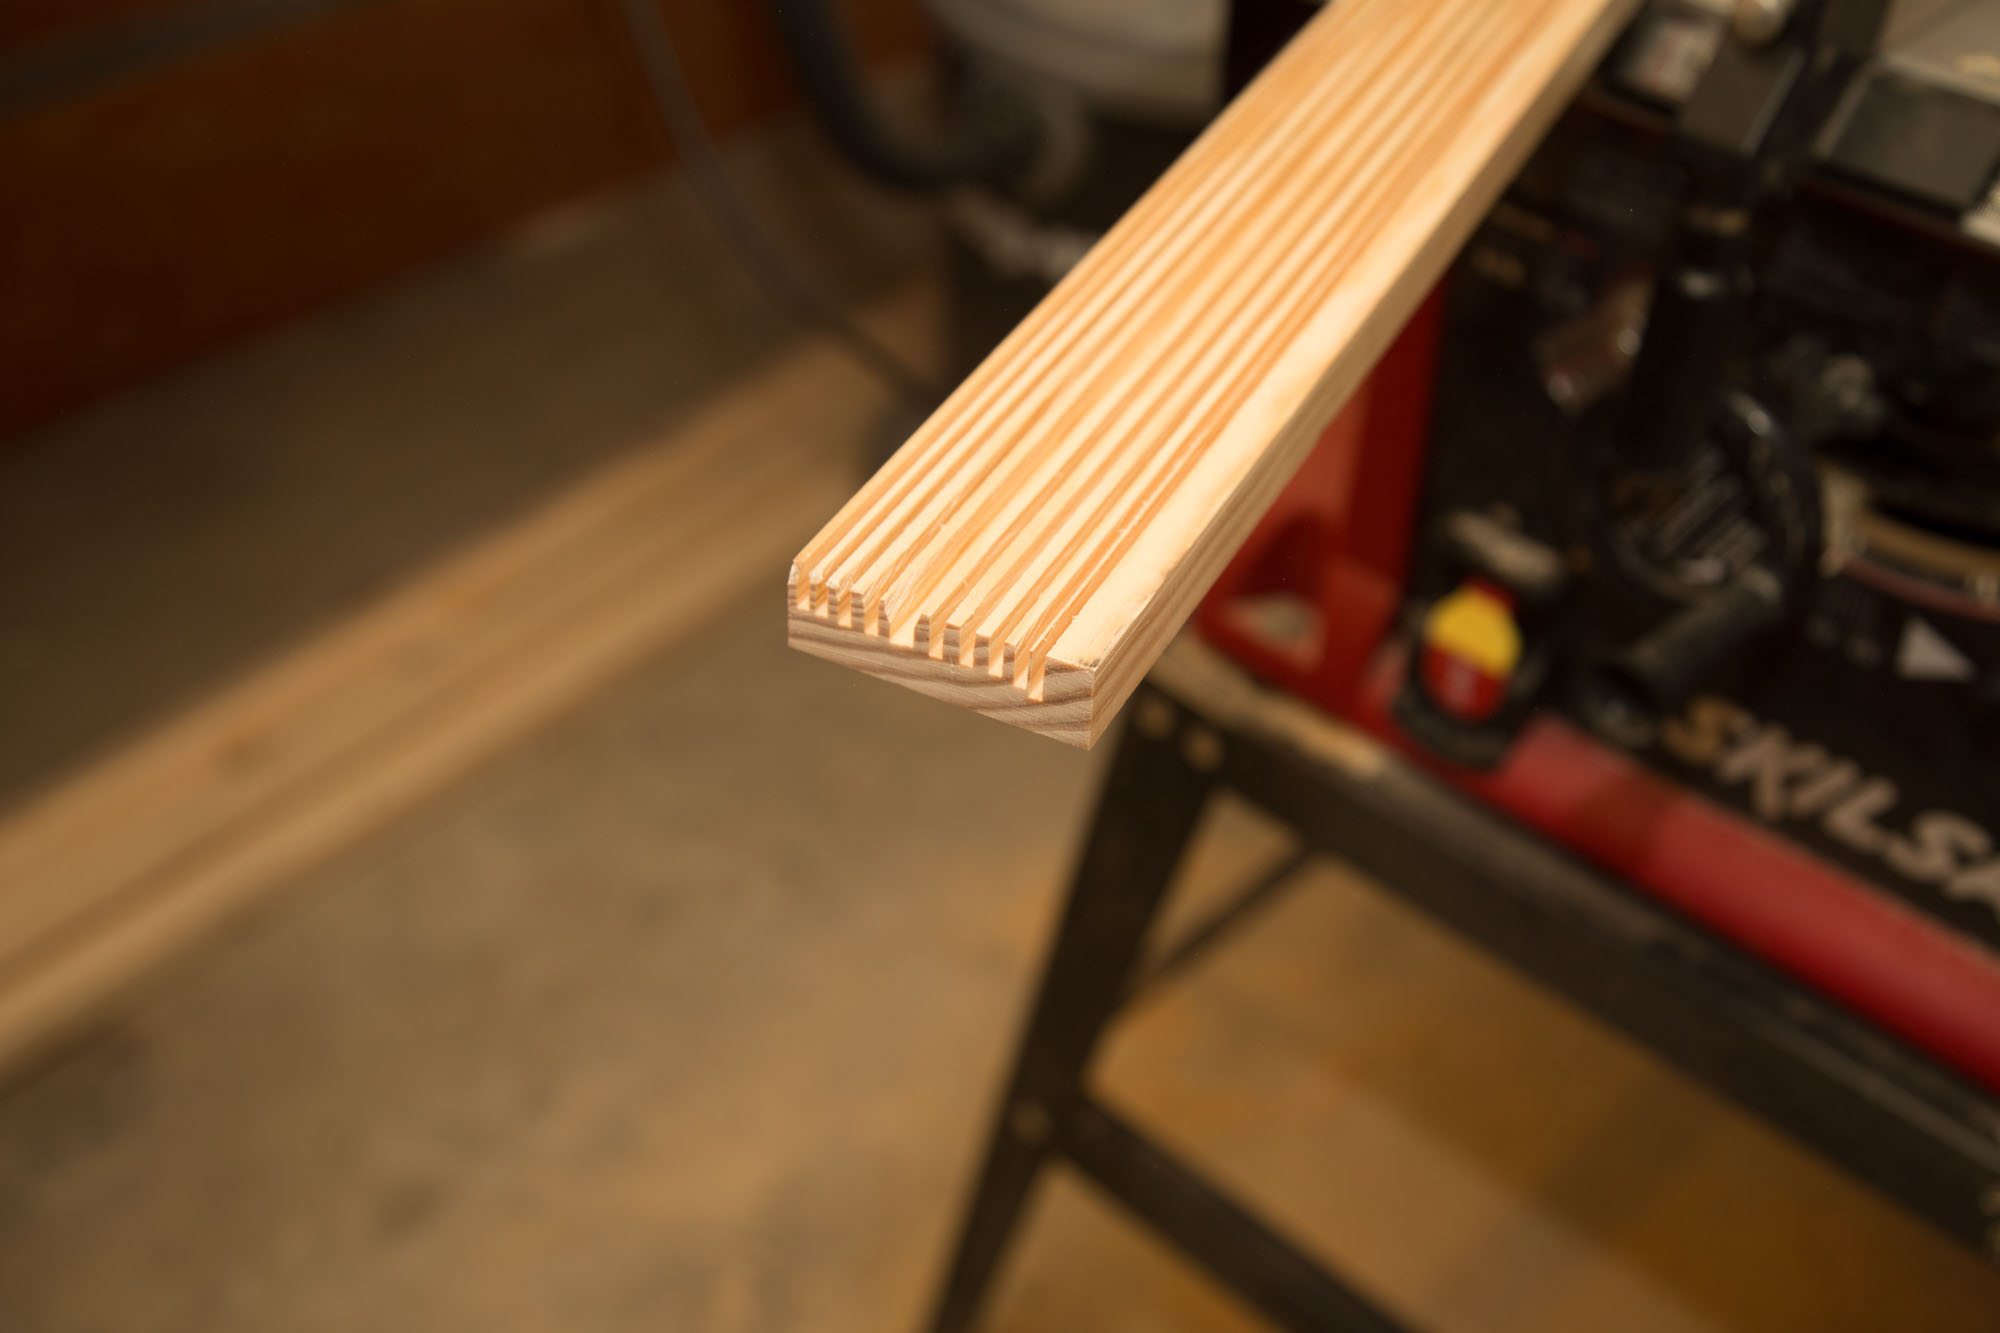
The “bookends” on either end of the tray were cut on the jigsaw. The music stand was cut on the table saw. I don’t have a dado set, so I made a series of cuts and removed the waste with a chisel.
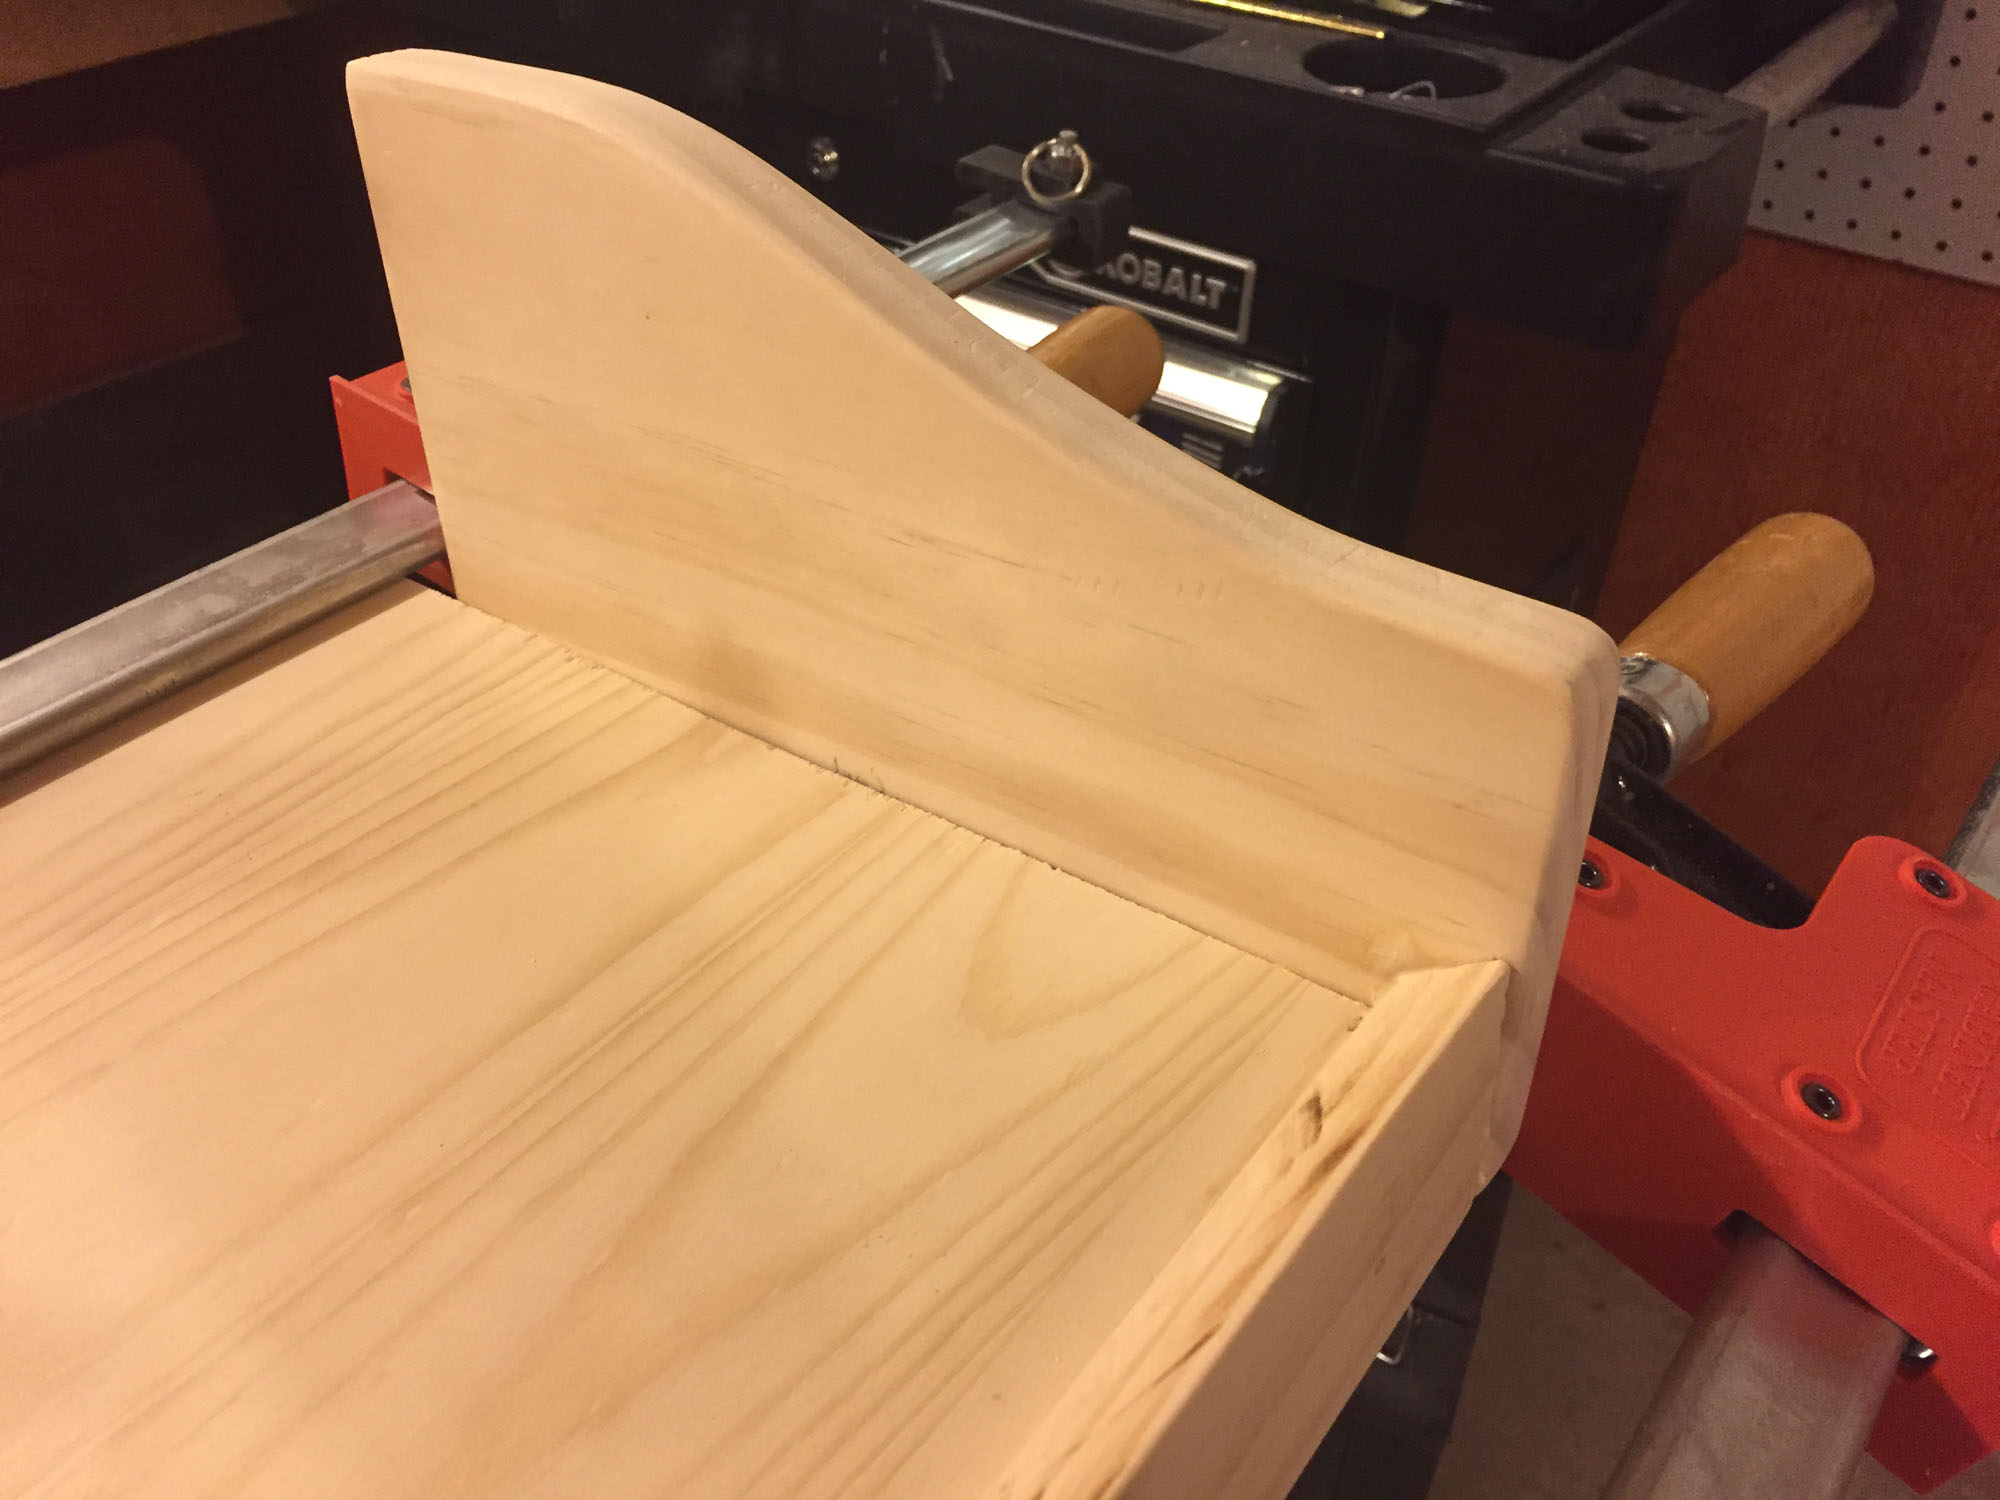
Then, I assembled everything together with some finish nails and glue.
The Piano Case
Typically, when building anything with an internal frame, you would build out the framing first, and then attach the outer surfaces to that. For this project, it made more sense (to me, anyways) to work a little backwards. I’ll do my best to explain my thinking below.
With the keyboard tray completed, I knew what the final width of the piano had to be. So, I laid out my turning blanks, kickplate, and side pieces so that I could lay the finished keyboard tray in the middle. The keyboard tray would slide directly between the side pieces, with the “bookends” butting up against the front edge of the side pieces. (Apologies if this isn’t coming across well, the photos below should help.)
I clamped the keyboard tray where it would eventually end up, and marked it on the side pieces. After that, I cut a slight diagonal into the top portion of each side piece to create a nice surface to lay music against.

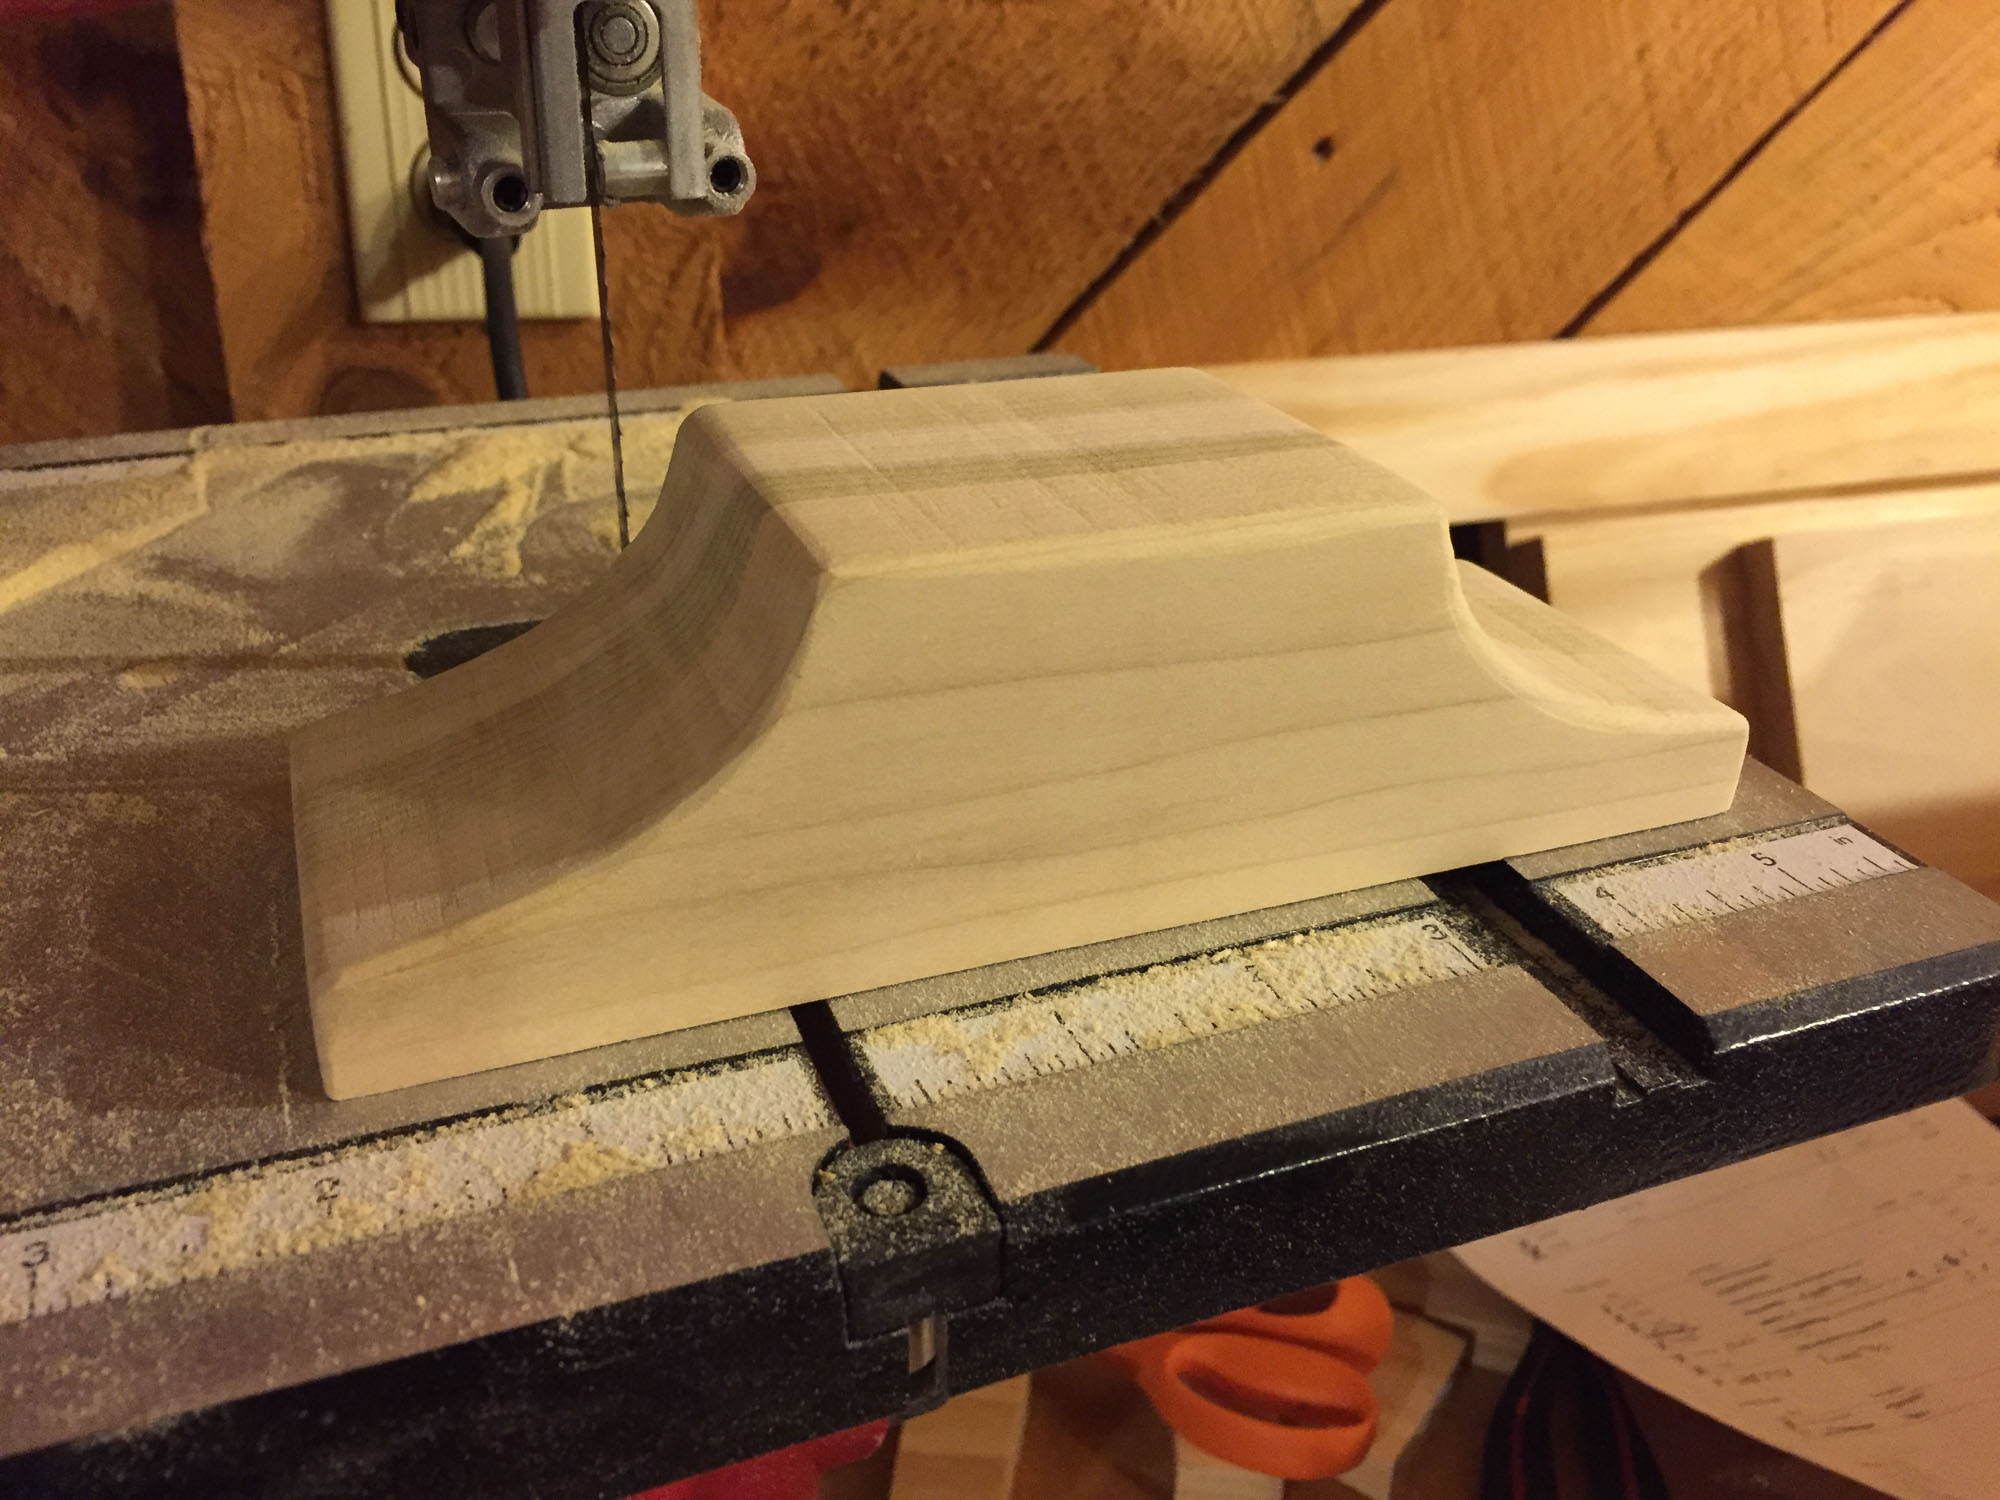
After this, I cut my piano leg toppers (as I’m calling them). They will set atop the front piano legs and support the keyboard tray. I scaled up my original drawing and transferred the design to the turning blanks. They looked like this after the bandsaw:
After this, a lot of things happened that I don’t have photos for, so I’ll post the next photo and attempt to explain each part.
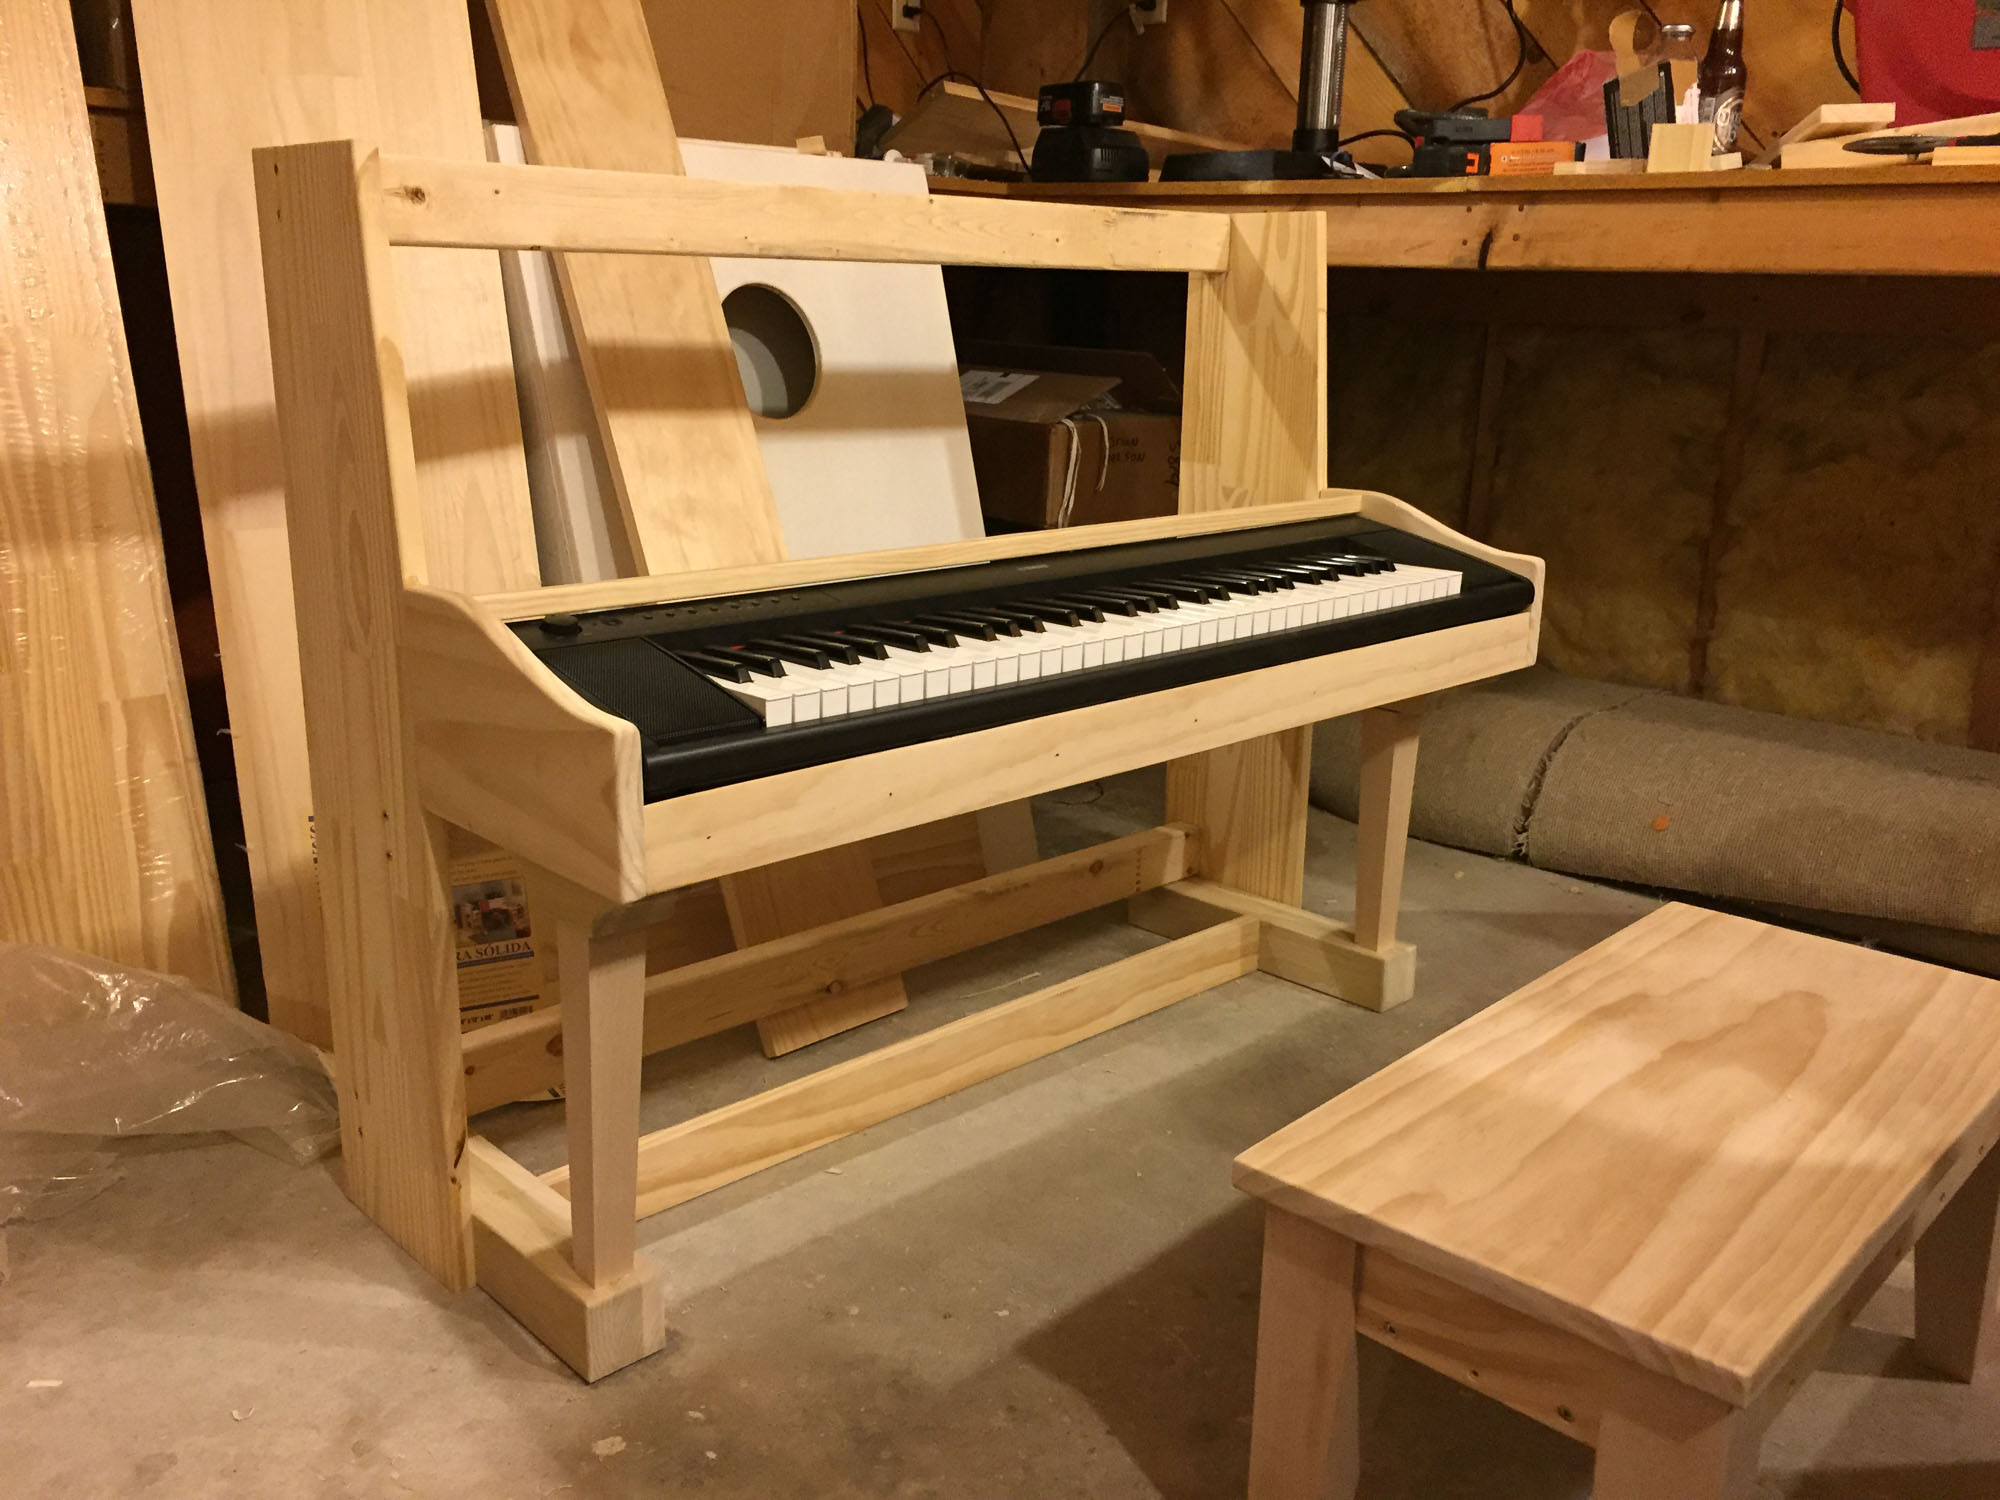
I spanned some 2″×3″ studs across the back of the case (top and bottom) to stabilize things. I also added a piece directly under the keyboard tray (about 3/4” inset from the front edge of the side pieces) to support the tray. I attached those with wood screws from the outside of each side, then concealed the screw heads with wood filler.
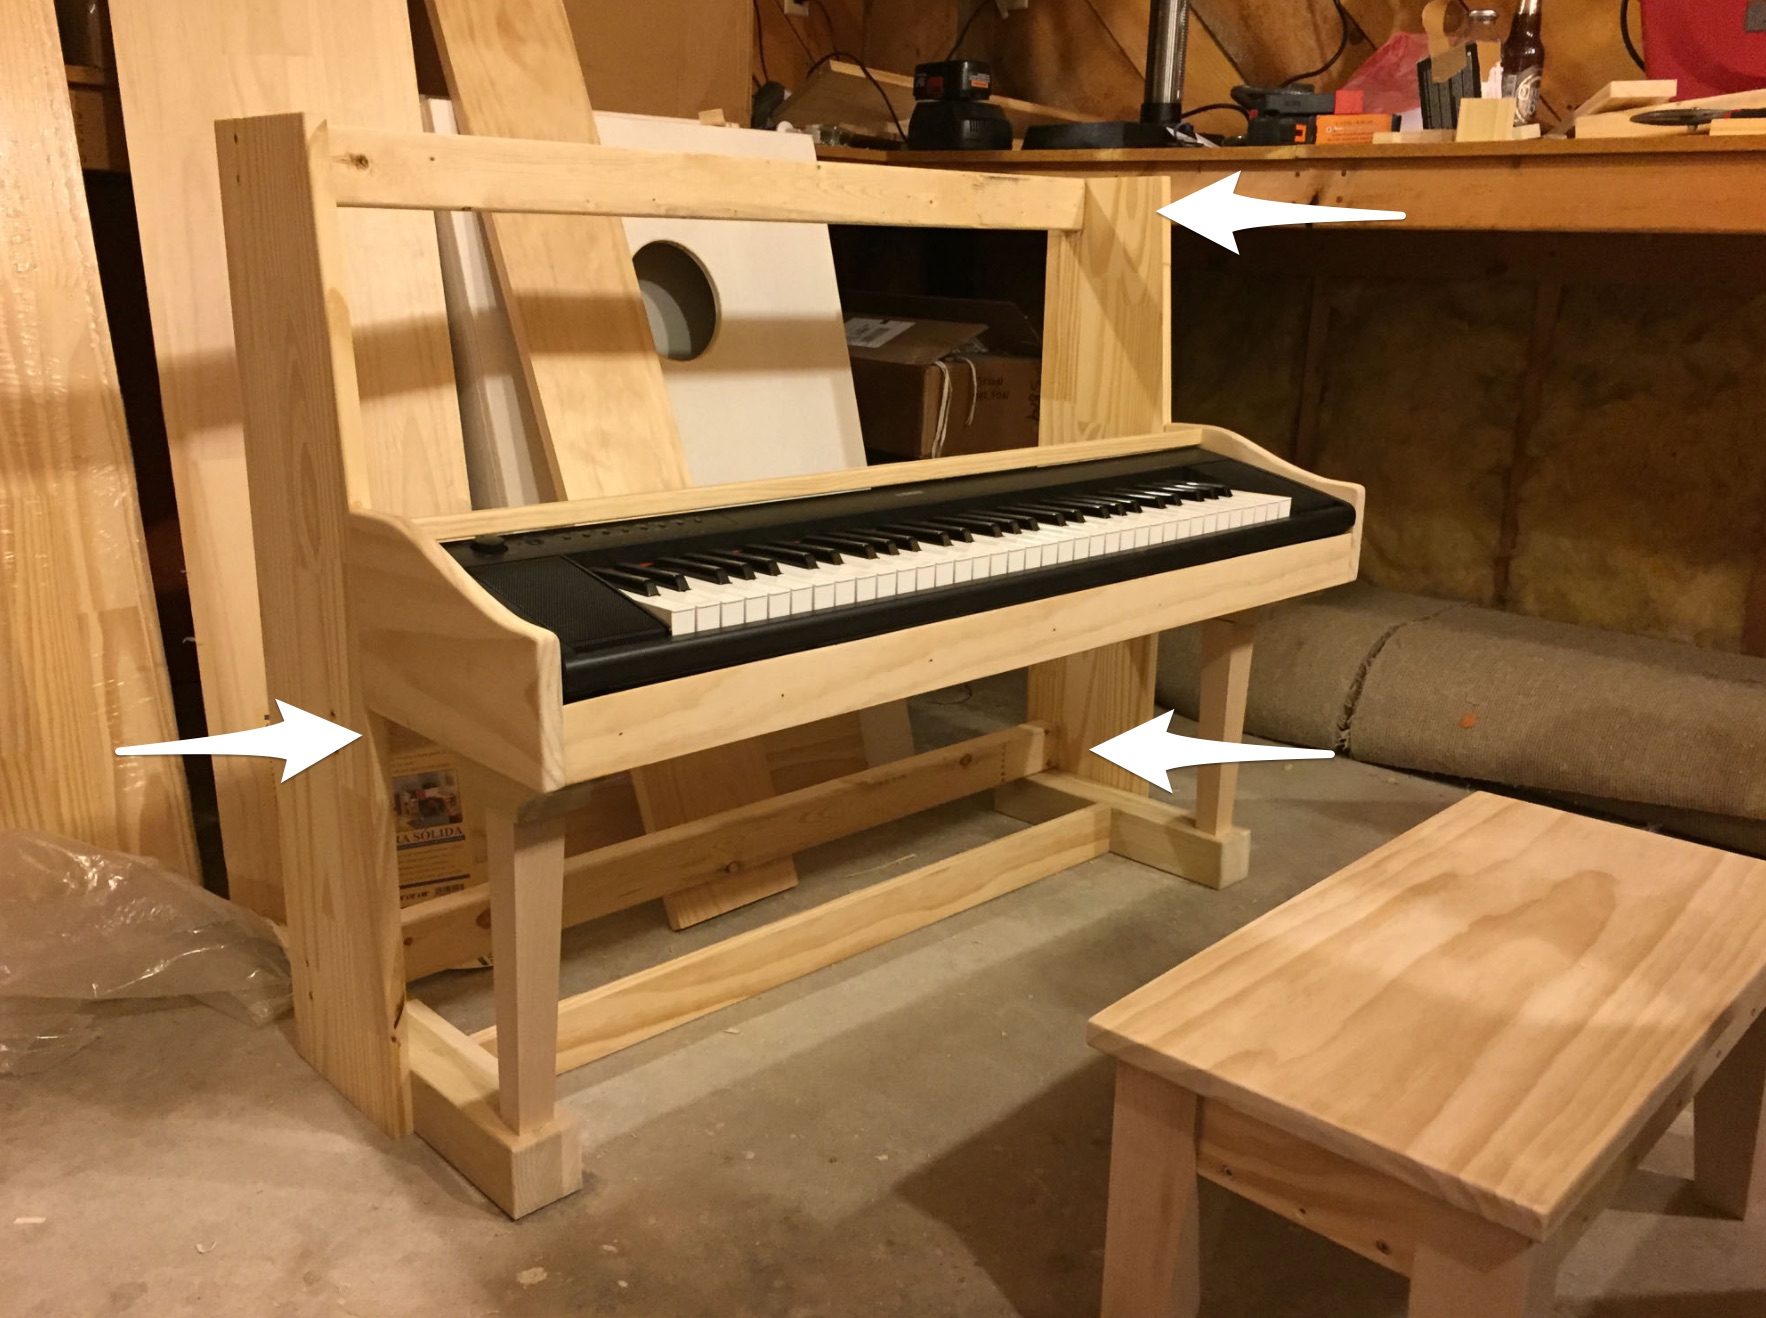
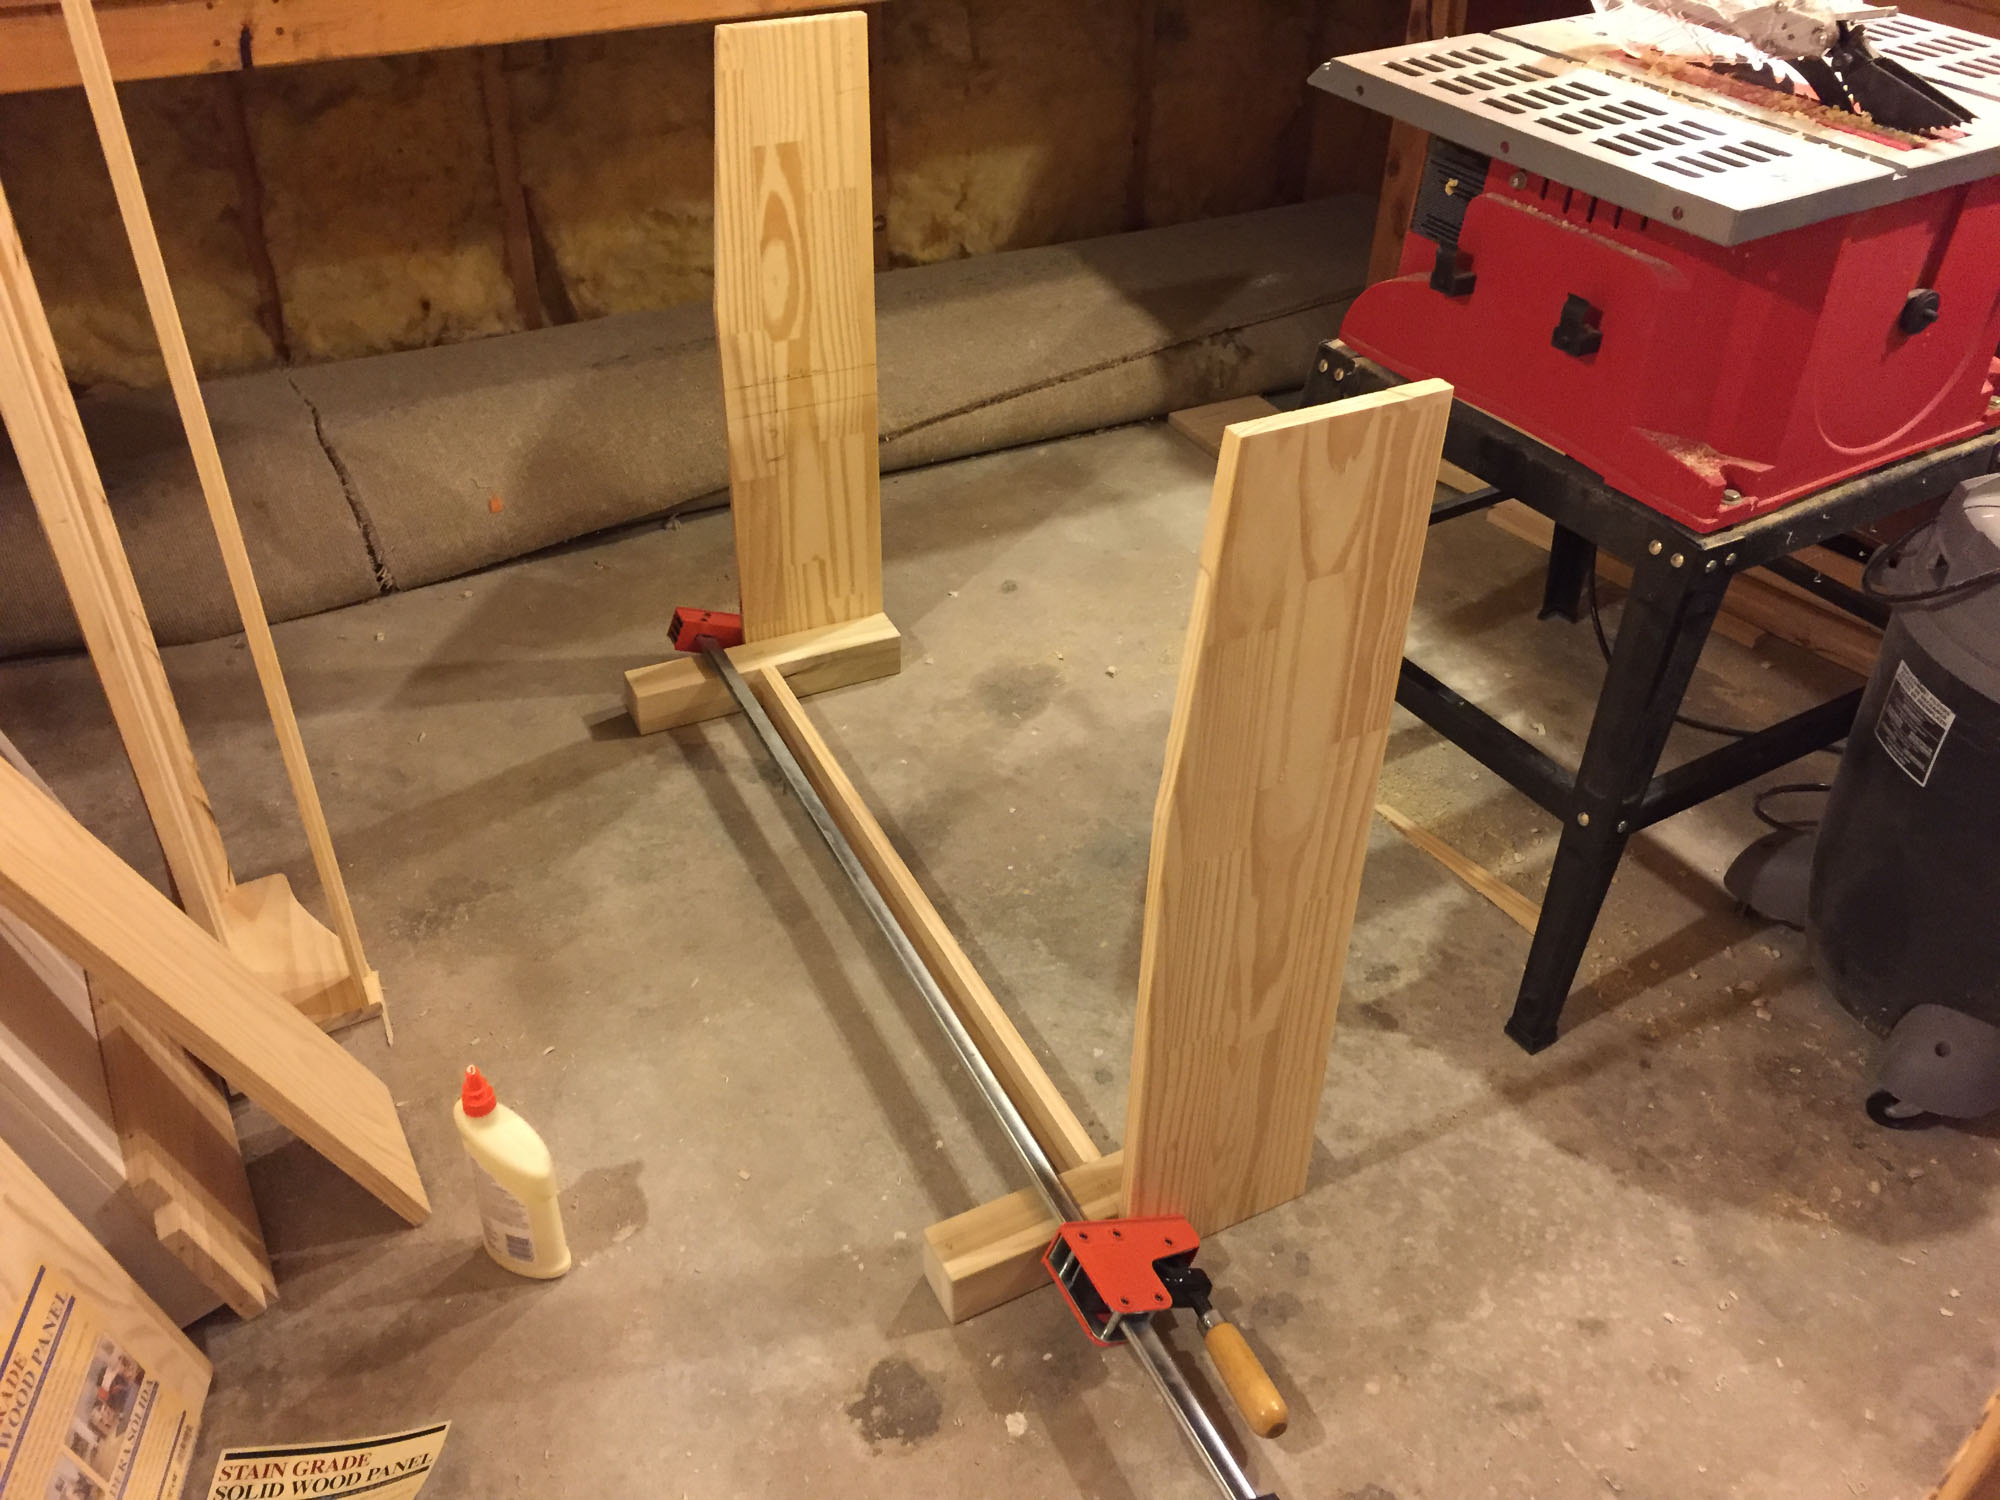
At this point, I attached the leg toppers to the bottom of the keyboard tray (using wood screws from above) and then anchored the keyboard tray to the support I had just installed. Then, making sure the keyboard tray was level from front to back, I measured the distance between the bottom the keyboard tray and the top of the footing.

Finally, I used those measurements to cut the legs to length and attached those with wood glue to the keyboard tray and footings. I also attached the kickplate at that time.
There were three final pieces to cut and attach, but they were all simple, straight cuts. The front of the piano (where the music rests), and the bottom (above the kickplate) were both cut from edge-glued panels. The top was cut from a 1″×8″×4′ piece.
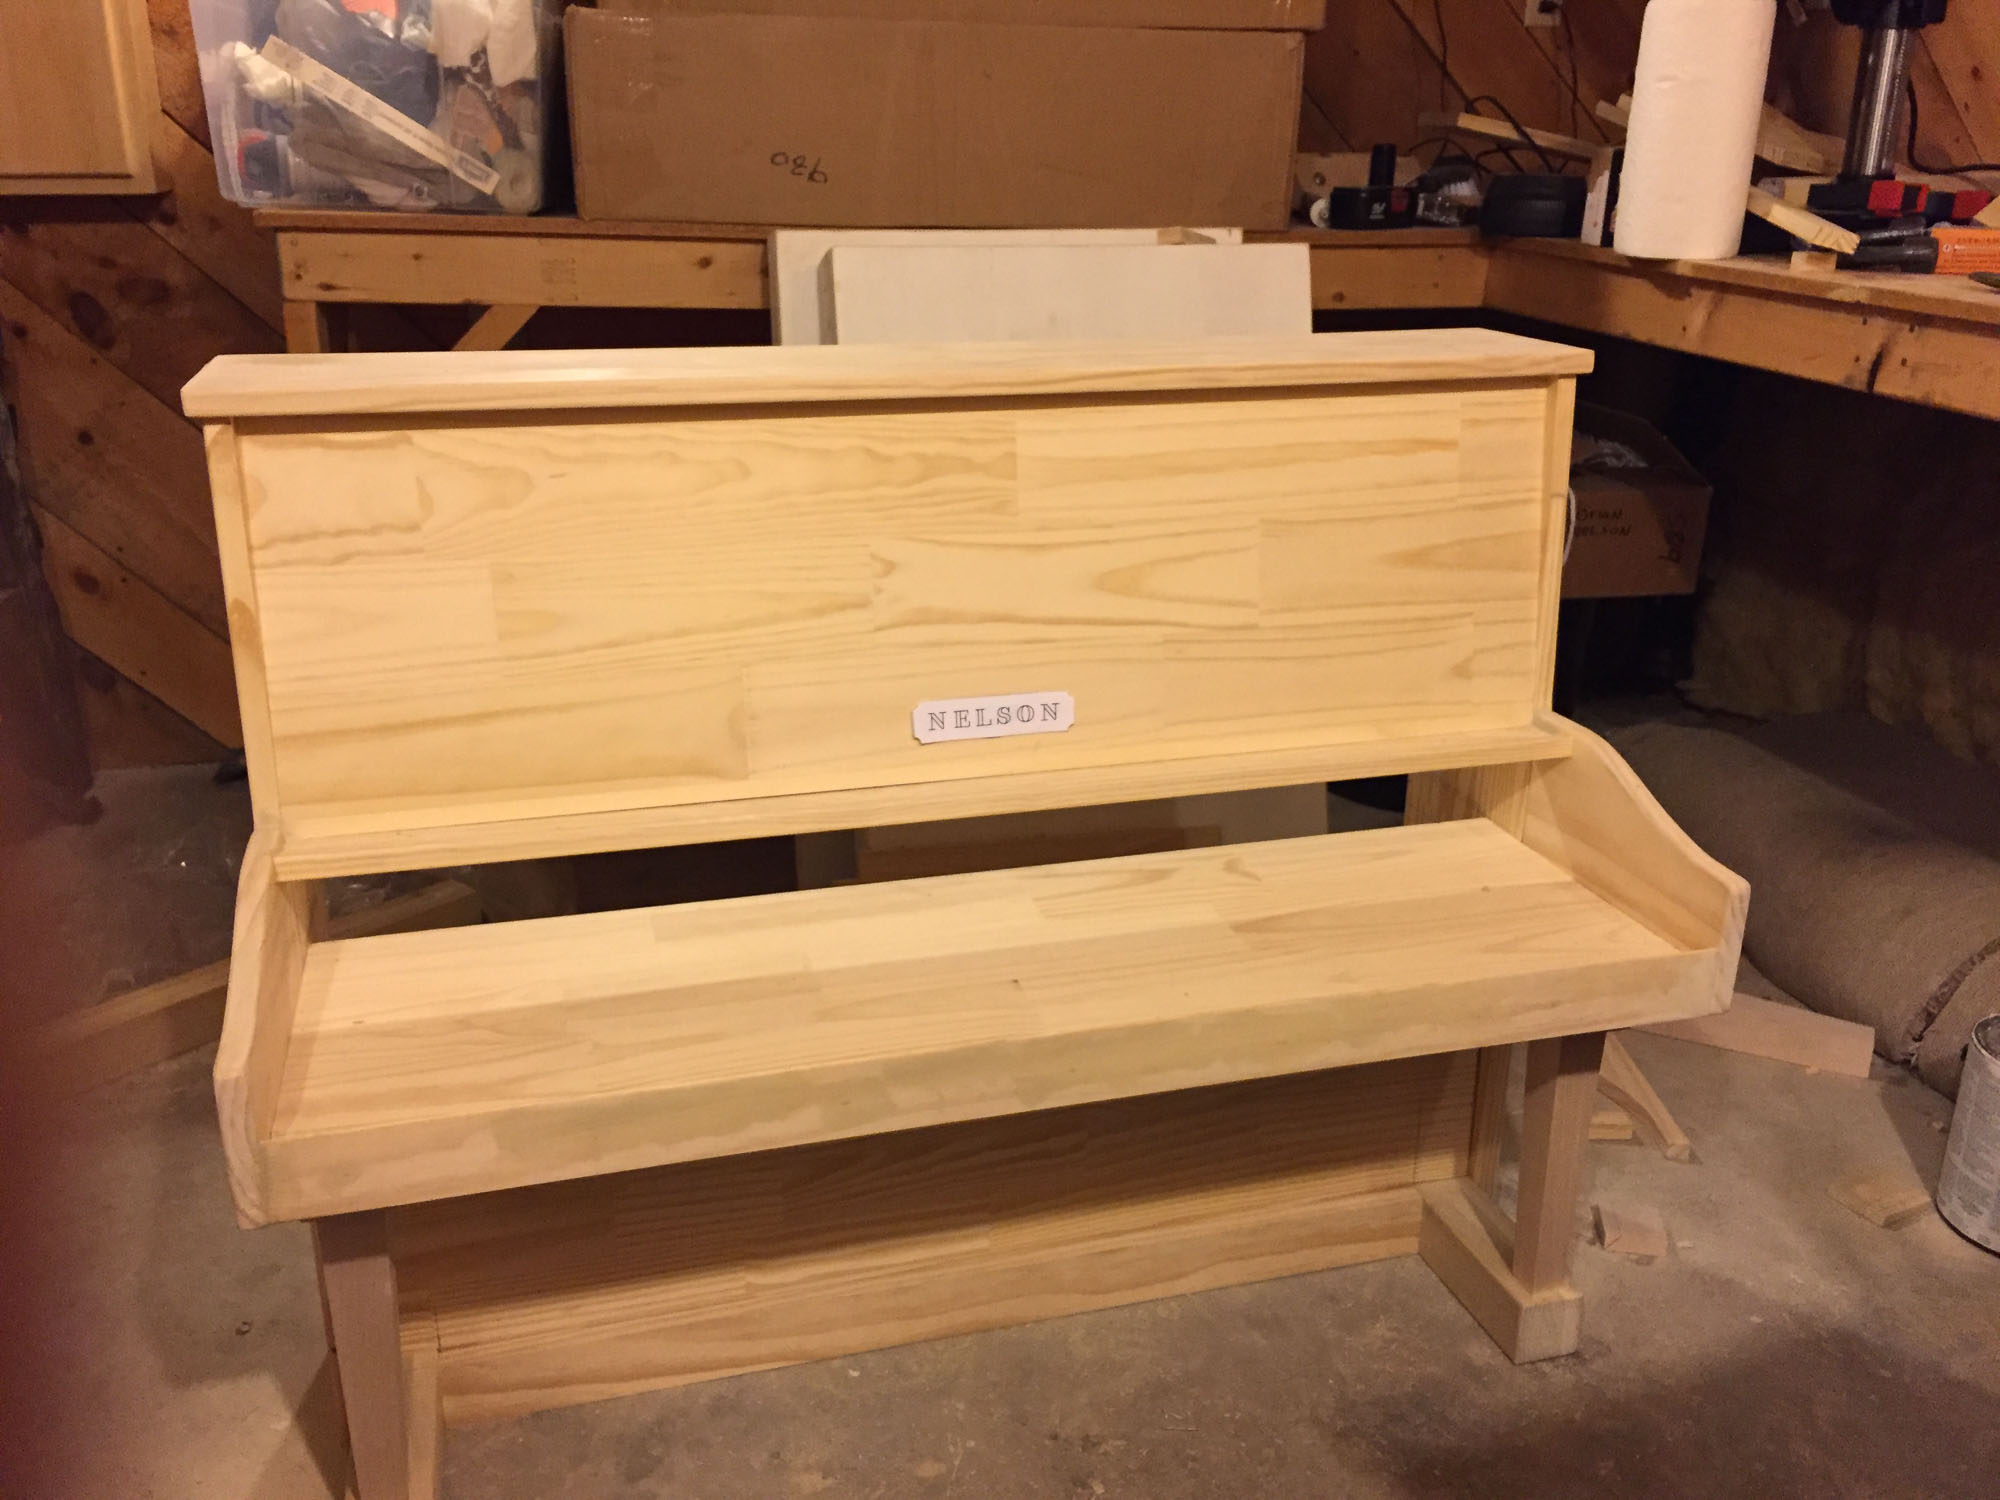
These were all permanently attached with wood screws.
Finishing Up
The final step on this project was the painting, which was actually quite simple (compared to previous stain projects). A good sanding before and then a few coats of black gloss paint was all that was needed. I probably should have wet sanded in between, and thinned the paint a bit to achieve a mirror smooth gloss finish (like on a real piano), but I ran out of time before Christmas, so here we are.
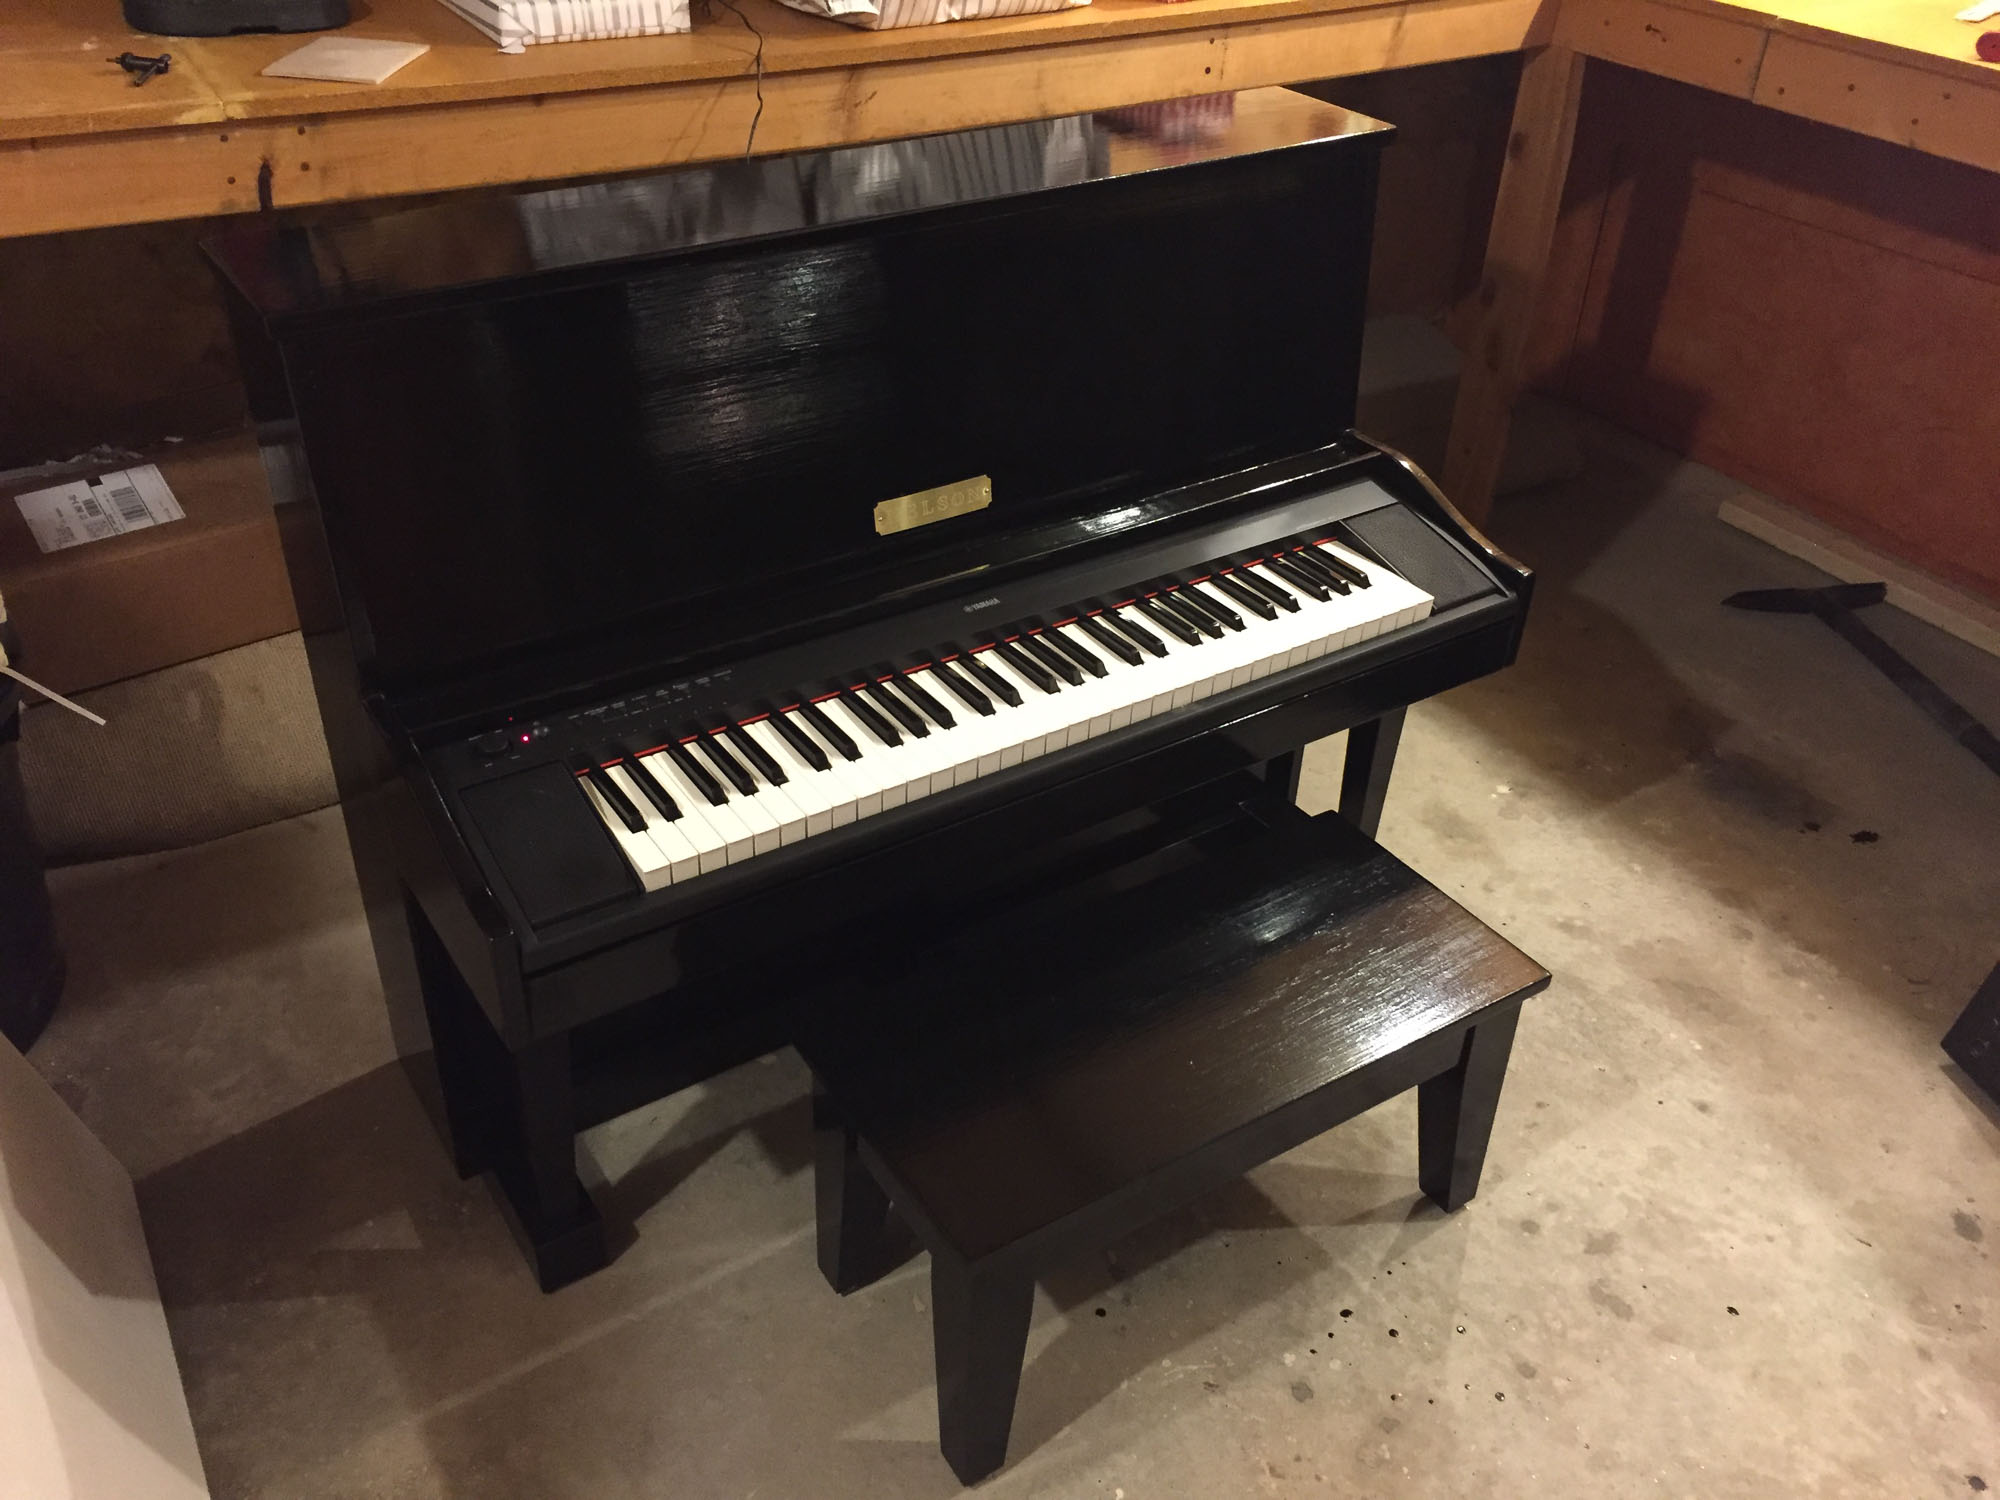
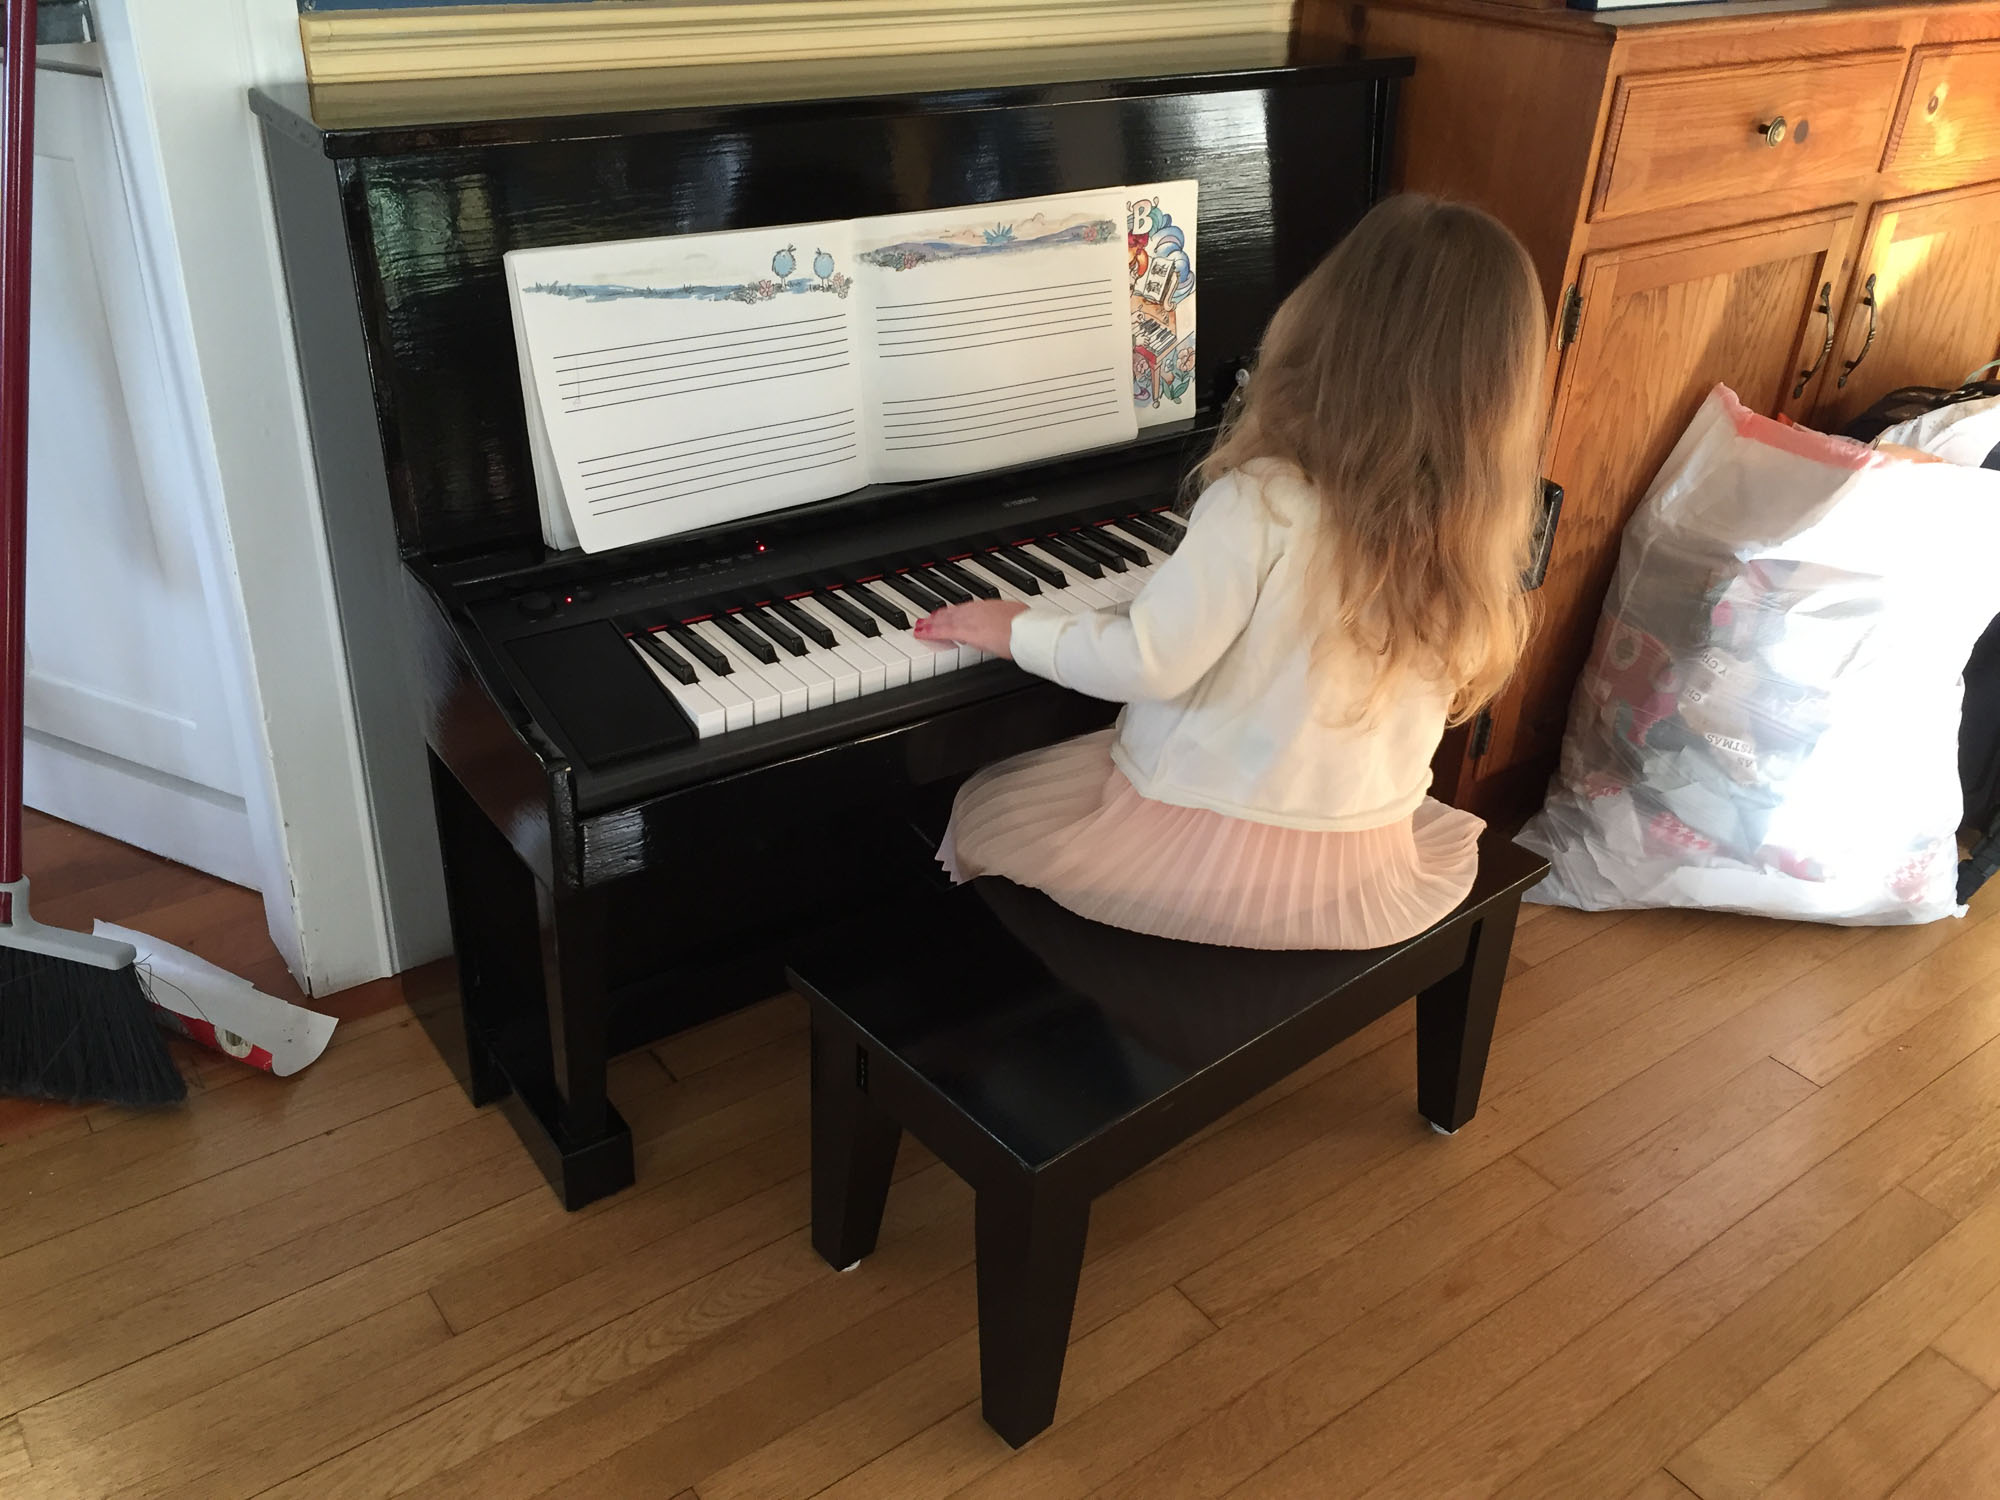
Avery loved unwrapping the piano, and as you can see, she is so talented she doesn’t even need music with notes! (Please excuse the bag of garabge—it is wrapping paper from Christmas presents.)