This is the 2nd part of a multi-part series. View the rest:
- Part 1: Plans and Materials
- Part 2: The Piano Bench
- Part 3: The Piano
So… it’s been a minute. Mainly due to life, I haven’t had a chance (until now) to finish this series of posts about the toddler piano. But I’m going to do my best to remember how it all went down and show the finished product.
Nice Legs
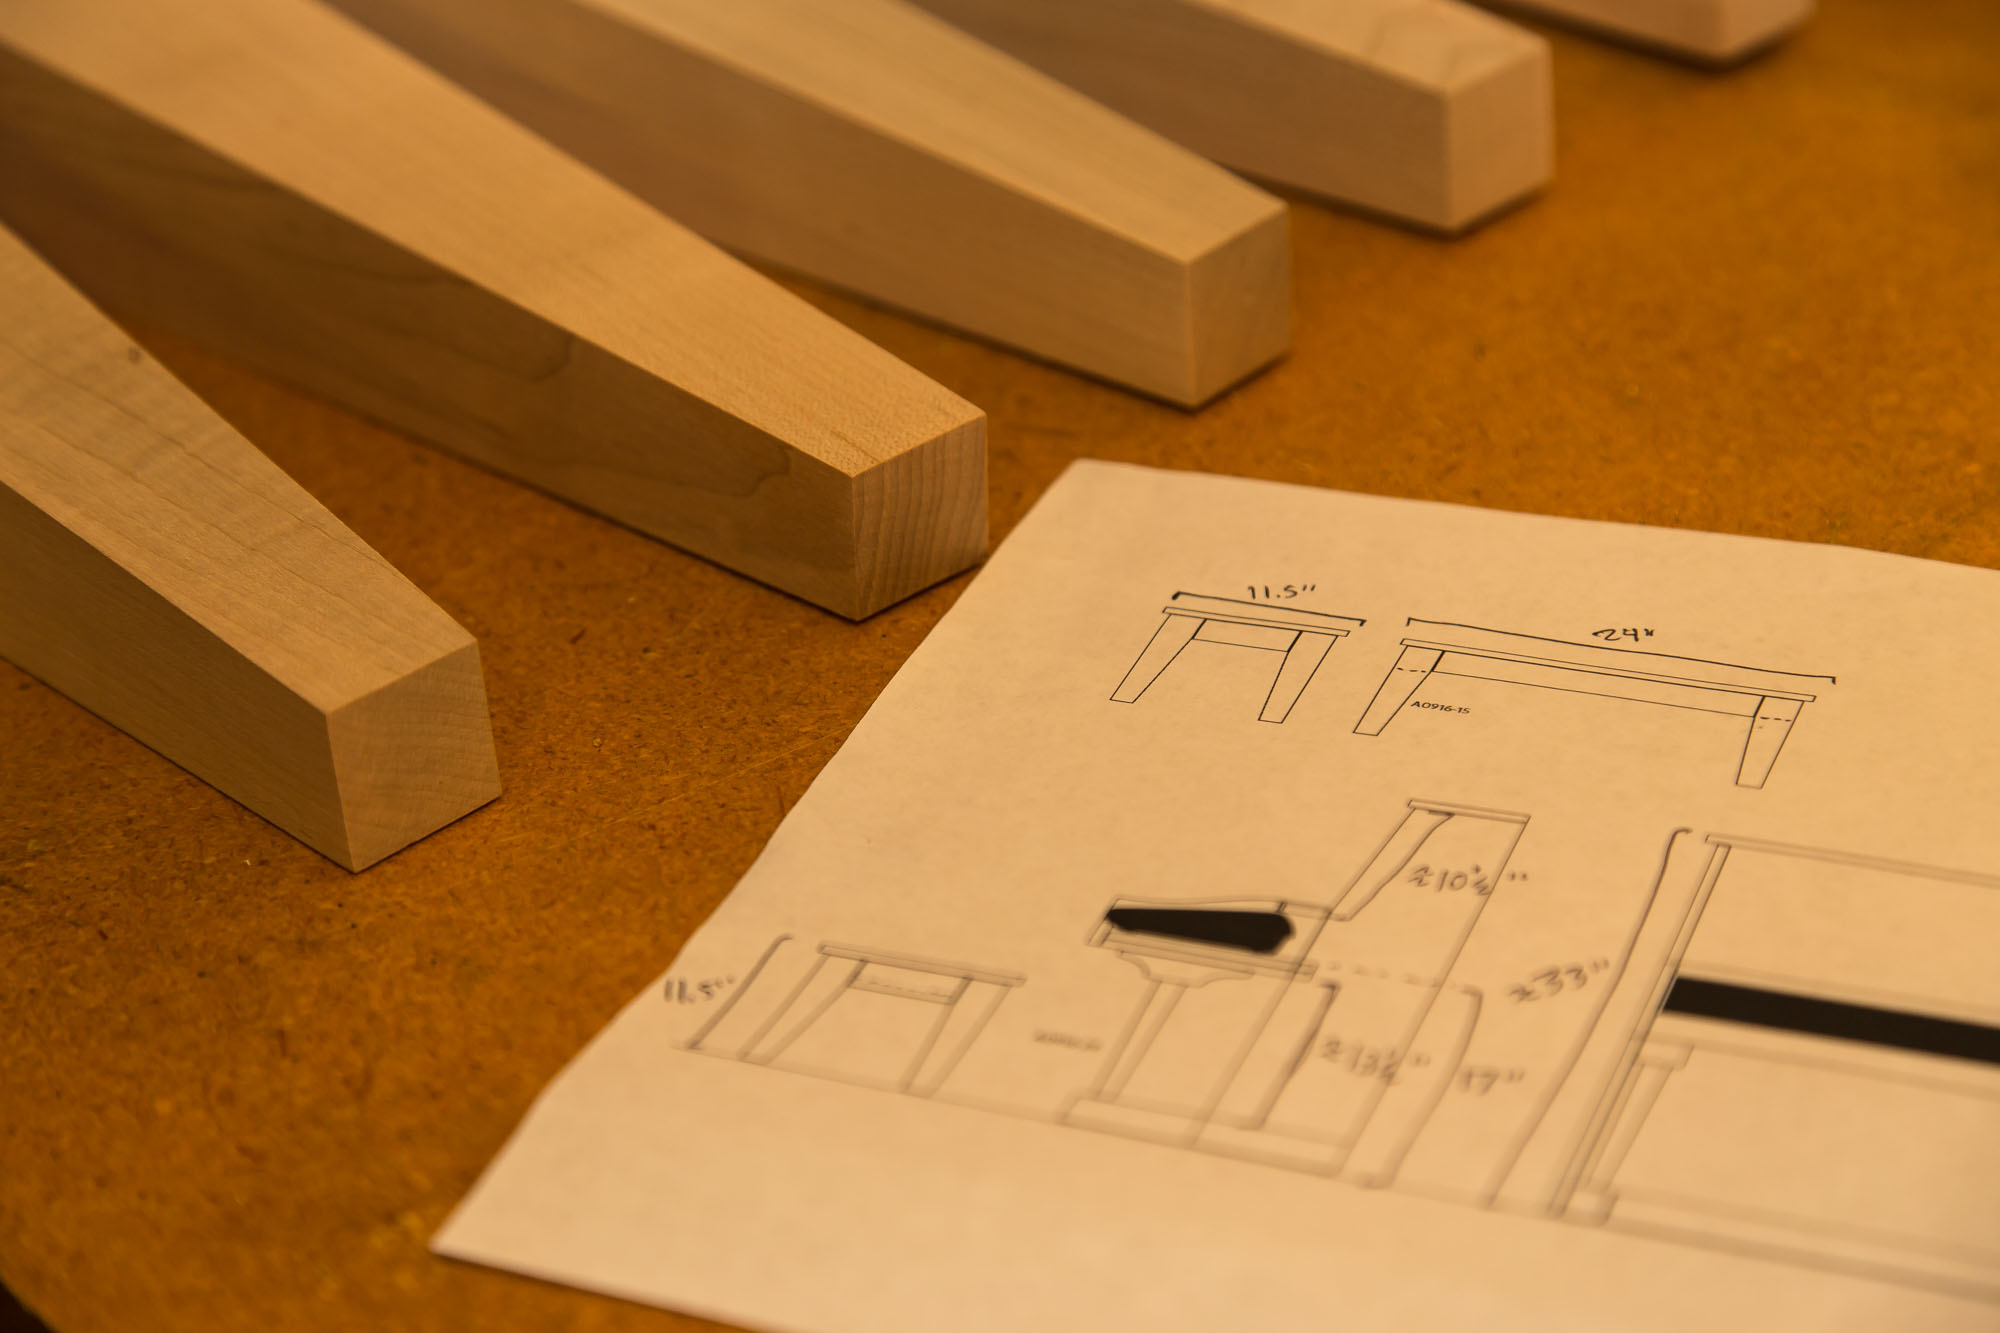
As I mentioned in Part 1, I ordered the legs from Adams Wood Products in soft maple. Since I’ll be painting the entire bench and piano case, I didn’t need anything more expensive than that.
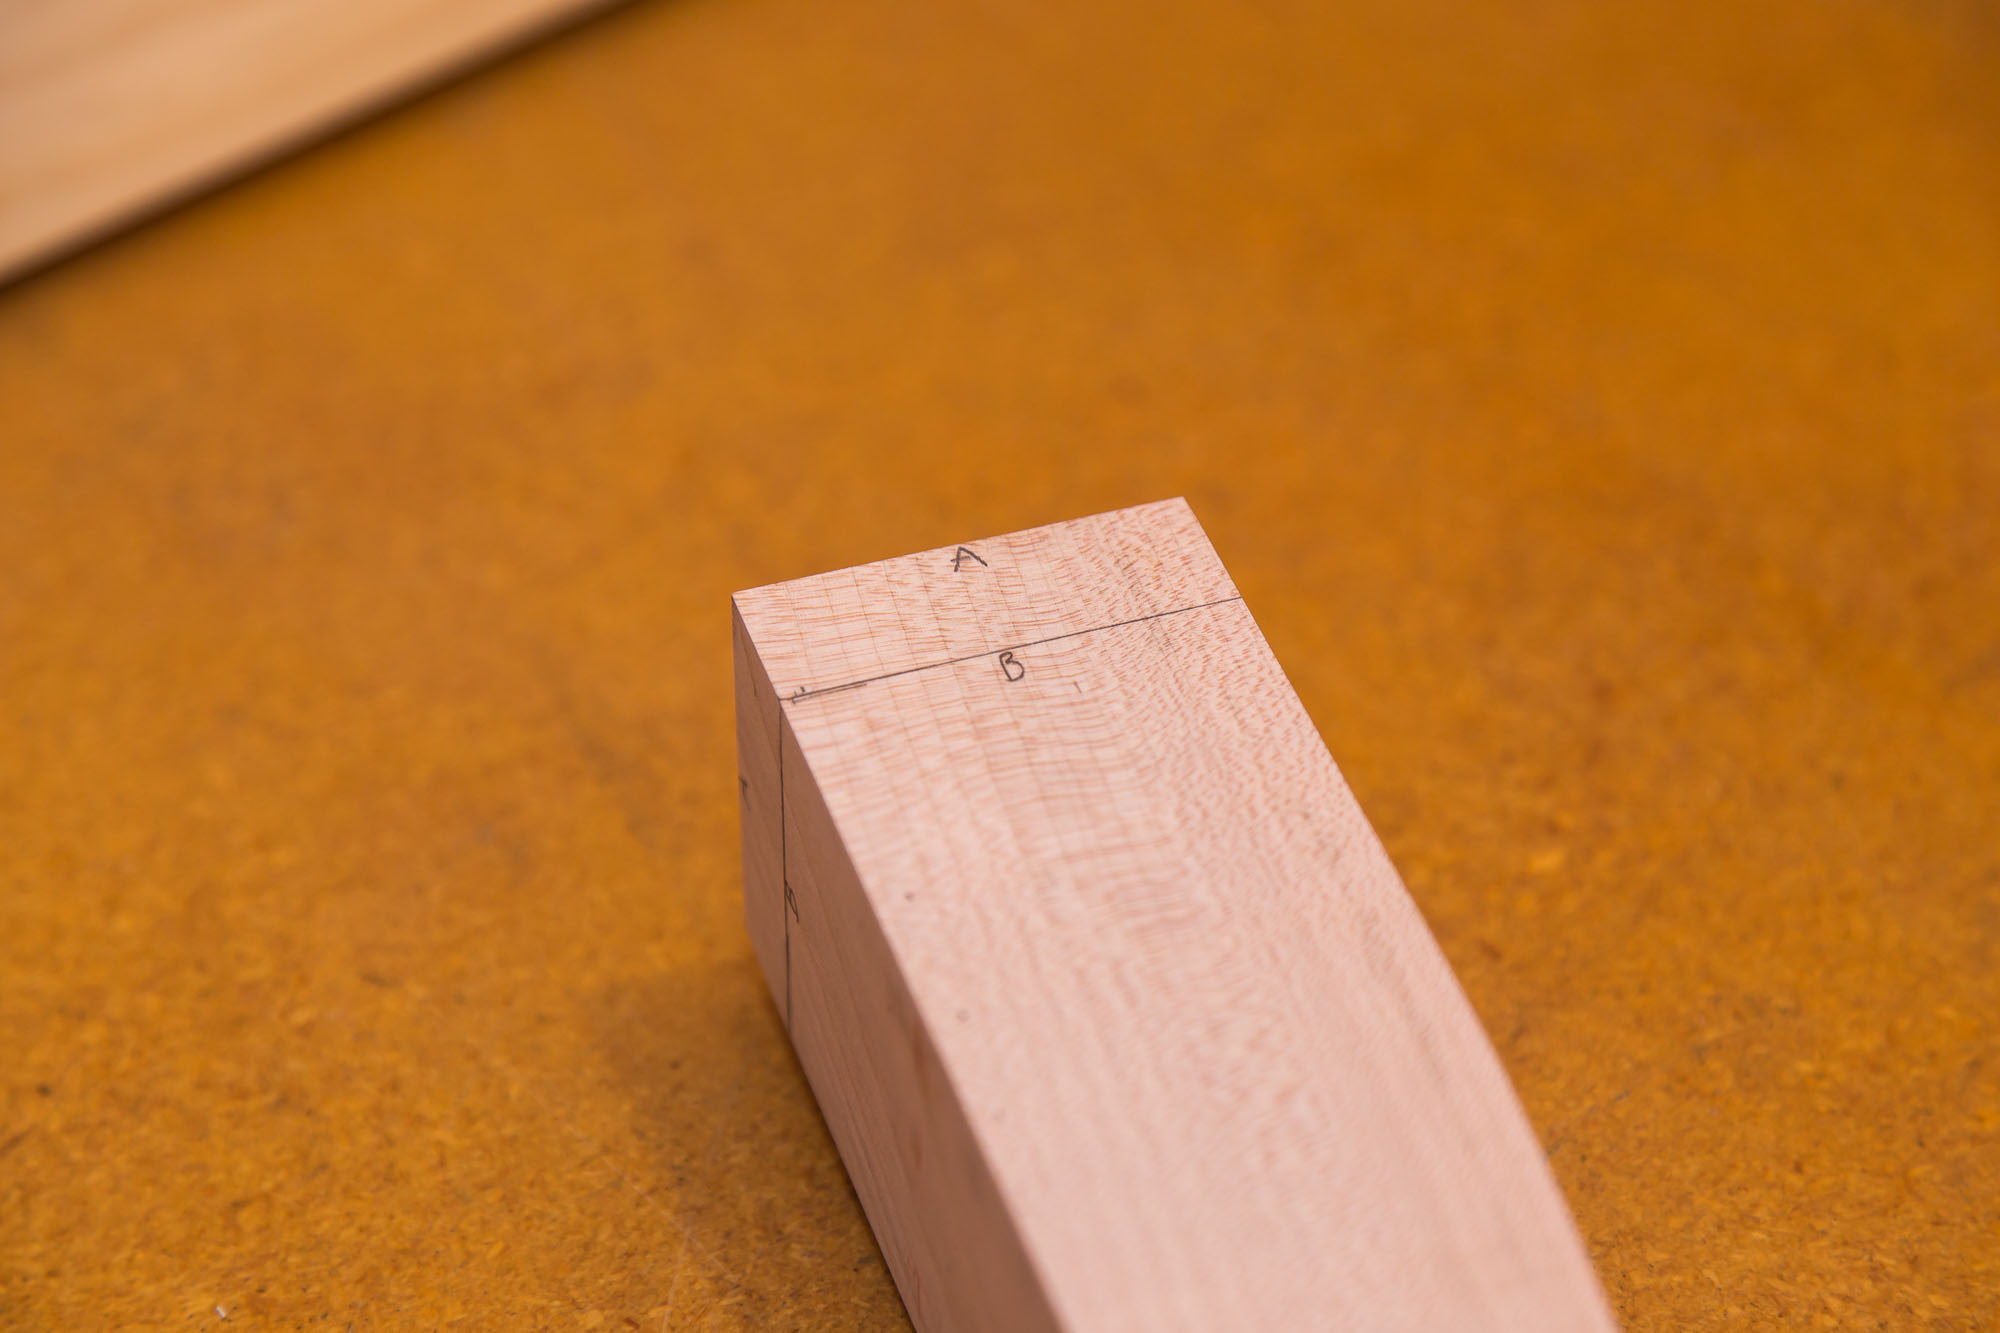
My first order of business was to cut these legs down to a height that would work for a child’s piano bench. That ended up being 10.75 inches.
Bench Top and Apron
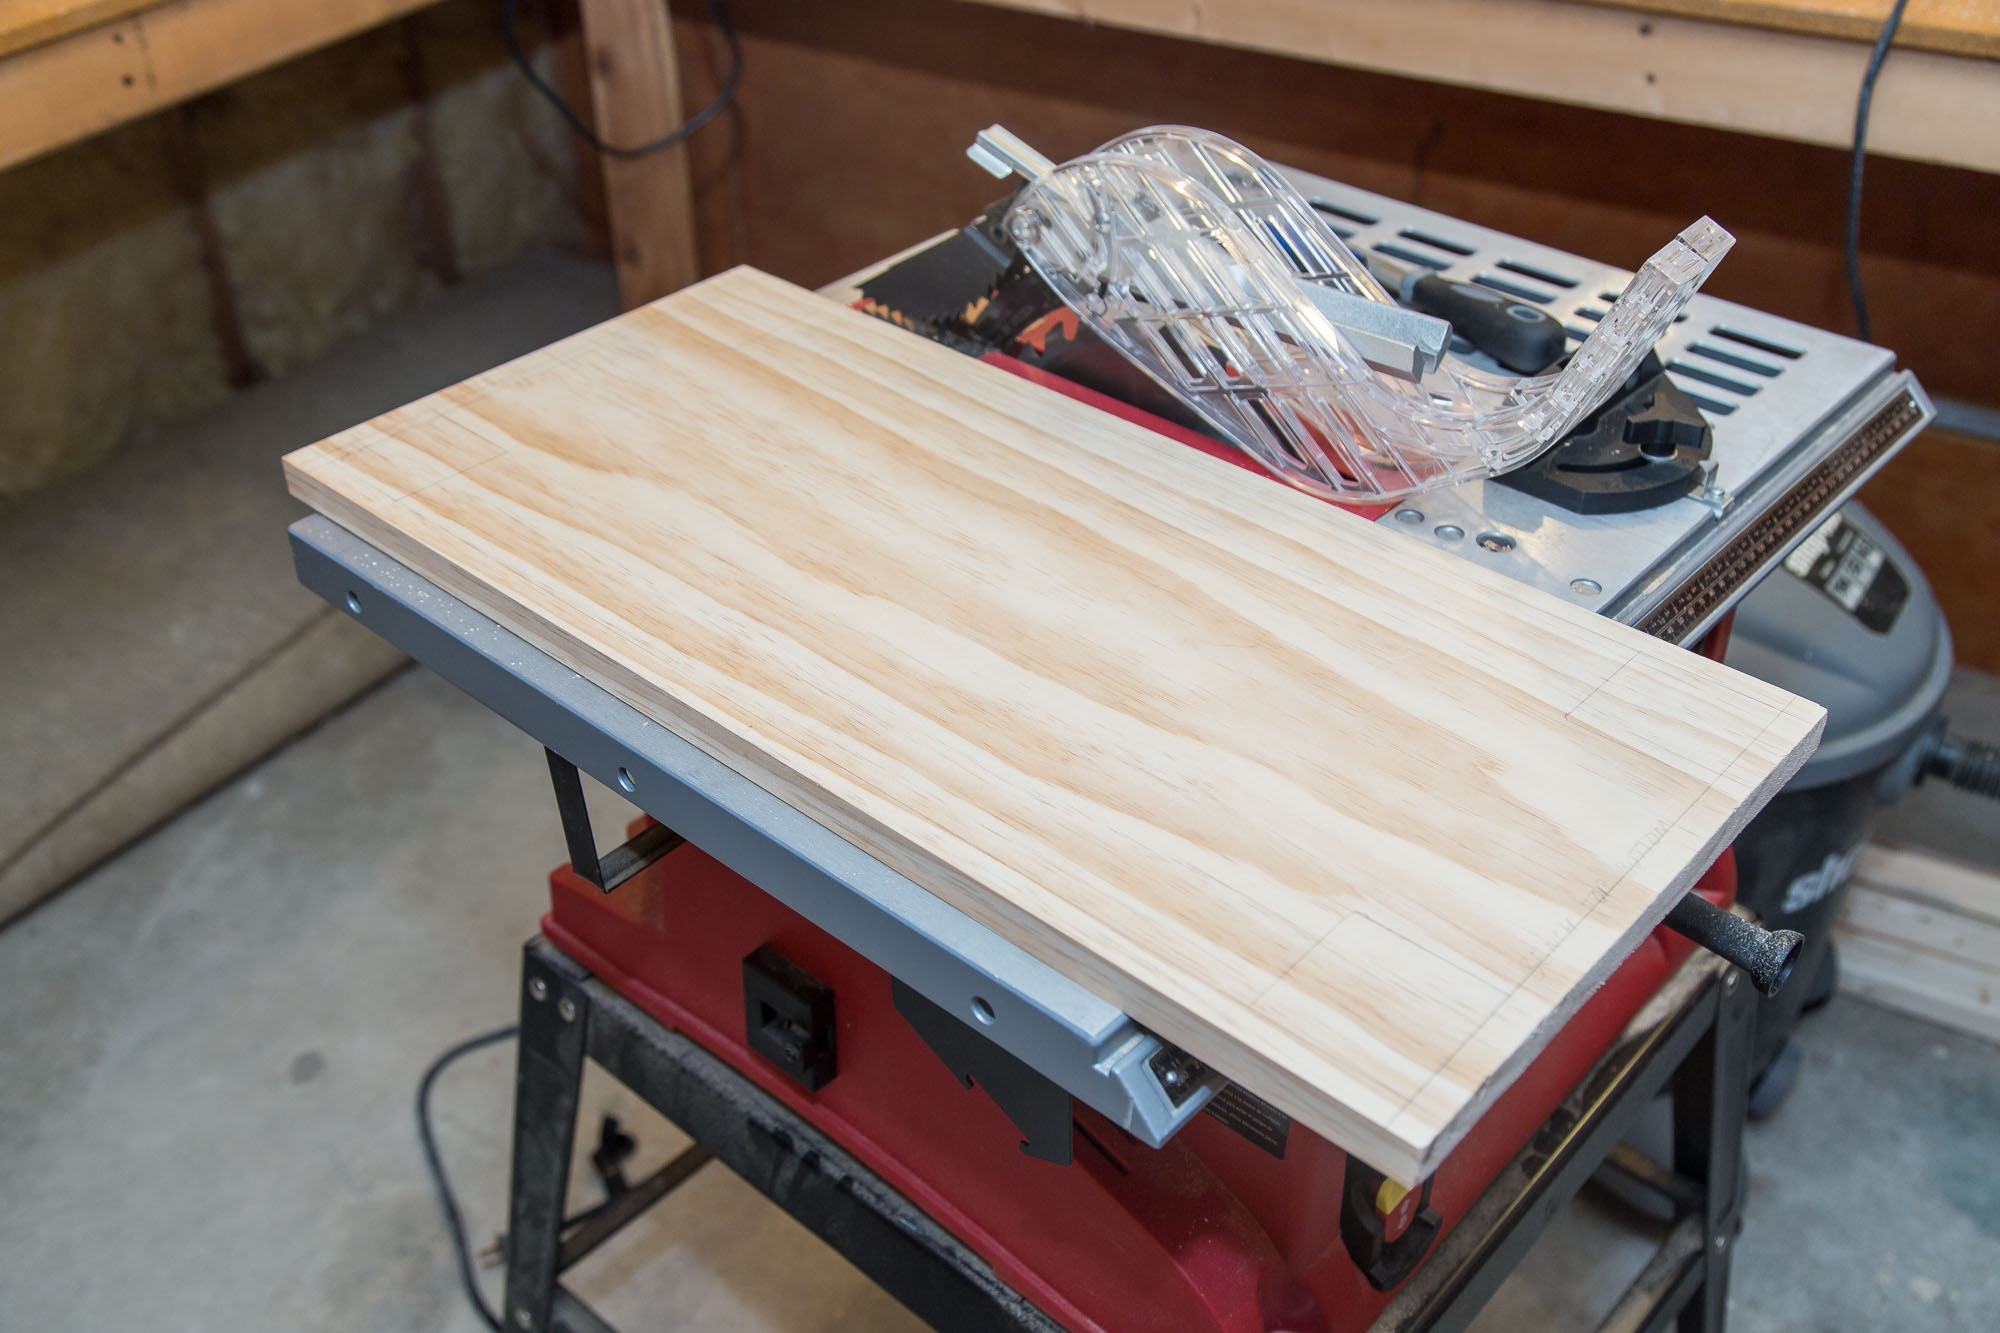
The bench top (the seat) was a super simple crosscut on the 1″×12″. I didn’t do anything else besides cut it to length.
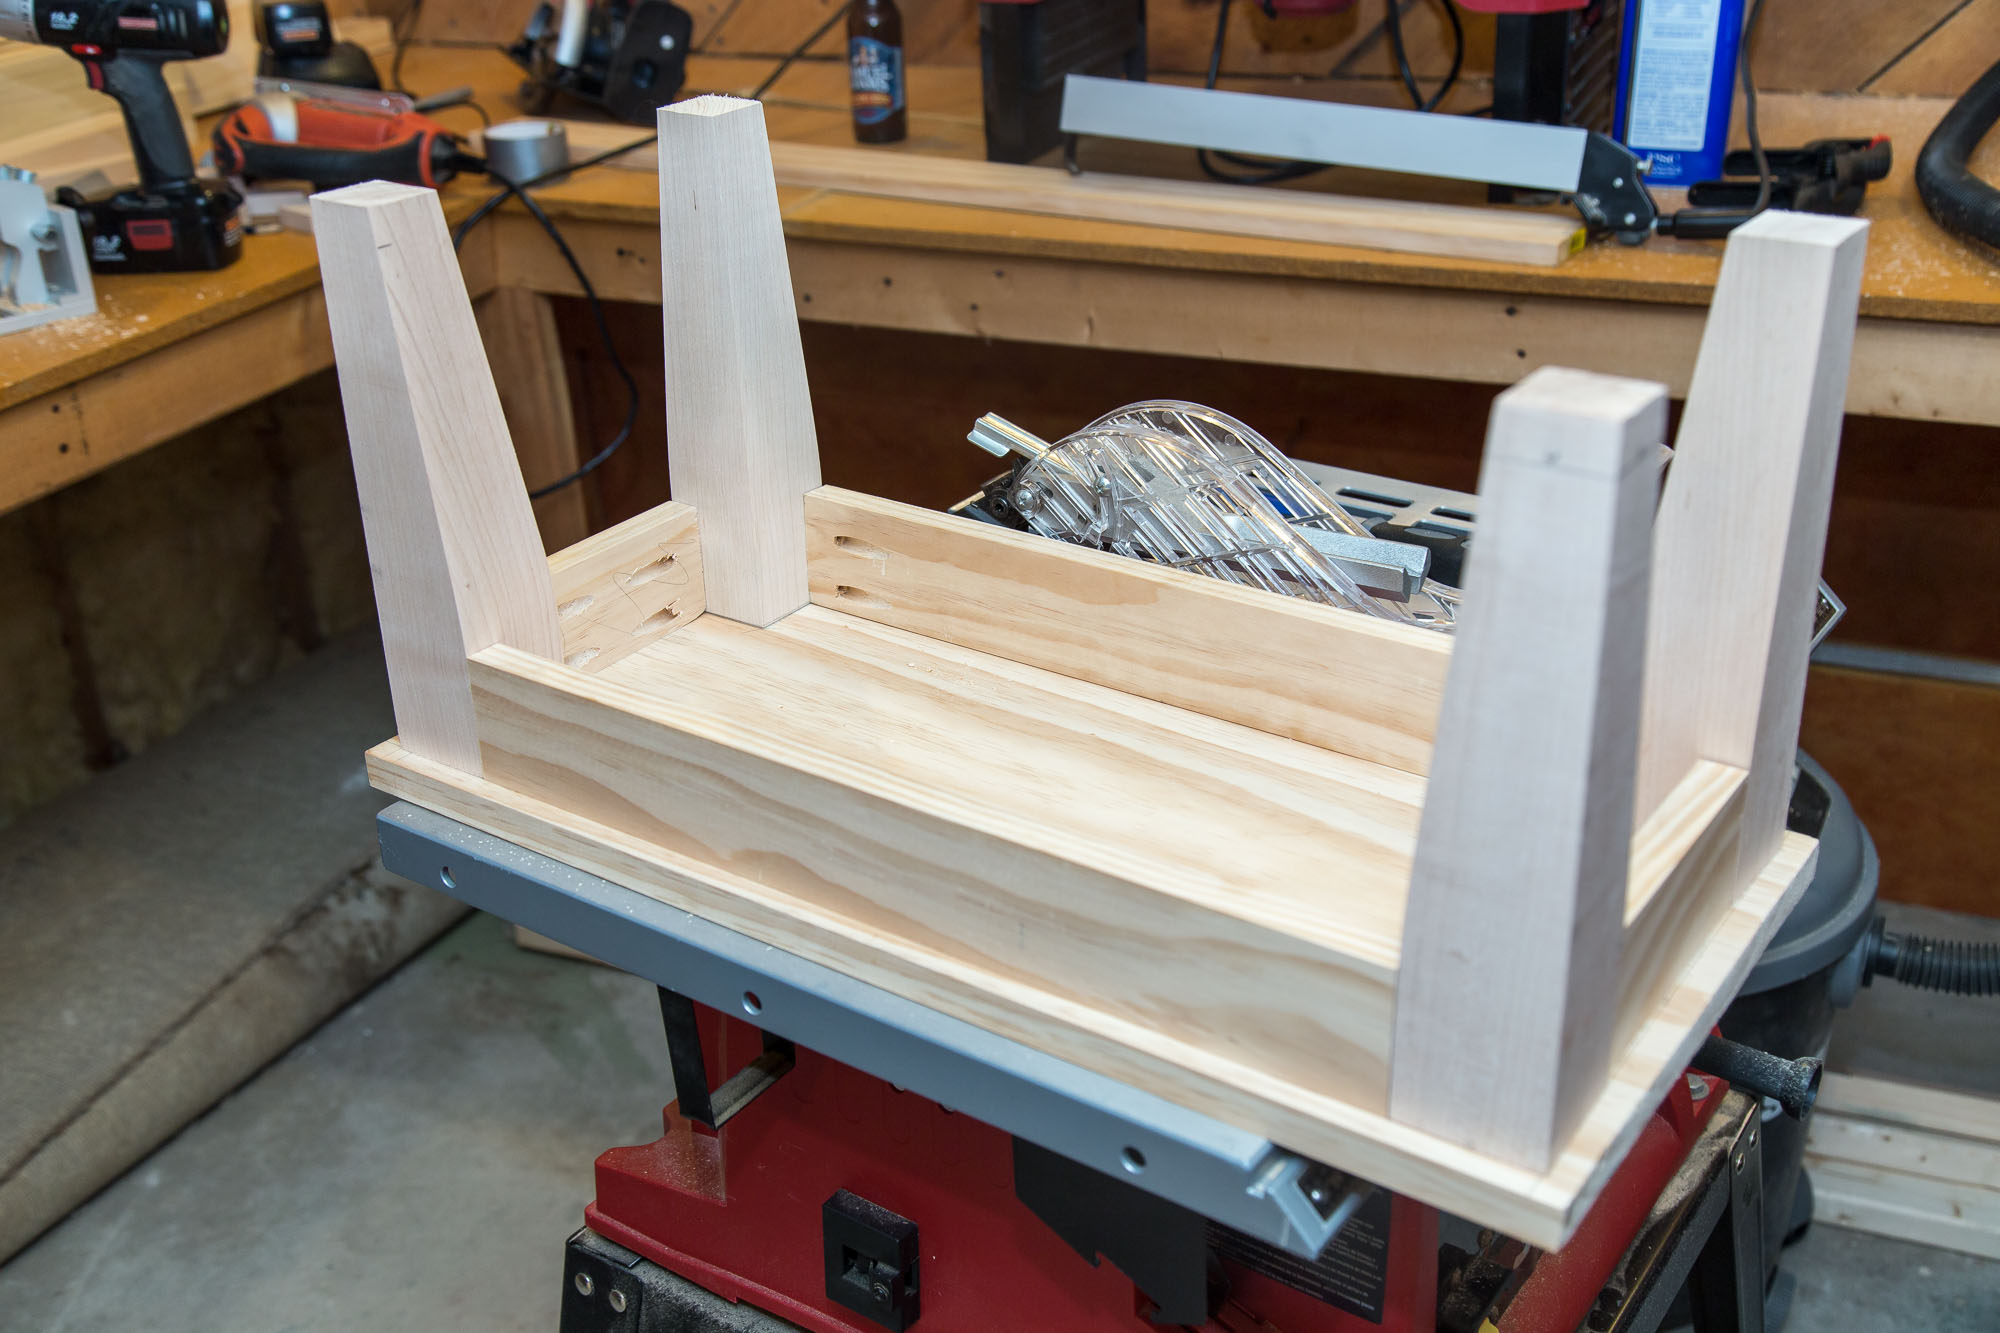
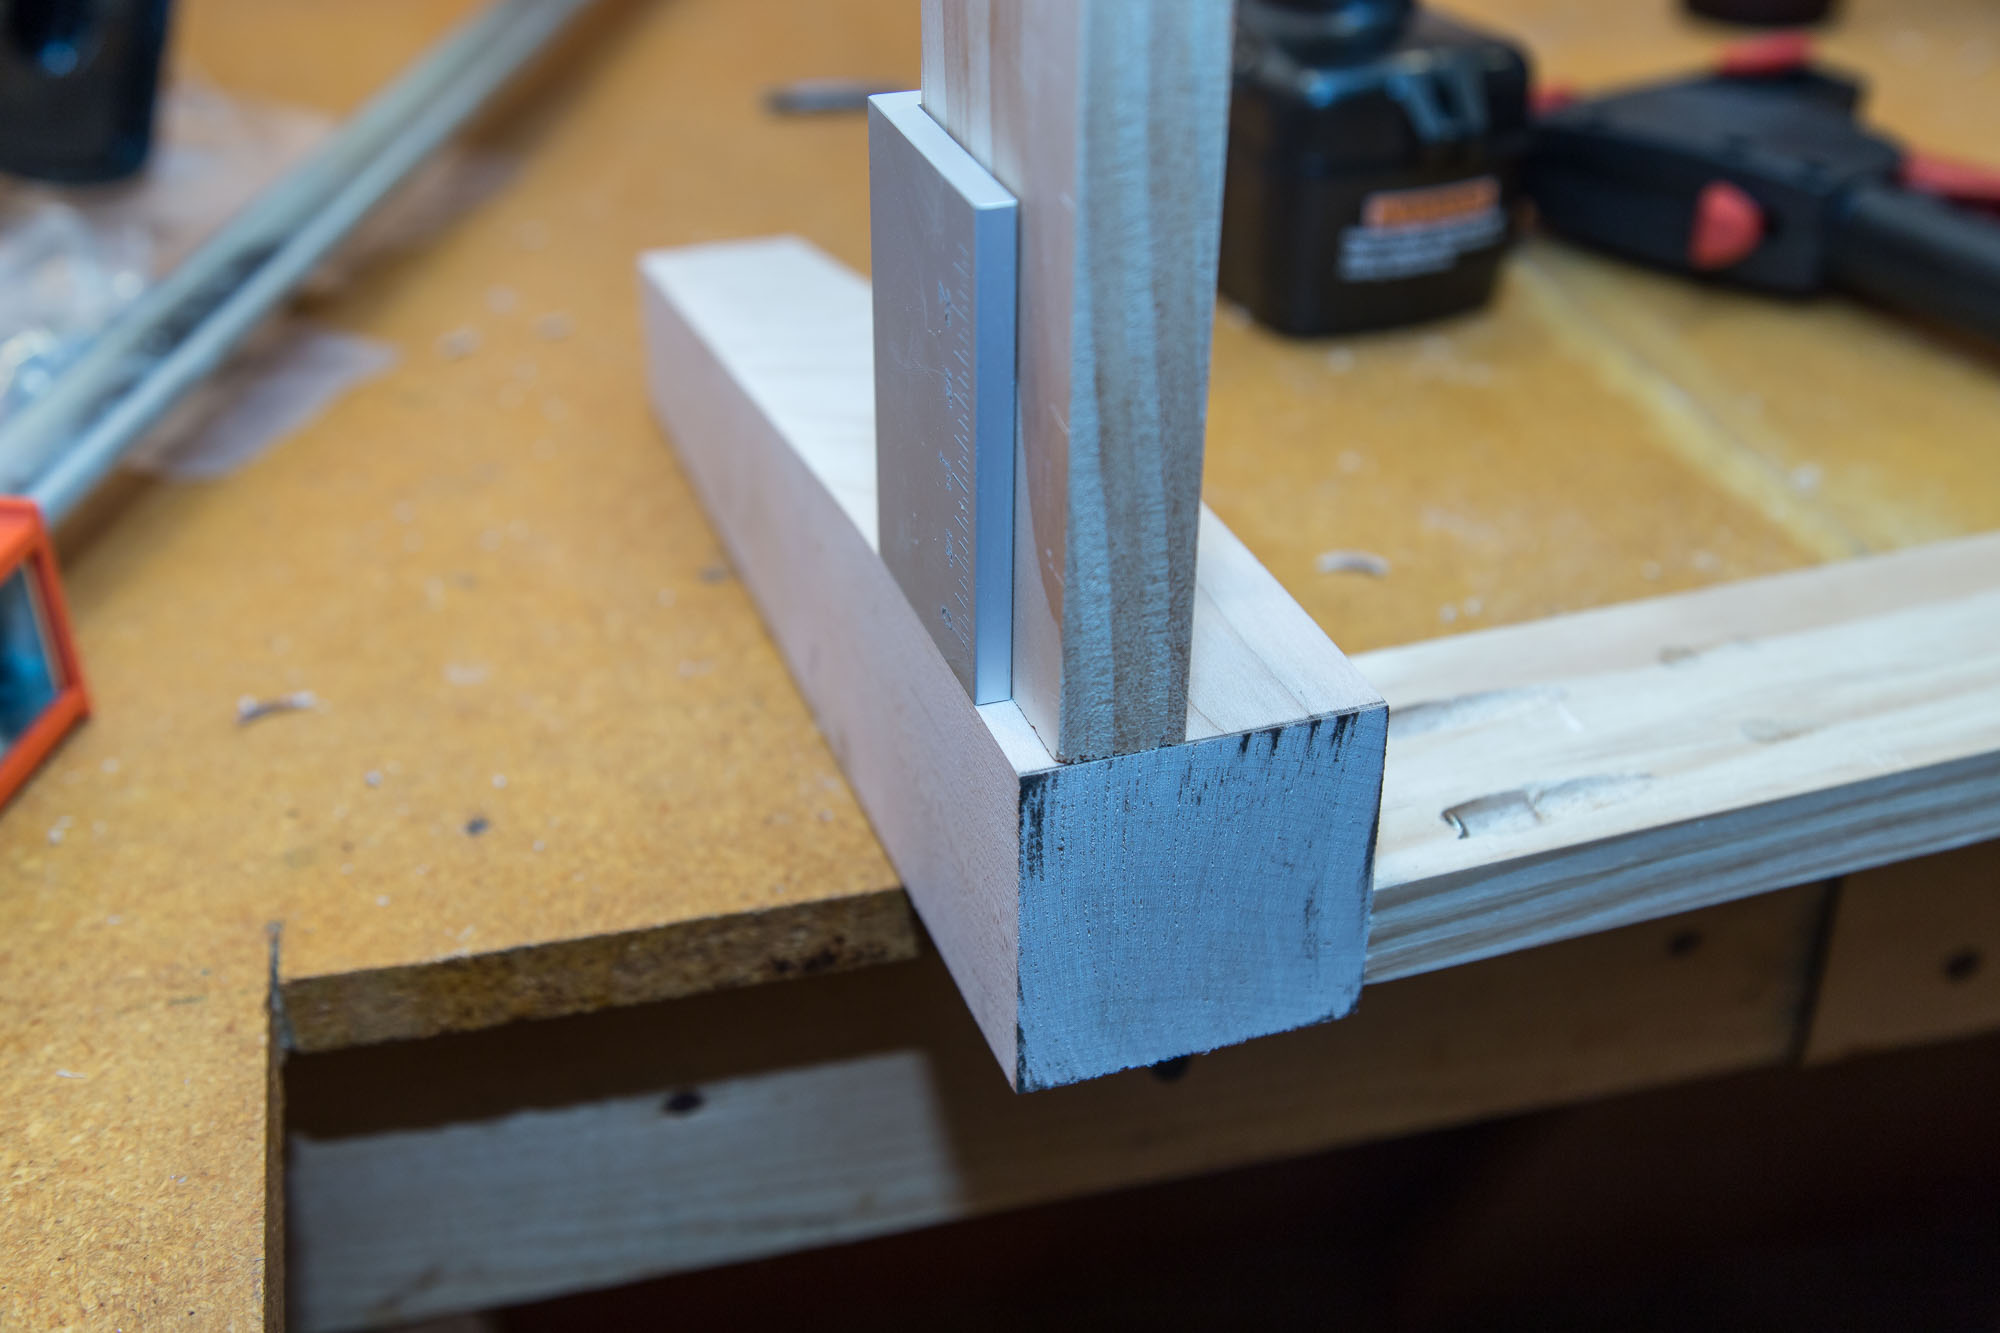
The apron pieces were cut out of 1″×3″×2′ pine. I determined the length of these by standing up the legs at the four corners of the bench top (inset by a half inch on all sides) and tracing around those. This would mark the final position of the legs. You can see the markings if you look closely at the photo above.
Then, I moved the legs and laid the 1″×3″ on the bench top so I could mark off how long my apron pieces needed to be.
I ended up with:
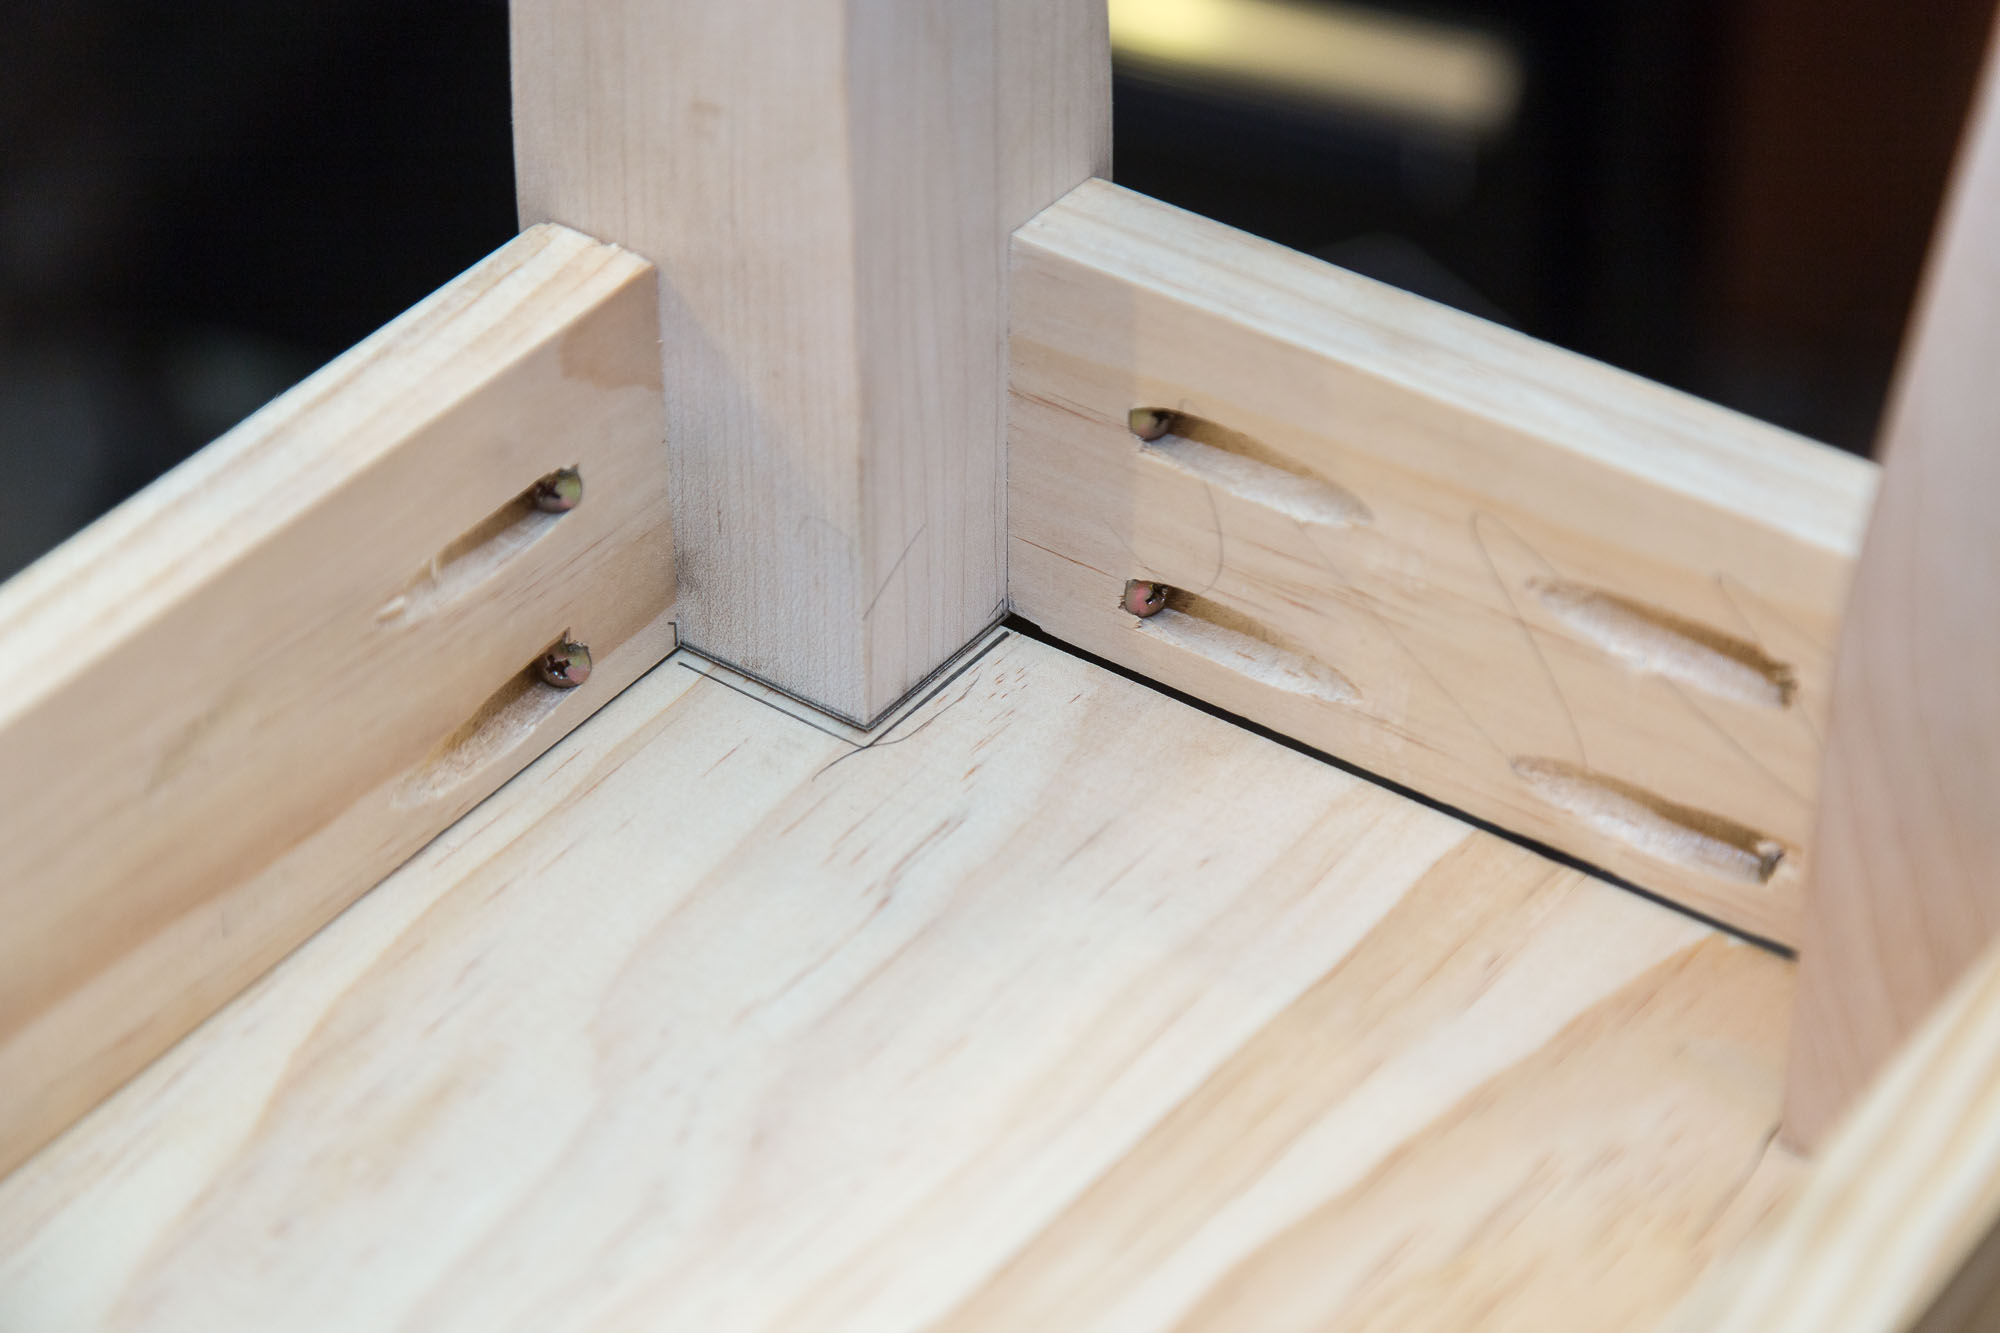
I finished the apron pieces by drilling some pocket holes, which is how I would be attaching the apron to the legs.
I used a metal plate to create a consistent inset for the apron while I attached it. Because of the small size of the bench, I ended up having to manually turn the screws on the short ends with an angled screwdriver. I’m glad I had one of those handy.
At this point, you have a few choices. You can permanently attach the bench top to the legs and apron with some pocket screws from underneath. I chose to add a bottom to the bench and a hinged top (like a real-life full-sized piano bench).
Pro Tip: If I had done this again, I would’ve made the piano bench a little bit deeper. I realized—after the fact— that a standard sheet music book did not fit inside my piano bench. Derp.
Bench Bottom and Hinge
This was fairly straightforward. I took the leg/apron assembly and placed it (top side down) onto the remaining foot or so of 1″×12″. I traced the inner opening of that assembly onto the wood and cut it out with a jigsaw. That’s what is going on here, if you look closely:

I saved a lot of work by lining up the edge with the inner edge of my apron assembly on two sides. This way, I only had to make a few cuts with the jig saw.
I don’t have any photos of the hinge being installed, unfortunately, but it was fairly straightforward. I cut the continuous hinge down to length with a hacksaw so that it would run the entire length of the apron.
The only thing I had to account for was the inset on my apron. Because the outer edge of the legs stuck out a bit farther than the outer edge of the apron, I had to remove a small pocket of wood on the underside of my bench top so that it could swing open.
I’ve since learned that this is officially called a Rule Joint, and there are special router bits that make this process a lot easier, but I was only removing a small bit of wood in two places so I just used a chisel.
Next Time…
I’ll cover the actual piano, which was a lot of me trying to figure things out as I went. You’ll see what I mean!