This is the 3rd part of a multi-part series. View the rest:
- Part 1: Plans and Materials
- Part 2: Racetrack
- Part 3: Vertical Skirt
- Part 4: Subtable and Playing Surface
- Part 5: Finishing It Up
The vertical skirt adds a nice touch to the underside of the table, instead of the table just being a flat slab sitting on top of a pedestal. The skirt also aids in hiding the connection point for the pedestal to the sub-table (which I’ll cover in Part 4).
Cutting Pieces for the Skirt
The easiest (and most accurate) way to do this is to flip your table over, and use the bullnose to figure out your lengths. Then make sure your miter saw is set to cut a 22.5° angle. I cut these pieces from 1×4.
Note: This is not the same 22.5° angle as before. This time, we’ll use the angle setting on the arm of the saw. Alternatively, you could use a table saw for this step and set the blade angle to 22.5°.
Pro Tip: Be sure to cut each piece and mark which section it fits on. Each section of the octagon will be slightly different in length, so you need to be specific.
Once you’re done cutting the 8 pieces, dry fit them and make any adjustments (like we did on the racetrack).

Note: I wasn’t extremely accurate on these cuts because I knew I would be putting another layer covering the outside of the skirt. I chose to add some oak molding to dress up the skirt and match the pedestal style.
Because I would be putting molding on the outside edge, I had to rip the 1×4 down to the approximate height of the molding plus the thickness of the bullnose. Otherwise my 1×4′s would be too tall and I would have had some ugly trimming to do after everything was attached.
Gluing the 1×4′s
Before gluing and clamping these, I got everything set up. I laid out my 8 pieces and a ratcheting strap clamp. Then, I glued the boards as quickly as possible and tightened up the ratchet clamp.

I also added two screws at the foot of each skirt section.
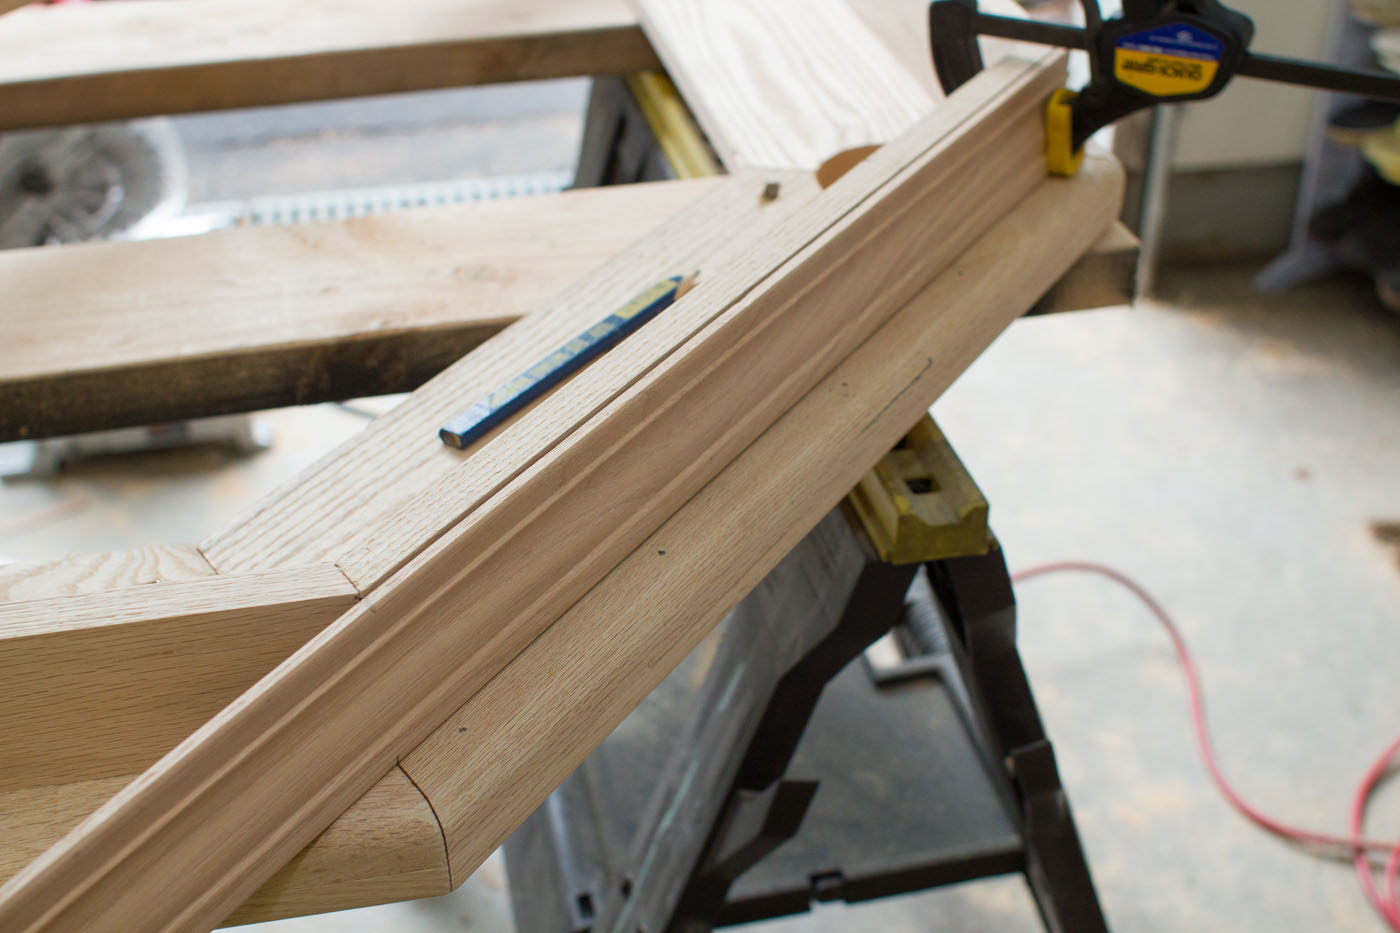
Dressing it Up with Molding
Once this was good and dry, I started working on the molding. Since I had previously ripped down my 1×4′s to the correct width, all I had to do now was measure out the length of the molding for each section and cut it down.
Pro Tip: Don’t measure all the molding at once. Instead, cut the first one and glue it. Then, cut the second one and glue it, and so on. Because your molding lengths all have to work together around the octagon, you’ll get much more accurate results if you measure and cut them one by one.
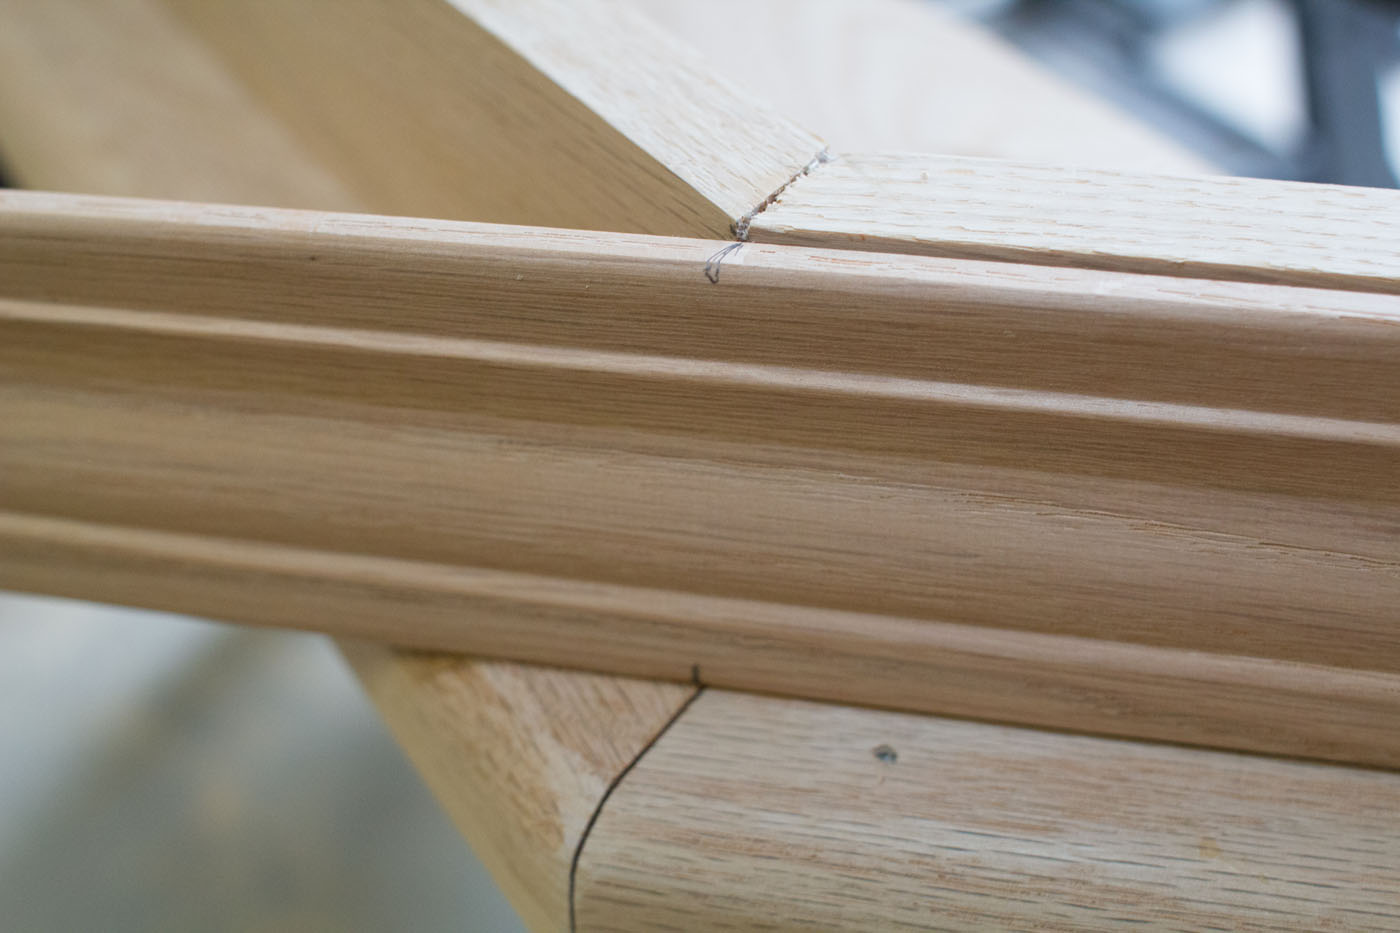
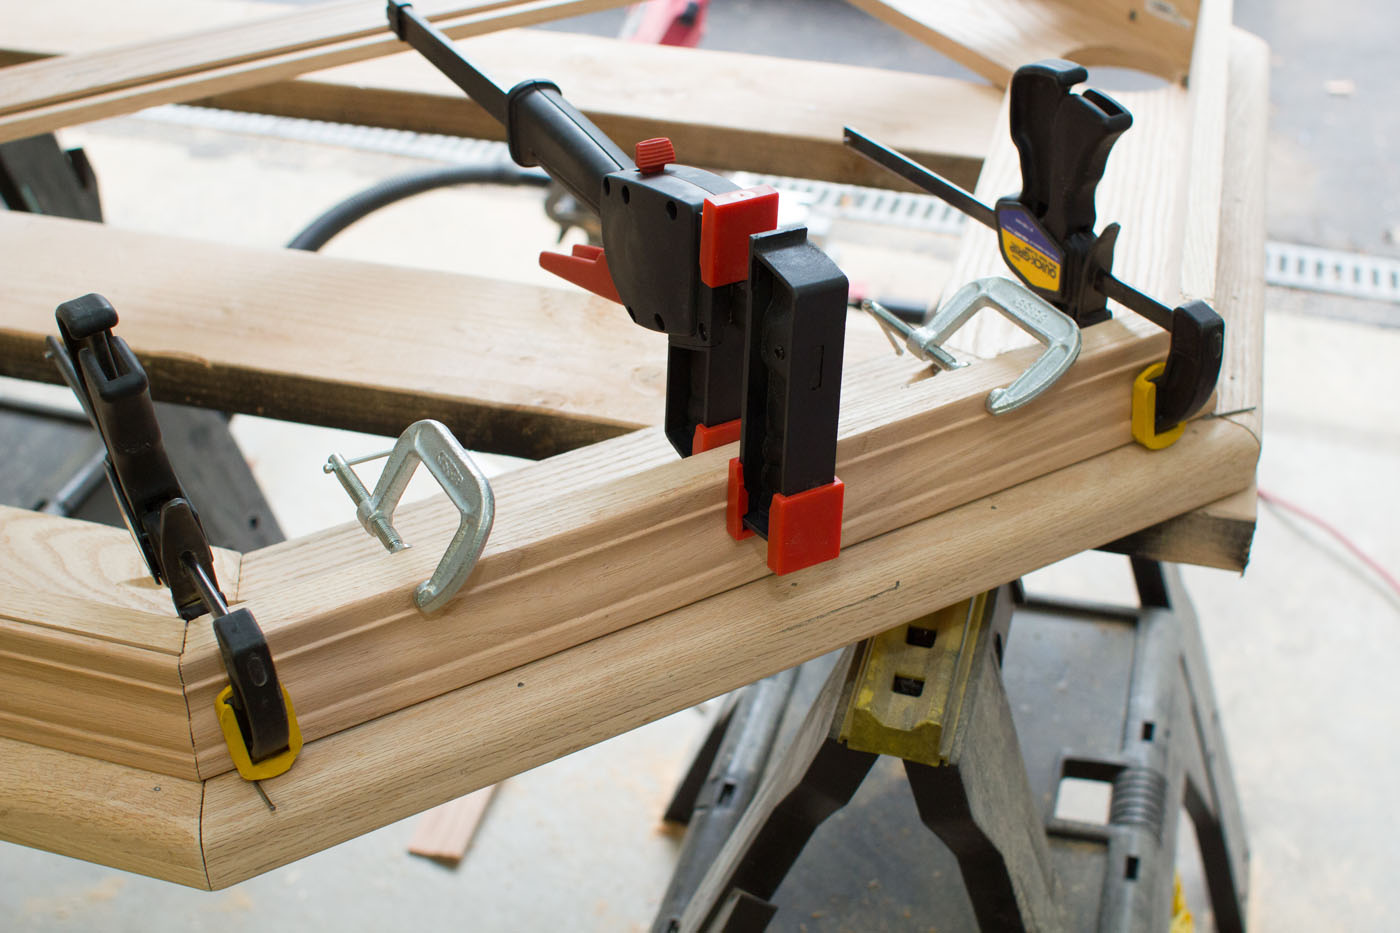
Be sure to clamp this well, since we won’t be using any hardware to secure it. It’s all glue, which will be plenty strong enough as long as it gets a good, tight fit.
Pro Tip: You’ll notice a finish nail wedged under the left side of the molding. I used this as a shim to make the molding level with the bottom (the top edge we’re looking at now) of the vertical skirt. Yes, this will possibly add a small space between the bullnose and the molding (where the nail is), but since that’s going to be under the table, chances are no one will even notice. By doing this, I’ll be saving myself a lot of work on the sections that the molding and vertical skirt aren’t exactly the same height.
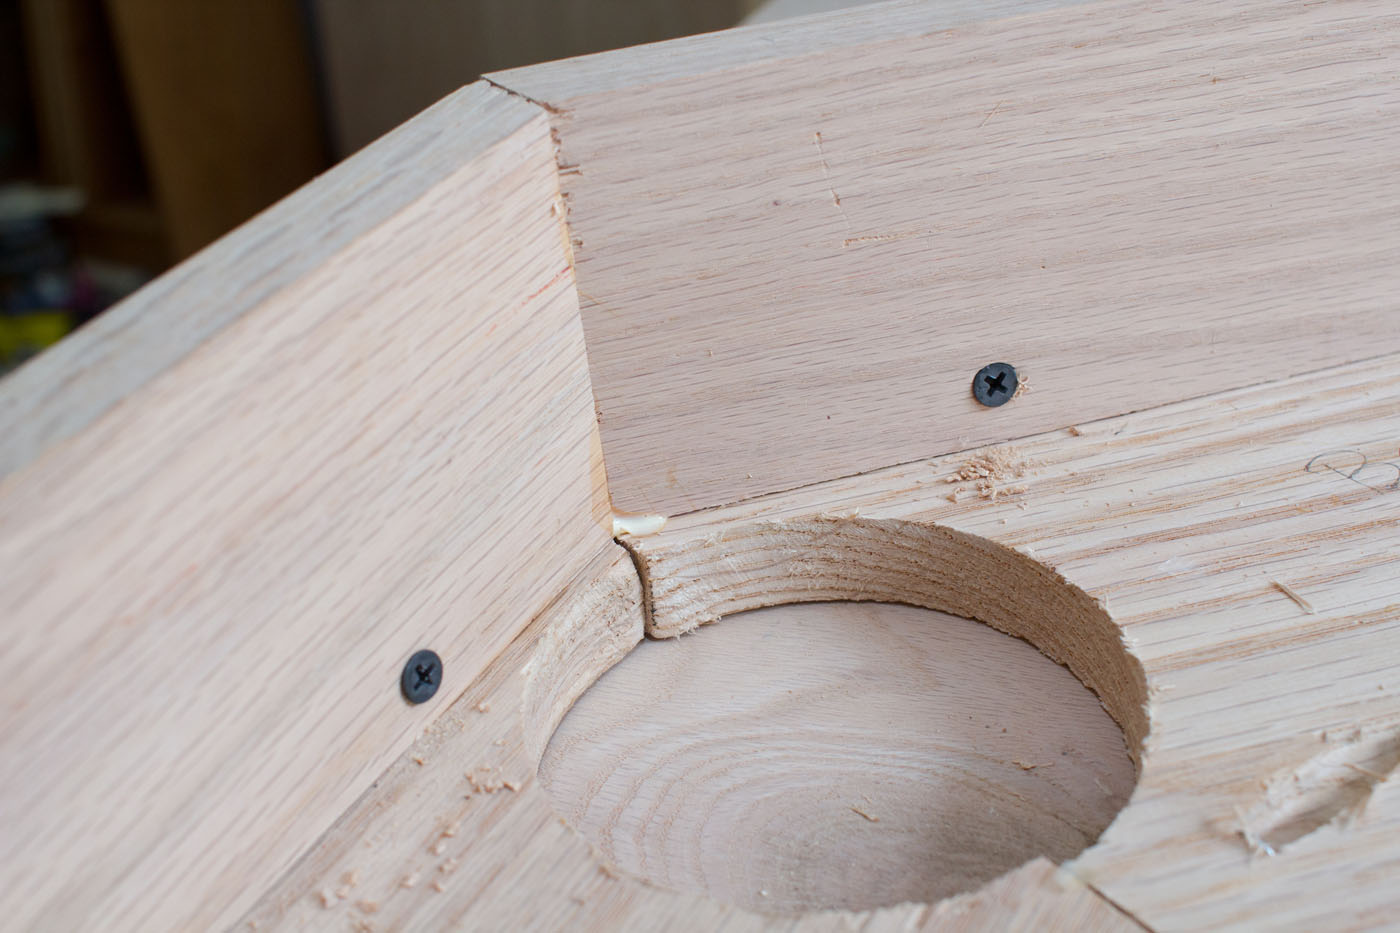
While I was here working under the table, I set the finish nails on the bullnose with a nail setter and added some wood filler over the nail hole. I also used some wood filler to fill the small gaps between my octagon sections and between the bullnose and racetrack pieces. I used Elmer’s Pro Carpenter’s Wood Filler. It’s stainable, which helps later on.
Once you’re finished with all eight sections, you’re ready to move on to the next step.
Next Step: The Subtable and Playing Surface
We’ll cut the subtable, the playing surface, and the mount for the pedestal base in the next step. We’ll also drill some holes to make the playing surface easily detachable and cover the playing surface with foam and felt.