This is the 4th part of a multi-part series. View the rest:
- Part 1: Plans and Materials
- Part 2: Racetrack
- Part 3: Vertical Skirt
- Part 4: Subtable and Playing Surface
- Part 5: Finishing It Up
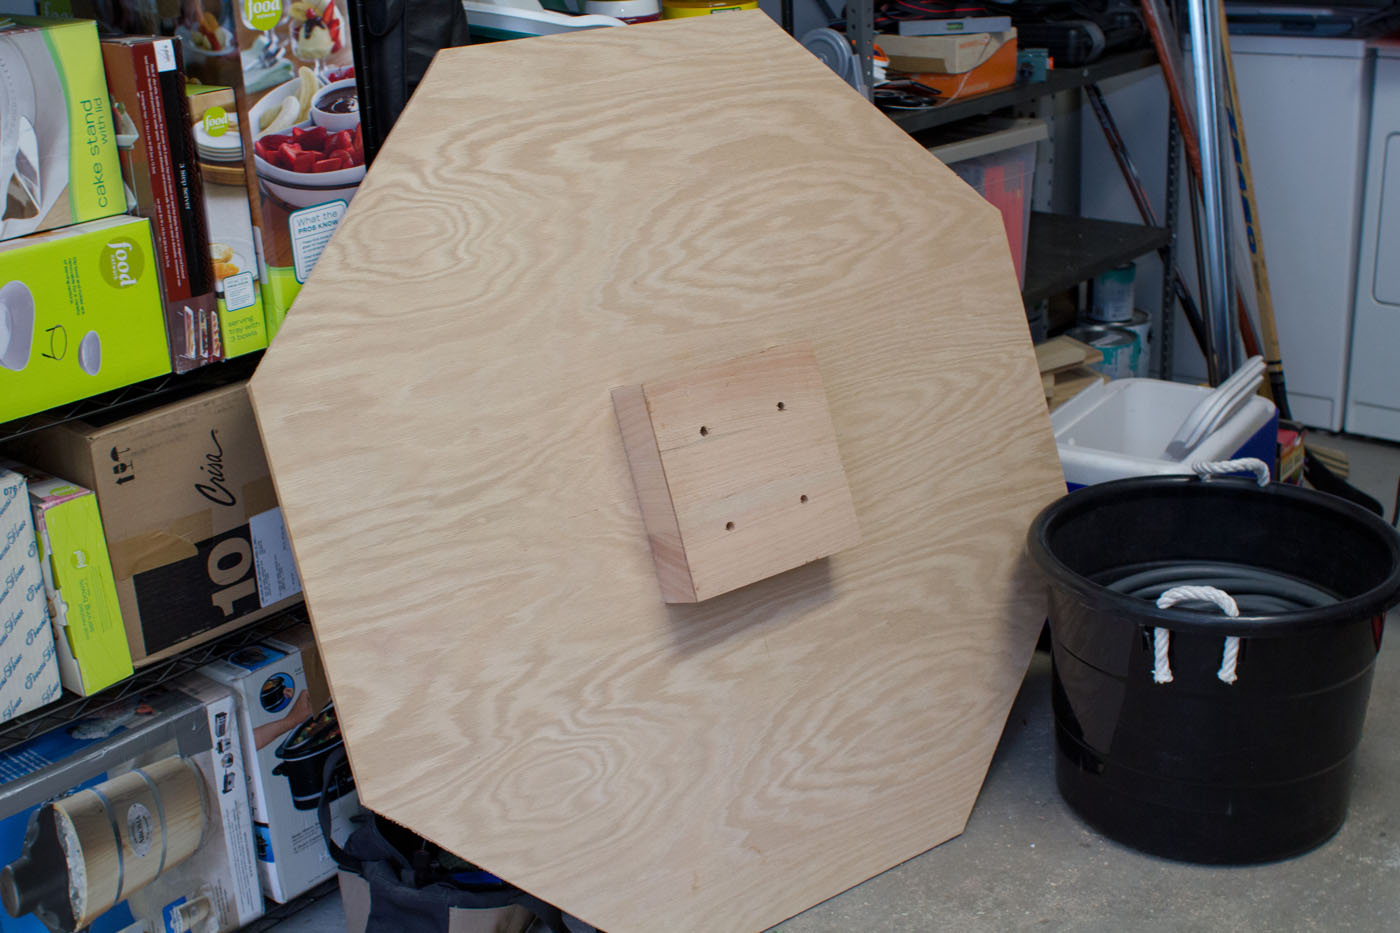
Cutting the Subtable
Since my racetrack octagon was now complete with the vertical skirt, I used it to trace the shape onto one of our 4×4 boards. Once I was done tracing, I made some marks to make sure I could line up the subtable in the same way, since the octagon wasn’t exactly the same on all 8 sides.
Then, I just grabbed my jigsaw and cut out the octagon shape. It was basically cutting off the 4 corners to make the octagon shape.
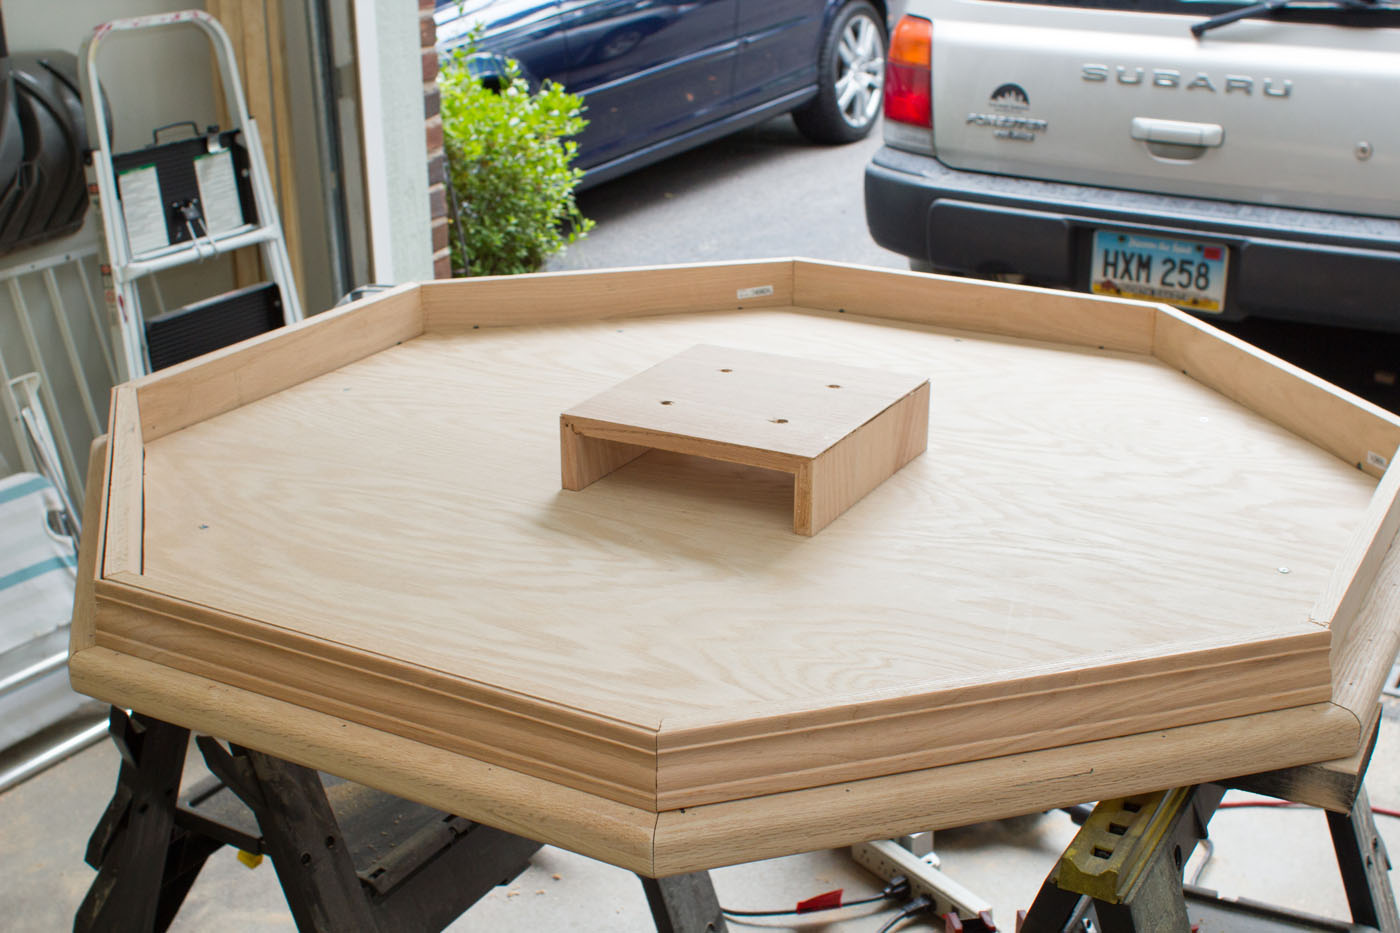
Building the Pedestal Mount
The pedestal mount doesn’t have to be anything super complex, but it does need to be strong. I chose to make it out of solid 1×12, with some mitered joints. I had a locking miter joint router bit that I tried out. It wasn’t perfect, partly because oak is such a hard wood, I think. It’s not always the easiest to machine, so I wouldn’t recommend it if I did it again.
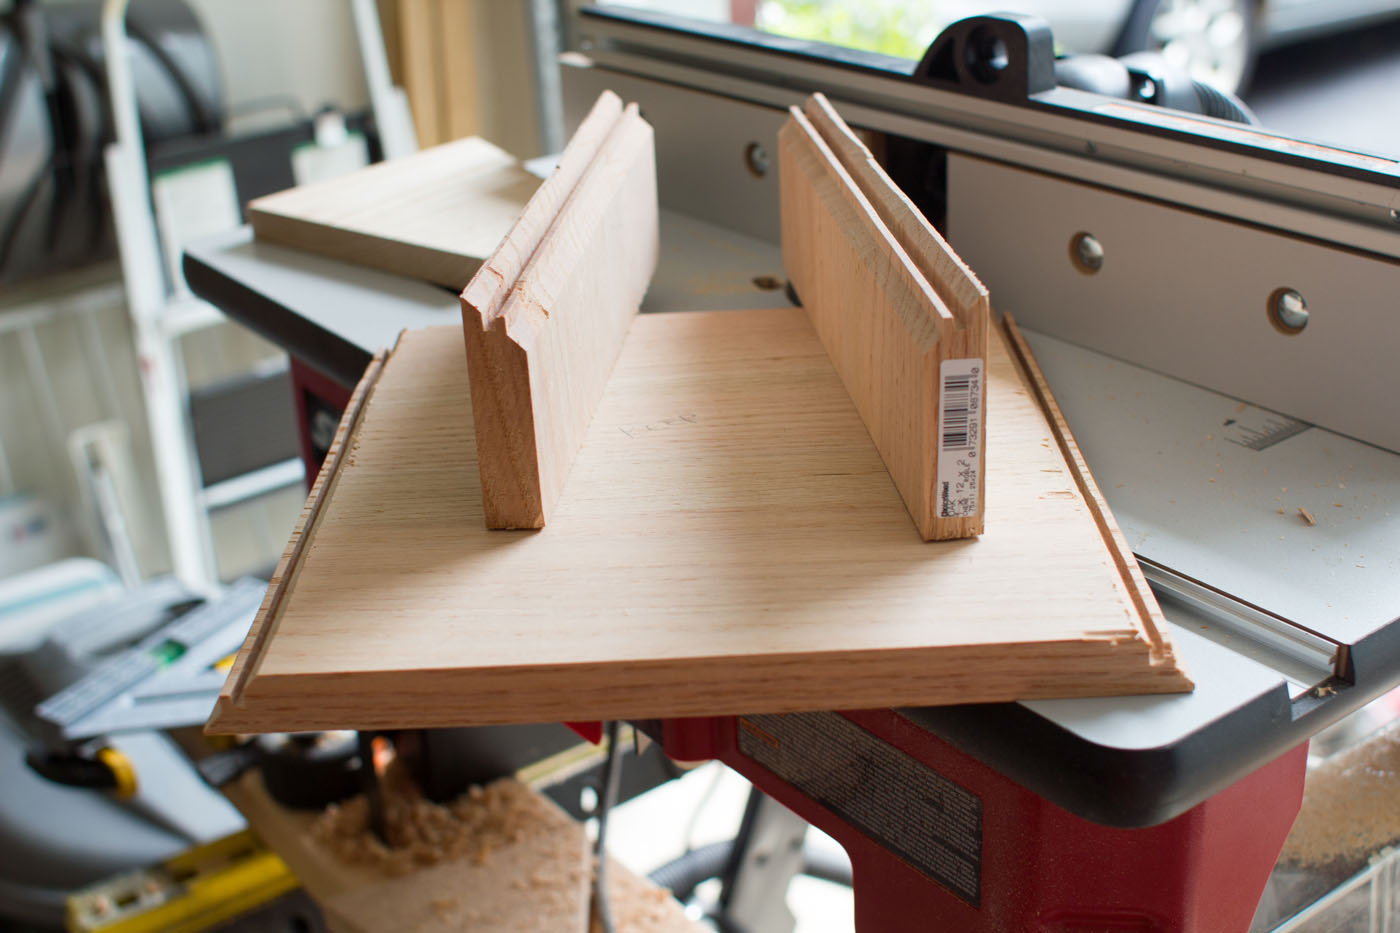
Gluing a joint like this results in an extremely strong connection, so that’s all I did in this case. The four holes line up with the hanger bolts on the pedestal, which will allow me to remove the top fairly easily if I need to.
Cutting the Playing Surface
Before I attached the subtable to the underside of the racetrack, I used the racetrack octagon to trace the inside octagon, which will forms the playing surface. Then, just another quick couple cuts with the jigsaw, and you’re all set.
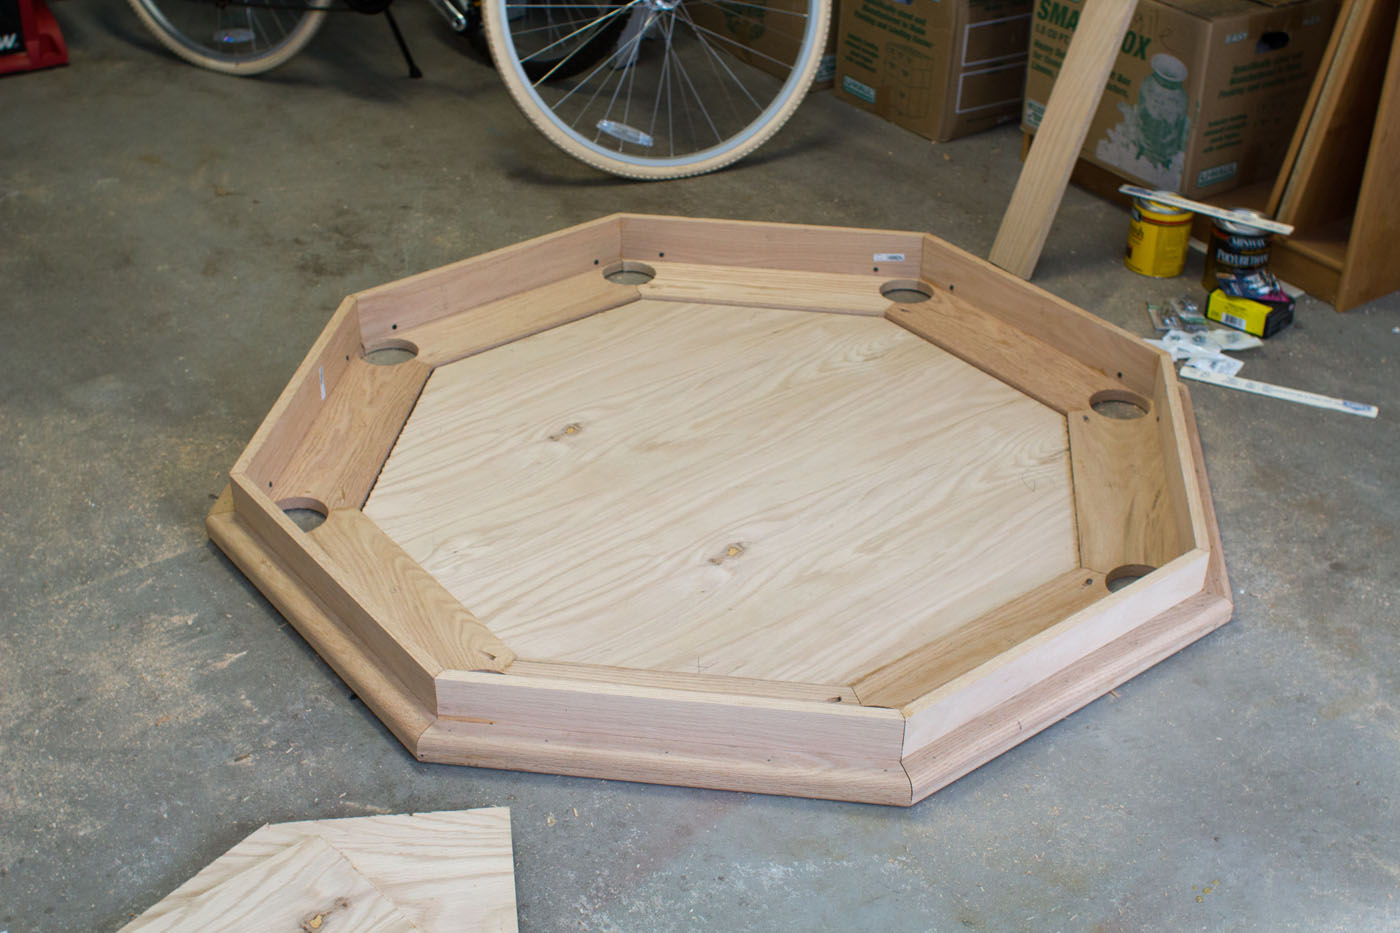
Mounting the Subtable and Drilling Some Holes
Before putting on the foam and felt, I attached the subtable to the racetrack with 8 wood screws. Be careful not to use anything longer than 1.25″ or you’ll punch through the top of the racetrack and ruin your surface.
Then I flipped the table over, positioned the playing surface piece, and drilled 8 holes (one per octagon section) all the way through the playing surface and subtable. These holes will house the T-nuts in the playing surface and allow us to connect and disconnect the playing surface as needed.
Pro Tip: Once you drill the first hole, stick a screwdriver or something similar through the hole to make sure the boards won’t shift as you drill. Do this on the second hole as well, since we’re dealing with two directions of movement here.
Pro Tip the Second: Drill a 9th hole on one of the sections to make lining up the playing surface foolproof in the future.
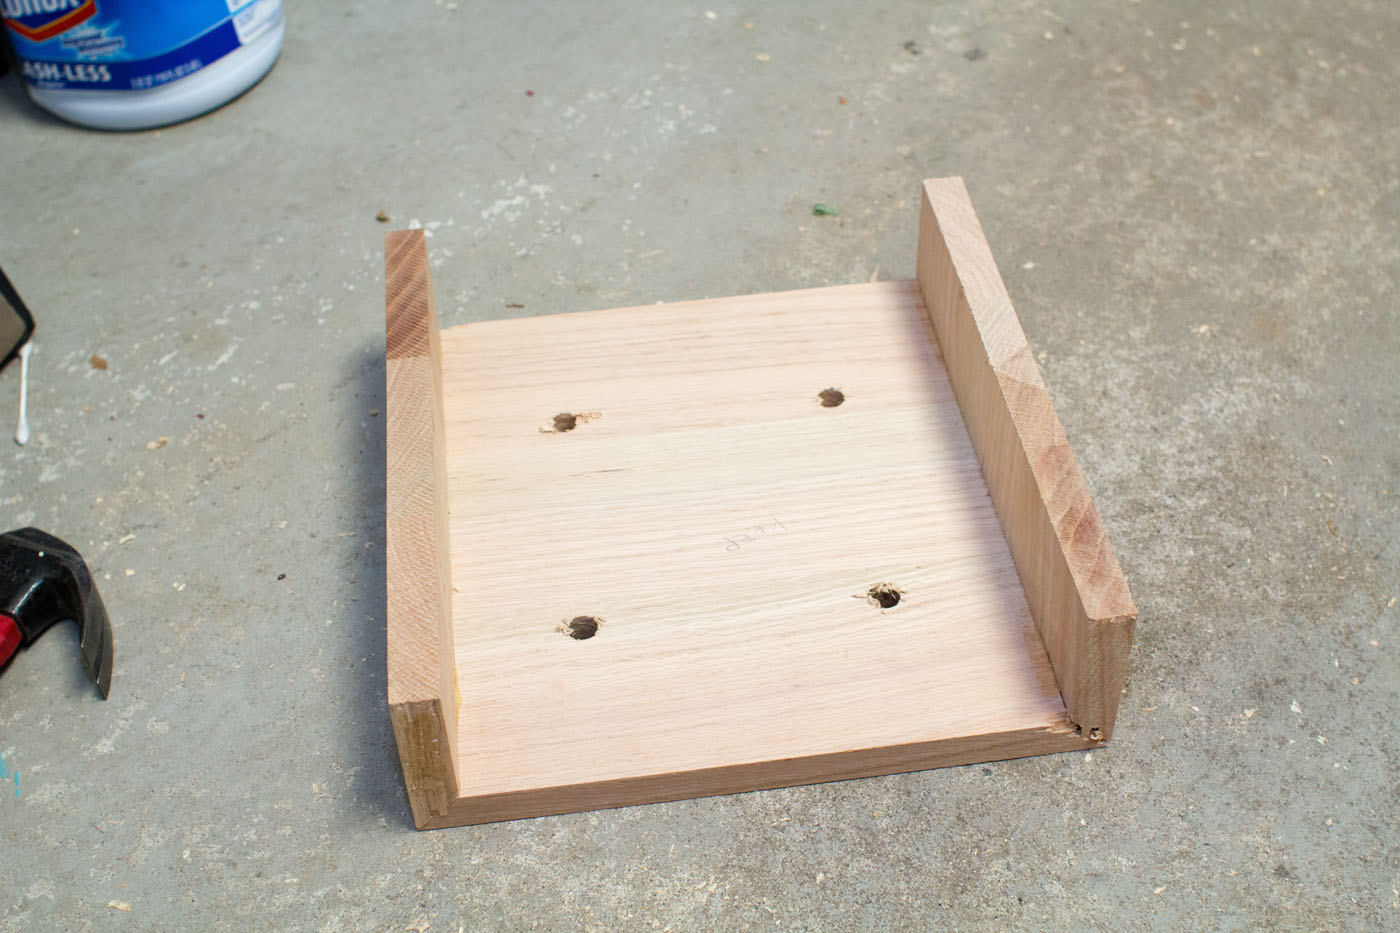
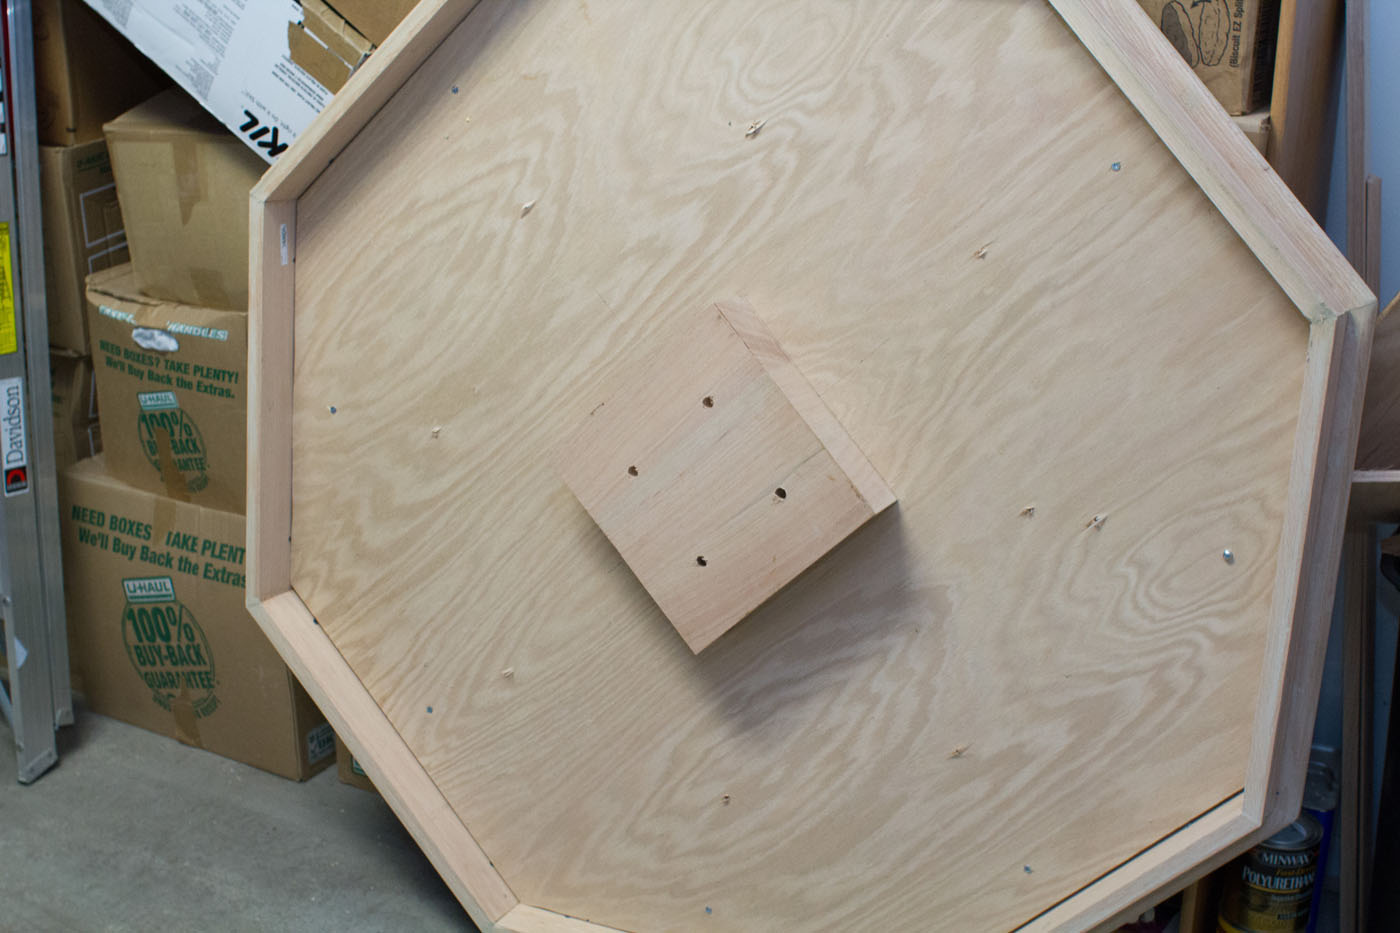
Bang the T-nuts into the bottom of the playing surface. I don’t have a photo of that, but here’s what the bottom of the subtable looks like:
Foam and Felt
This step is pretty straightforward. I’m not an expert on foam adhesives but 3M’s handy surface guide was a big help so I picked up 3M FoamFast 74 Spray Adhesive to attach the high density foam to the wood playing surface. The foam is 1/4″ thick, so adding that to the 1/2″ thick plywood gives us 3/4″ which means our playing surface will be the same height as the racetrack.
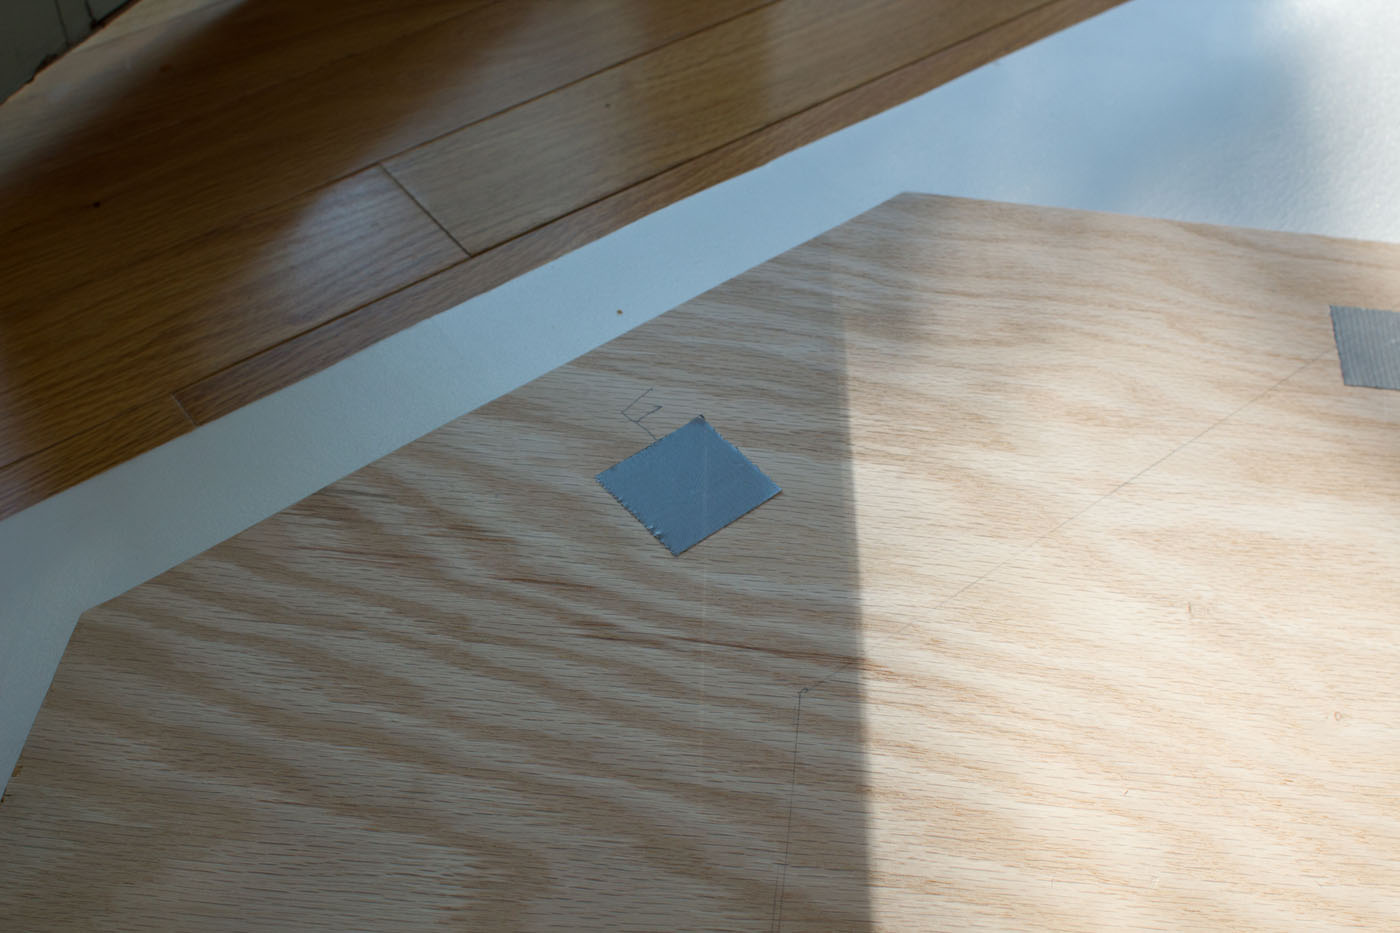
Before sticking the foam on, I covered the holes in the top of the playing surface with duct tape, just so the foam wouldn’t be tempted to sink into those holes at all. I’m not too concerned about it, since the foam is so stiff.
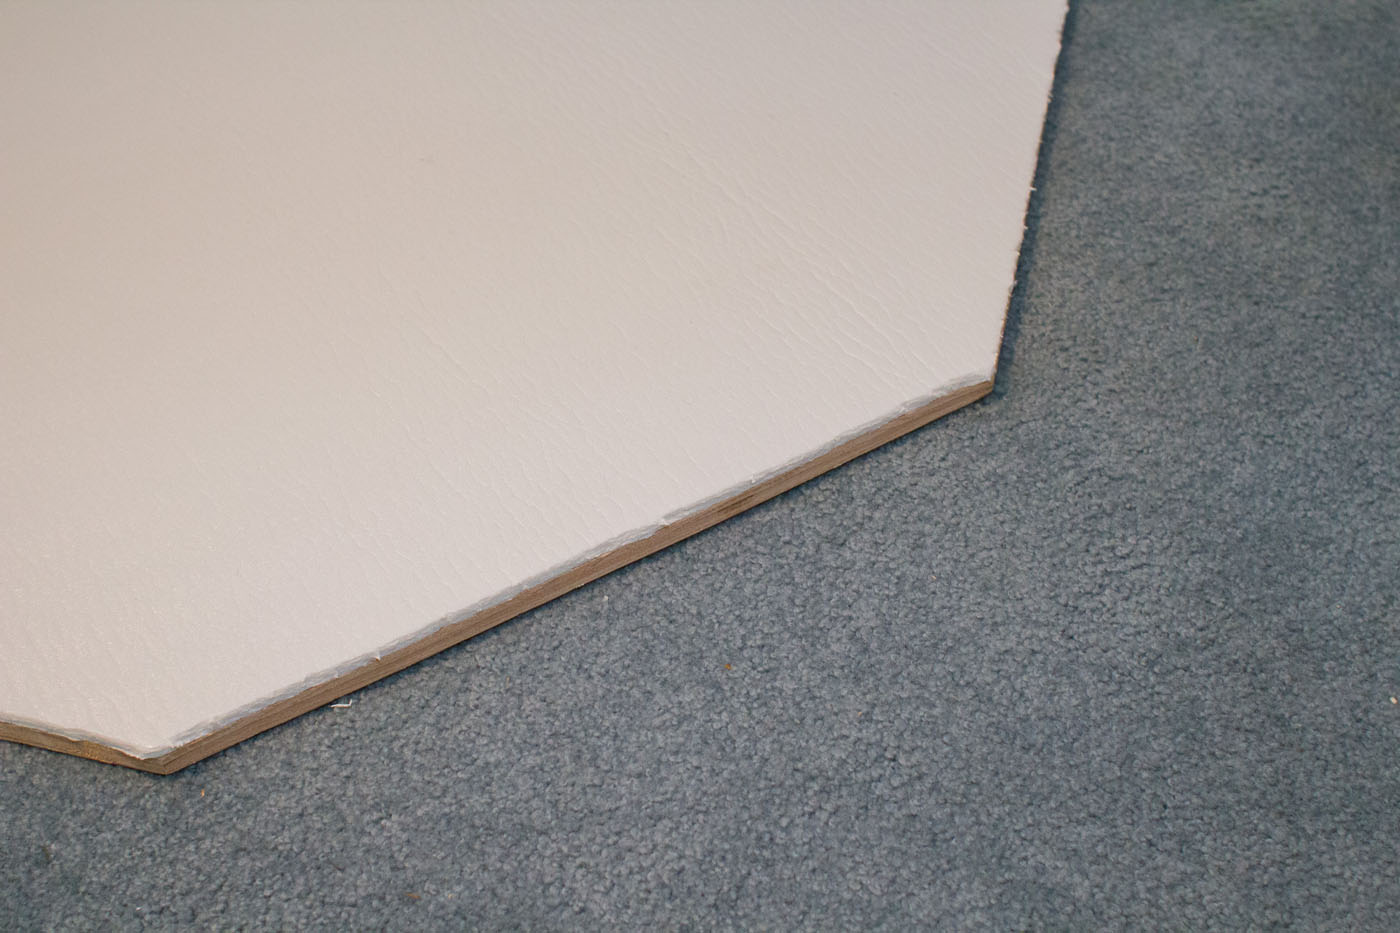
Follow the directions on the can and make sure you’re doing the spray adhesive outside or in a well-ventilated area. Just stick that stuff on there, and then trim it down once it’s had enough time to dry.
Now, we’re ready to cover the playing surface with our table felt. Put the felt side down on some carpet or floor, then place the playing surface, foam side down onto it. I positioned it close to two straight sides so I’d have less trimming to do after stapling.
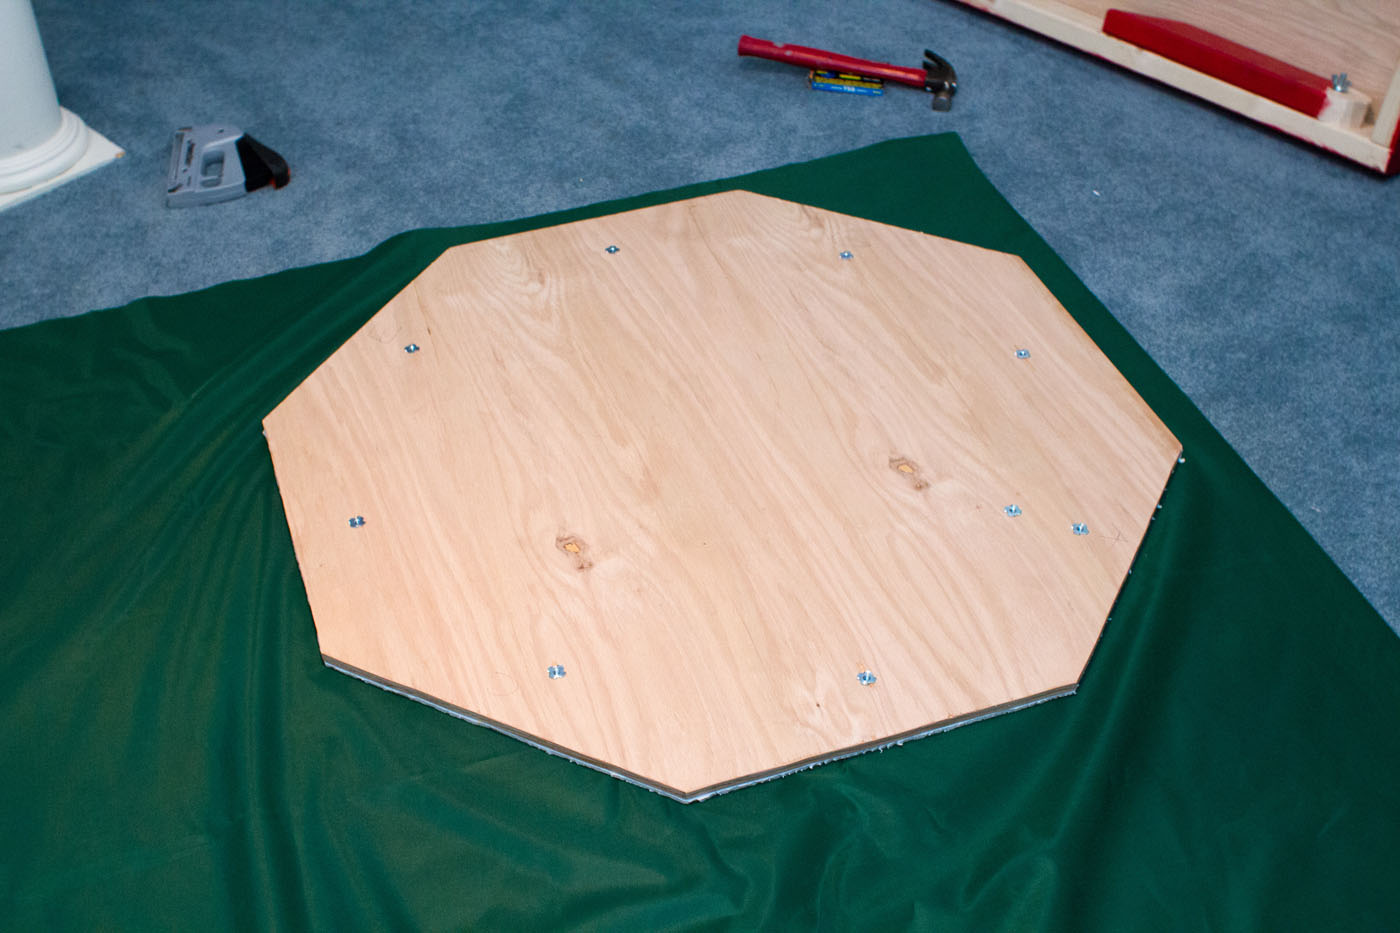
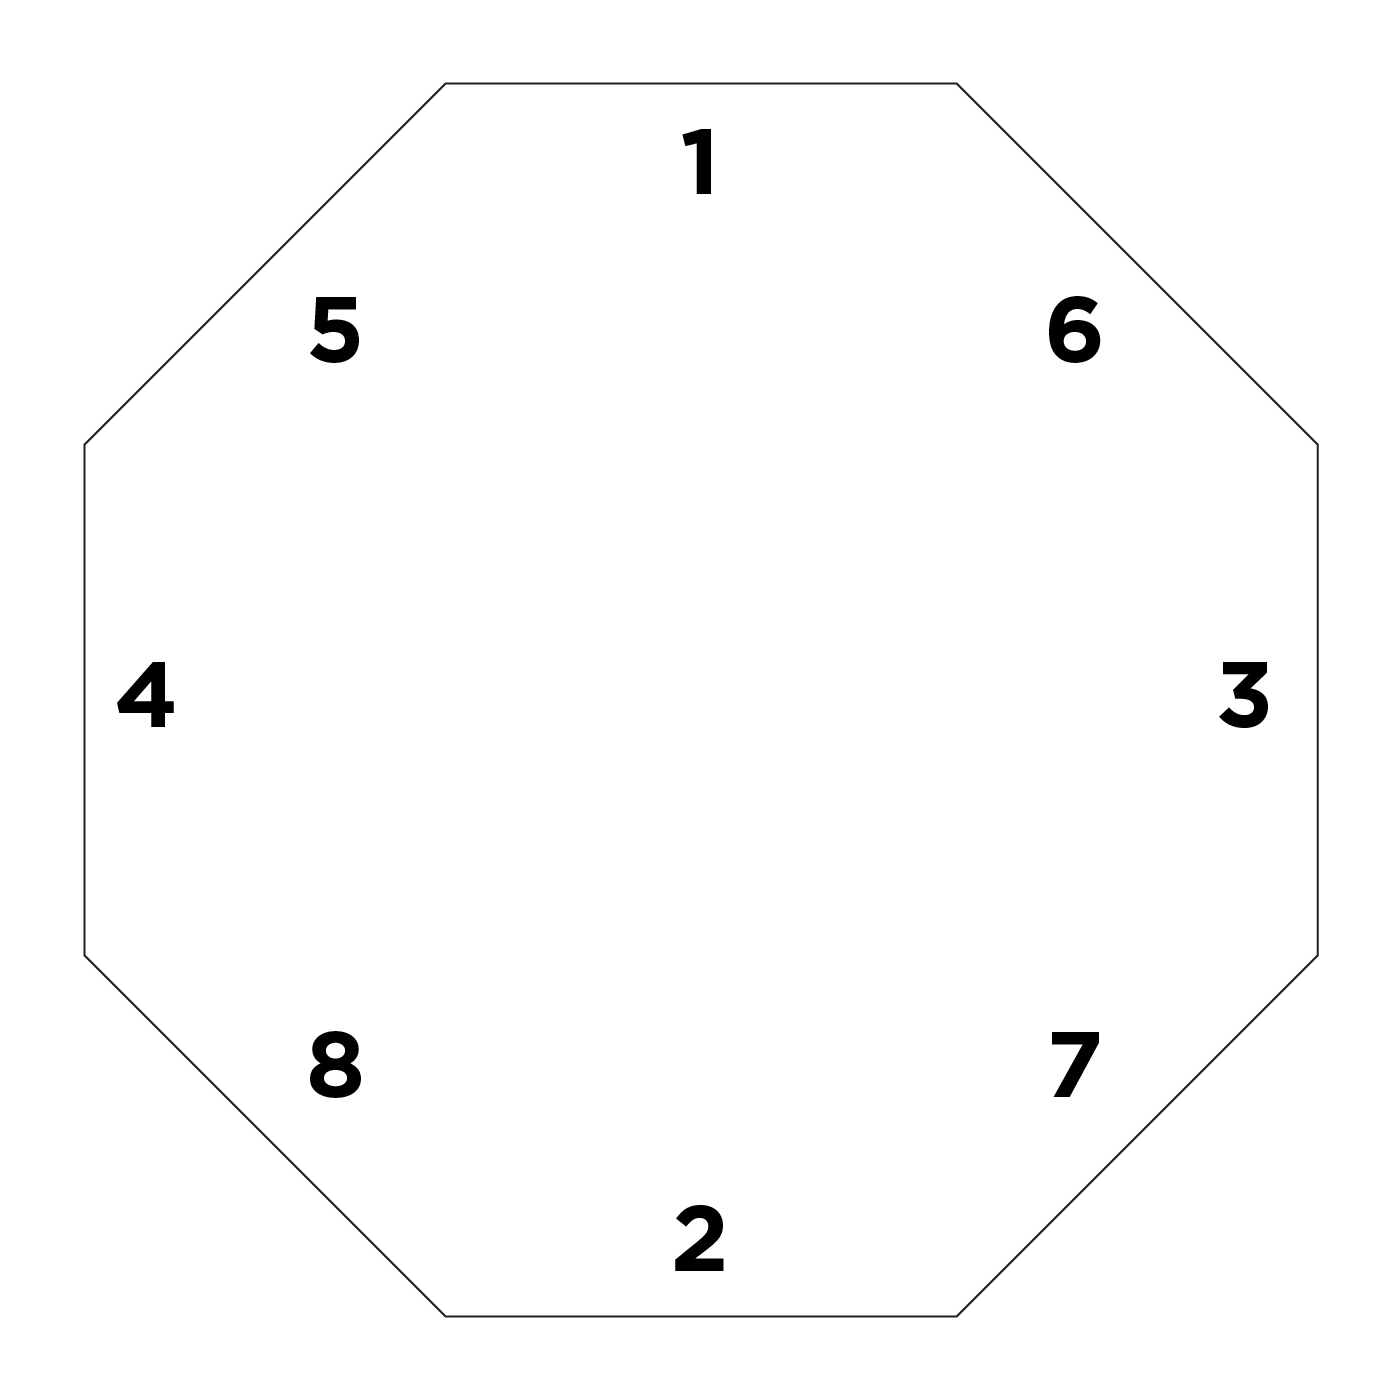
Now, just use a staple gun to attach the fabric. Start on one section, trying your best to keep the fabric straight and relatively tight. I used about 5 or 6 staples per side. Once you’re done with that side, move directly across the octagon and repeat, this time pulling the fabric nice and taut. You can trim the fabric first, but make sure you leave enough to grab it with your hand, so you can pull it tight as you staple. You can always trim it down afterwards.
Here’s the order I stapled in:
We’re Getting Close to the End
Once you’ve got your playing surface stapled, the only thing left is staining and sealing the table. Don’t get too excited as that step can take as long as everything we’ve accomplished up until now!